Showing posts with label CHA Designer Julie McGuffee TV Host. Show all posts

Thursday, May 18, 2017

Découpage Napkin Frame

Découpage is, in my humble opinion, one of the easiest ways to decorate and update pretty much any surface and Mod Podge® is the perfect product for doing just that! 


Today's project is to celebrate Mod Podge's 50th birthday.  I needed something special and, as usual, I looked for items I had on hand.  As a member of the Designer Crafts Connection and Plaid Ambassador, I received lots of product to work with over the past year and select Mod Podge product specifically for the DCC Mod Podge Birthday celebration hop.  My only challenge was deciding what to make.

It's no secret that I like things that are Quick'n EZPZ.  Seriously...  our lives are so hectic these days with all those TV channels and internet videos to watch, plus keeping up with texting and Instagraming to see what's happening in "real" life, there's barely enough time to eat......  (insert emoji for sarcasm here)....    I had lots of ideas, but decided to revisit the '70's and découpage with napkins.  Yes, napkins!  Lots of designs, patterns colors and inexpensive to work with....  All I had to do now was pull what I needed from my Plaid goodie box, plus a few other things I always have on hand.


Here's the list:   

Mod Podge® Gloss
Mod Podge® Ultra Matte Chalk
Mod Podge® Dimensional Magic
Mod Podge® Brushes for Découpage and Furniture
Ceramcoat® Chalk Paint - White
Waverly® Wood Frame
Napkins
Scissors
Clear adhesive dots

1.  Paint the frame with white chalk paint.  Let dry then re-paint with a coat of the Ultra Matte Chalk.


2.  Separate the layers of the napkin then cut strips for the border areas. Note: You only use the printed layer of a napkin for découpage unless it's a solid color.


3.  Brush a coat of gloss over the area to be découpaged then gently place the strips on top.  Smooth gently with the brush and more gloss.  Trim the strips where they meet at each corner. Napkins are pretty delicate to work with so be gentle.  Don't worry about wrinkles, some can be smoothed out, but those that can't will add a nice texture to your project.


 4.  I started to découpage the narrow border at the outer edge, but decided a solid strip of color might look better, so I found some 3/8" green ribbon and glued it in place with the gloss then, who could resist this border of adhesive acrylic bling, perfectly sized to go on top......  


5.  I could have stopped there, but instead of putting a photo in the frame, I thought I'd print a short saying and add a flower in the corner.  This step is optional, of course......

6.  Coat a piece of poster board, large enough for the napkin with gloss.  Separate the top layer from the napkin then adhere to the poster board.   Pat gently in place with the brush, coat with gloss then let dry.


7.  To make the flower, cut out the center with 2 adjacent petals.  Cut 2 additional, individual petals then use a glue spot to adhere them to the back as shown.  I also cut out some leaves.  


8.  I love additional texture and dimension so I painted a bottle cap with the white chalk paint then glued a flower center to the inside of the cap.  Following directions on the package, carefully fill with dimensional magic then let dry for at least 12 hours.  The dimensional magic will dry clear and the "flower center" can be adhered on top of the flower you made.  This part is optional of course......  When dry, I added another little jewel to the center.


9.  I printed the saying on my computer,  positioned it behind the frame opening then added the flower to finish.  The image below is here on my blog under the "Images for Personal Use" tab if you would like to use it.


You can find a list of other DCC members participating in this month's blog party on the Designer Crafts Connection blog.  You can also enter there to win a prize and there are links to some other exciting happenings for Glossie's 50th birthday!   Enjoy!  Y'all come back now.....

Yours truly,
Julie :)

KEEP CALM AND CARRY ON CRAFTING!

Thursday, March 9, 2017

St Patrick's Day

It's almost St. Patrick's day, the day to raise a glass (Guinness is good), tuck into a meal of corned beef and celebrate!  By the way, you don't have to be Irish to join in the fun...... Cheers!


To create a banner for your celebration you'll need the following supplies:


Joy Embroidered Letters
12" x 20" Piece of canvas fabric
3 Pieces of felt - Dark Green, Medium Green and Light Green
Sticky back black felt
Fabric glue
3/8" Gold ribbon
Gold Metal stickers 
Brass brad
Black marker
Scissors
Green jute
12" Dowel (or cardboard tube from a coat hangar)
12" Decorative ribbon

1. Cut canvas fabric to size.  Note: I use a canvas drop cloth from the hardware store. It is inexpensive and the perfect weight for decorative banners and garlands.

2. Use the patterns as guides to cut the shape of the hat from medium green felt, 3 light green shamrocks,  2 dark green shamrocks and a 7" x 1.75" rectangle of black felt.  Glue the black felt to the hat. 


3.  To create the shamrock for the hat, cut along the lines as indicated then place the small shamrock on top of the large one.  Poke a hole through the center hold together with the brad.


4. Create a buckle for the hat band with the gold ribbon. Cut two, 2" pieces and two 1.5" pieces. Glue in the shape of a rectangle at the center of the black hat band.  Iron the letters on the brim of the hat then glue the shamrock in place.  Glue the hat to the banner.


5.  Create additional shamrocks using the same patterns.  Cut the shapes, then cut all the way through the center on the cut lines to create 4 hearts.  Create the additional shamrocks by gluing 3 hearts together at the base. Glue to the banner then add a gold metal embellishment to the base of each one.  Draw stitch lines from the shamrock  with a black marker. 

6.  Create a border with 12" pieces of ribbon. A narrower decorative ribbon was glued on top of a wider 12" piece of ribbon then embellished with gold, nail head stickers.  Glue to the banner about 2" from the bottom.


7.  Fold 2" over at the top of the canvas then glue to create a casement for the dowel, or cardboard tube.  Tie the ends of the jute to each end of the dowel to create a hangar or, if using a cardboard tube, thread the jute through the center then tie the ends together at the top.


May the road rise up to meet you.
May the wind be always at your back. 
May the sun shine warm upon your face; 
the rains fall soft upon your fields 
and until we meet again, 
may God hold you in the palm of His hand.
Traditional Gaelic blessing.

Yours truly,
Julie :)

KEEP CALM AND CARRY ON CRAFTING!

Saturday, July 12, 2014

Brilliant Burlap Crafts!

Designer Crafts Connection members were challenged to be creative with Burlap!  We each received a variety of burlap product to us, so let the inspiration begin!

Burlap is being used for all kinds of decorations and embellishments.  It's definitely the "go to" fabric this year.  You only have to walk into your local craft store, or search "Burlap" on Pinterest to know how popular it has become.  Since it's summer and we like to sit on our patio for morning coffee and quiet evenings, my project is a table centerpiece complete with sprigs of Rosemary - very outdoorsy...


To make the centerpiece, I cut a 12" x 12" square from red burlap yardage.  I cut carefully between the threads to create straight edges then I pulled threads away from each side to create a 1/2" fringe.  Don't throw the threads away yet!  I placed a mason jar in the center of the square then pulled the fabric up around the jar and used a rubber band to hold the folds in place.  I also received a roll of burlap trim in my goodie box, so I wrapped it around the jar and secured the end with lo-temp glue. 


The next step is to make the mat from natural burlap.  The mat is 14" x 14" which is the width of the fabric.  I cut the burlap at each end being careful to cut between the threads then pulled threads away from the edges on all four sides to create a 1" fringe.  Next step was to carefully pull out 2-3 threads at the 4" and 8" mark on 2 adjacent sides to create 9 squares.  To make the red lines across the mat, I used 3 red threads pulled from the edges of the red burlap and a tapestry needle with a large eye to weave them up and down across the lines on the mat.  I basically replaced the natural threads I'd pulled out with red ones. If you didn't have colored burlap, you could substitute yarn for this technique.


Now when the grandchildren come over we can pull out some old buttons and play tic tac toe.....!  How fun is that.......


And here's one more that was literally "Made in Minutes" using an empty bottle of water.  A great way to re-cycle!  Cut the empty bottle so the height is the same as the width of the trim.  Wrap trim around and secure with red burlap threads pulled from yardage.  The mat can be any size then fringed to create the 1" border.  If you love EZPZ quick'n EZ this is definitely for you!


There are 15 more designers participating in the Burlap blog hop, so please visit their blogs for even more inspiration.  You can find them by hopping forward via the DCC logo in each designer's sidebar, or go directly to the next blog on the list below:

Julie McGuffee   juliemcguffee.blogspot.com    YOU ARE HERE!
Lisa Fulmer   lisalizalou.com
Madeline Arendt   madelinesthoughts.blogspot.com
Marilyn Gossett   marilyngossett.blogspot.com
Michelle FraeCummings   faeriedustdreams-michelle.blogspot.com
Sue Eldred   sueeldred.com
Susan Brown  sbartist.com
Angela Holt   www.angelaholtdesigns.com 
Carmen Flores Tanis  florestanisstudio.com
Cherish Flieder  somethingtocherish.com
Jennifer Priest  hydrangeahippo.com

I'm sure you'll be inspired to start crafting with Burlap, so we have a prize package for you valued at $100 that includes a great variety of natural and colored burlap yardage, ribbons, embellishments and totes.
Select the link then enter to win! 

For more information on Burlap products available and social media sites to follow, check out these links:
a Rafflecopter giveaway
Y'all come back now!

Yours truly,
Julie :)

 KEEP CALM AND CARRY ON CRAFTING!

Thursday, July 3, 2014

Recycled Grill

The kids came over a few months ago.  It was a gorgeous Spring day, so we decided to grill.


Unfortunately the grill did not co-operate and we ended up grilling inside.  The gas grill was pretty old and apparently the burners had a developed a few leaks.  Time for a new grill, I thought and was secretly happy - now I could replace the old gas grill with a charcoal grill.  I like food cooked on a charcoal grill a whole lot better.  I looked at a few grills, but wondered if I couldn't use the grill we already had.   This is what I did:

FIRST THINGS FIRST 
 
REMOVE ANY AND ALL GAS CYLINDERS!  
DISCONNECT AND PUT THEM AS FAR AWAY AS POSSIBLE FROM THE GRILL.

The next step was to remove the trays that covered the burners.  I basically removed anything that was removable.....  


I then placed an old oven tray/cookie sheet on top of the burners
 

 then covered the inside of the grill with heavy duty foil.
  

Following the directions on the bag, I placed the charcoal on the foil covered tray and lit them.

 MAKE SURE YOUR GRILL IS PLACED A GOOD DISTANCE AWAY FROM YOUR HOME. ALWAYS FOLLOW SAFETY PRECAUTIONS WHEN GRILLING. 
  
Once the coals are hot, spread them in an even layer on the tray then put the grill tops back in place and start cooking!


Clean up is easy!  Once the coals have cooled, turned completely to ash and there are no embers still burning, or hot (I wait until the next day), fold the foil up over the ashes and dispose of them in the appropriate manner.


Can't wait to grill hot dogs and burgers tomorrow on my re-cycled grill!  
 
HAVE A HAPPY AND SAFE FOURTH OF JULY !!!   Y'all come back now........

Yours truly,
Julie :)

KEEP CALM AND CARRY ON CRAFTING!

Saturday, June 28, 2014

Sprinkles Cupcake

It's July 4th next week!  We live outside city limits, so, as long as there isn't a burn ban in effect, we're usually surrounded by firework displays.  We break out the grill, cook traditional hot dogs and hamburgers for family and friends then pull out the lawn chairs, sit back and watch the fun. 

I don't have a sweet tooth, but thought I'd share a special dessert with you this year.  It's a luscious "sprinkles" cupcake and 100% calorie free, so you can have as many as you like - to decorate your party table that is.  Doesn't it look yummy.....  Unfortunately it's only for decoration and not to eat!


 It's EZPZ Quick'n EZ to make and you can use this technique for all kinds of party themes by simply changing the colors. 

Here's how I made it:
   
    I glued half a 2" Smoothfoam ball on top of a Smoothfoam cupcake shape then "iced"  it with ModPodge Collage Clay. 


Collage Clay is a whipped, lightweight clay, commonly used for "Decoden", the art of decorating anything with doodads, trinkets, beads, etc.  It comes in a squeeze bag, similar to the ones used for icing cupcakes, together with 3 decorating tips.  I simply squeezed the clay around the half ball without using a tip to create the iced cupcake effect.  While it was still soft, I sprinkled the surface with red and blue Flower Soft Sprinkles then set it aside to dry overnight.

I made a cupcake wrap from silver, holographic cardstock, using a cupcake wrap I already had on hand as a template.  Make one out of paper first so you can adjust the size before cutting into your cardstock.  I cut around the top edge with large scalloped, decorative scissors then used a hand punch to punch a tiny star out of each of the scallops.  The stars were then sprinkled on top too. 

Before popping the cupcake into the wrap, I separated the top (printed) layer from a July 4th cocktail napkin then cut it into 4 squares using the fold lines as a guide.  I then layered 2 pieces together, put the cupcake in the center then placed it into the wrap.  I added three, 1 1/2" stars cut from glitter cardstock and stuck the points of those into the top.

Happy 4th of July everyone!  Enjoy!  Y'all come back now.............

Yours truly,
Julie :)

KEEP CALM AND CARRY ON CRAFTING!

Sunday, June 1, 2014

Crafty Gift Giving

No matter how organized you are (or profess to be), things have a pesky way of sneaking up on you.  Especially when it comes to needing a gift for an occasion that has totally slipped your mind and "Do Do" list.  Falling back on the fact that "if it weren't for the last minute nothing would get done" philosophy, it's nice to have a few Quick'nEZPZ projects in your back pocket.  Since the DCC theme this month is "Gift Giving" I thought I'd share my projects which were featured in the Summer issue of Bella Crafts Quarterly.


The green jar is a vintage, green mason jar.  I added a wire handle so it matched the other 2 jars, which already had a handle.  All of the jars are available at your local craft store, and, if you have a Hobby Lobby in your area you can buy ready-made handles for mason jars.  They are part of the "Transform Mason" line.  You can check the line out here http://www.loew-cornell.com/transform-mason-pages-291.php


The beads and findings are from Cousins available at bead and major craft stores.  There's really no right, or wrong way to embellish the jars.  You only have to do what you think looks nice.  Place an LED tea light inside and hang from trees for a garden party, or place them on a table.  Etching the glass (on the inside) gives the coloured glass a nice glow, while maintaining its sparkle on the outside.  My "go to" source for etching product is b&b etchall.  I love both the cream and the liquid. Both produce a REAL, not fake, etch and the best part is that it's REUSABLE!!! so yes, you can use it again and again!

These bejeweled jars are so easy to make and you can find the instructions in the magazine.  It's free to download, or you can view it online.  You'll find lots of other great projects and information there and you can view previous issues.

Don't forget to hop thru our webring using the blue DCC logo in my sidebar for more great ideas.  Just a reminder that DCC is an ongoing blog hop.  Our goal is to share great project ideas and techniques to inspire you to craft!  Enjoy!  Y'all come back now.....

Yours truly,
Julie :)

KEEP CALM AND CARRY ON CRAFTING

Tuesday, May 13, 2014

Dallas Gift Market - March 2014

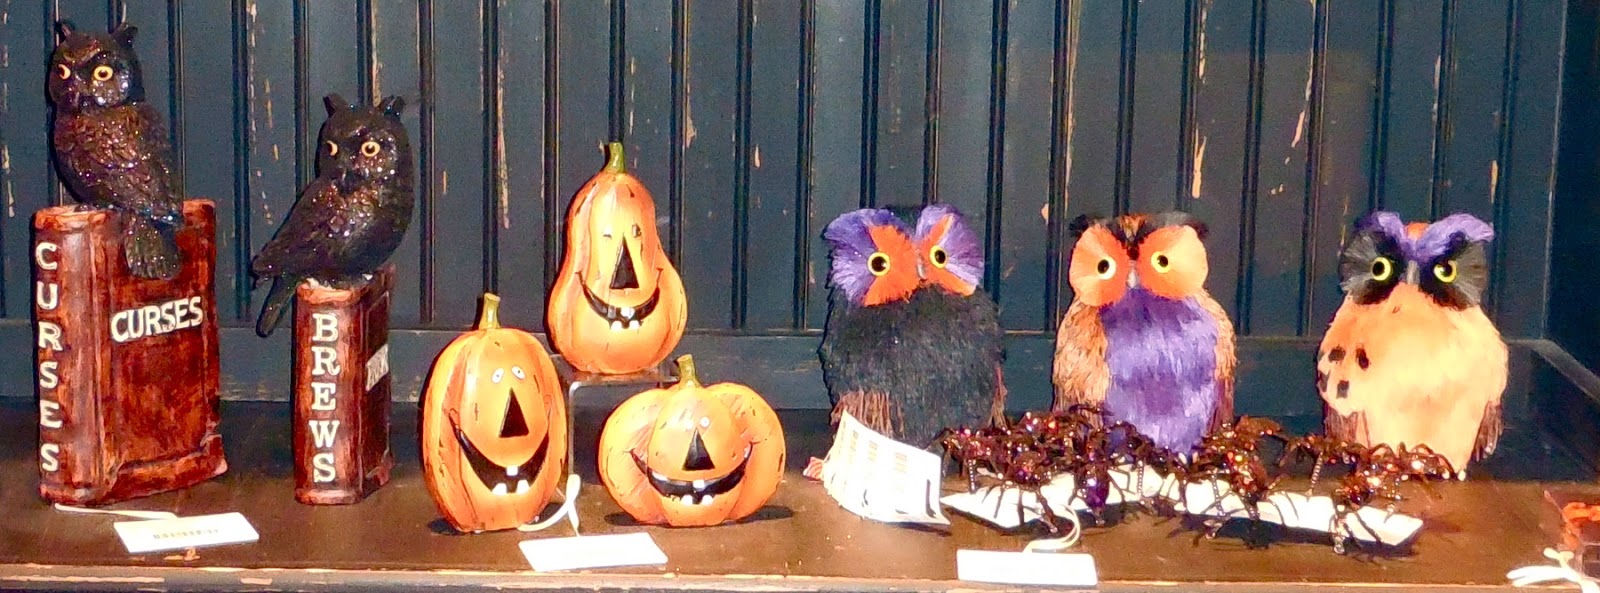
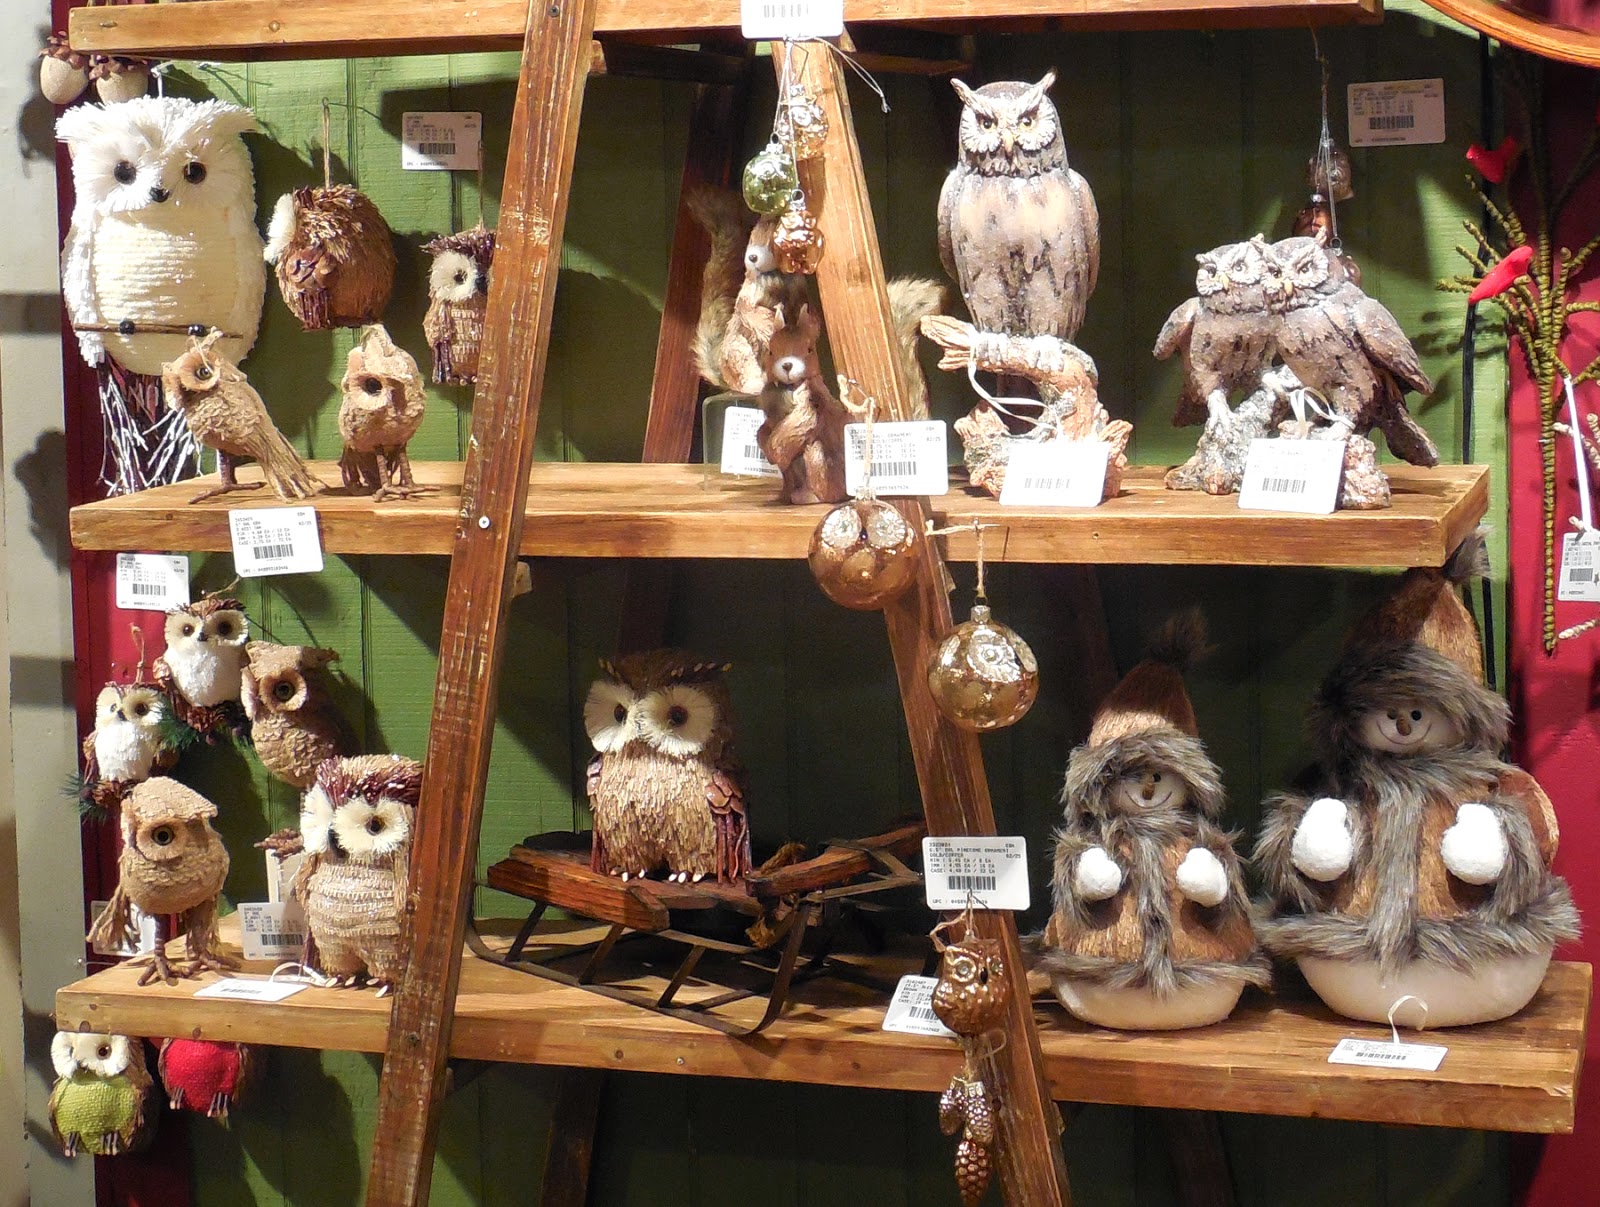
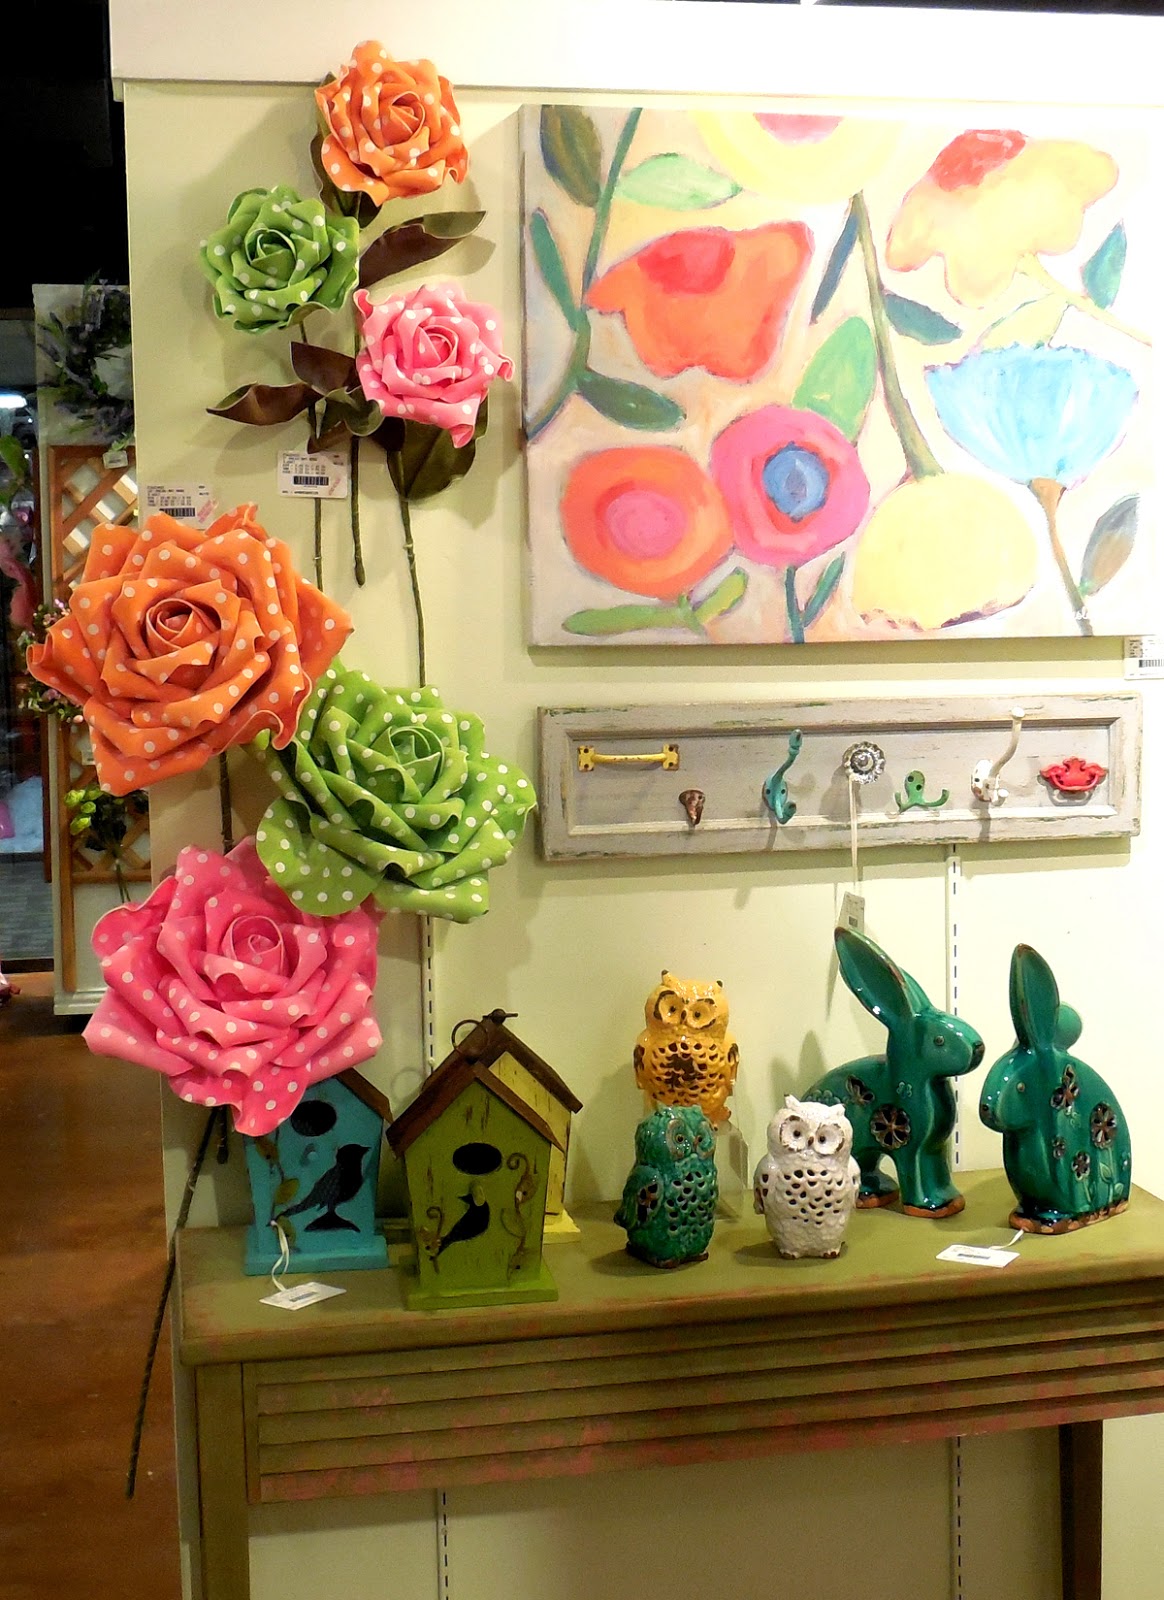
I made my bi-annual trek to the Dallas Gift market in March this year.  I usually go in January, but there was waaaaay too much going on this time.  It doesn't change much between January and March.  The only difference is that there are no temps.  Major lines are in the permanent showrooms anyway, so it's not a big deal. 

Many of the showrooms have a "no photographs please" policy, but even if they don't, I always ask permission to take photos for my blog.  Most of them love the extra PR, but there are still a handful who don't want everyone to see what they have to offer, mostly the co-ops who offer a lot of handmade items from a variety of small business manufacturers. 

Anyway here are the photos, so grab a cup of coffee, glass of wine, box of chocolates, or whatever, sit back and join me on my walk thru many of showrooms at the Dallas Gift Market.


This blog post is all "eye candy" and for designers, a peak into what the gift stores are seeing for the upcoming Fall and Winter seasons.  I don't comment about trends - I like to let each of you draw your own conclusions, but I'd be remiss not to say something about "Katherine's Collection".  The displays in this showroom will take your breath away.  I think you could spend a whole day in here and not see everything.  The creativity will amaze..........


And that's the last of the photos from "Katherine's Collection".  Hope you enjoyed them......  now let's move on.


Yes!  This is an old TV set being used as a display!  How clever......


This "Brazil" display was in the "Two's Company" showroom.  Look for more design influences from Brazil as the 2016 Olympics get closer.


That's all for this trip, but I'll be back with more after the summer show in July - God willing and the creek don't rise.........  Y'all come back now.  Enjoy!

Yours truly,
Julie