For those of you unable to travel to Seattle to attend Creativation, grab a cup of tea, or glass of wine, put your feet up then sit back and take an armchair walk with me up and down the aisles of the annual NAMTA Creativation show via photos... Enjoy!

Each year a Welcome Reception is held the evening before the show floor opens. It's always a special time to meet old friends, make new ones and to recognize annual award winners and the association's current and new board members.
This year was extra special since my long time friend, Ann Butler had nominated me for a Lifetime Achievement Award. I was accepted, so thought I'd share this aaahmzing news and a couple of photos from that evening before we started our walk. Eight of us received the award this year and other than being totally flabbergasted, it was indeed an honor to be the first Creative Professional NAMTA member to be recognized with this award, especially since "Creative Professional" is a new category for this association.


I always look for a coffee pot when checking in to a hotel room, but this was SO much better!

Me and my sis who travelled all the way from Tennessee to be there...


with friends Ann Butler, Julianna (Jewels) Avelar and my sis.....
Now let's hug a few friends and walk the show. Let me know in the comments at the end, what you think the top trends were this year.....


TCW - The Crafters Workshop


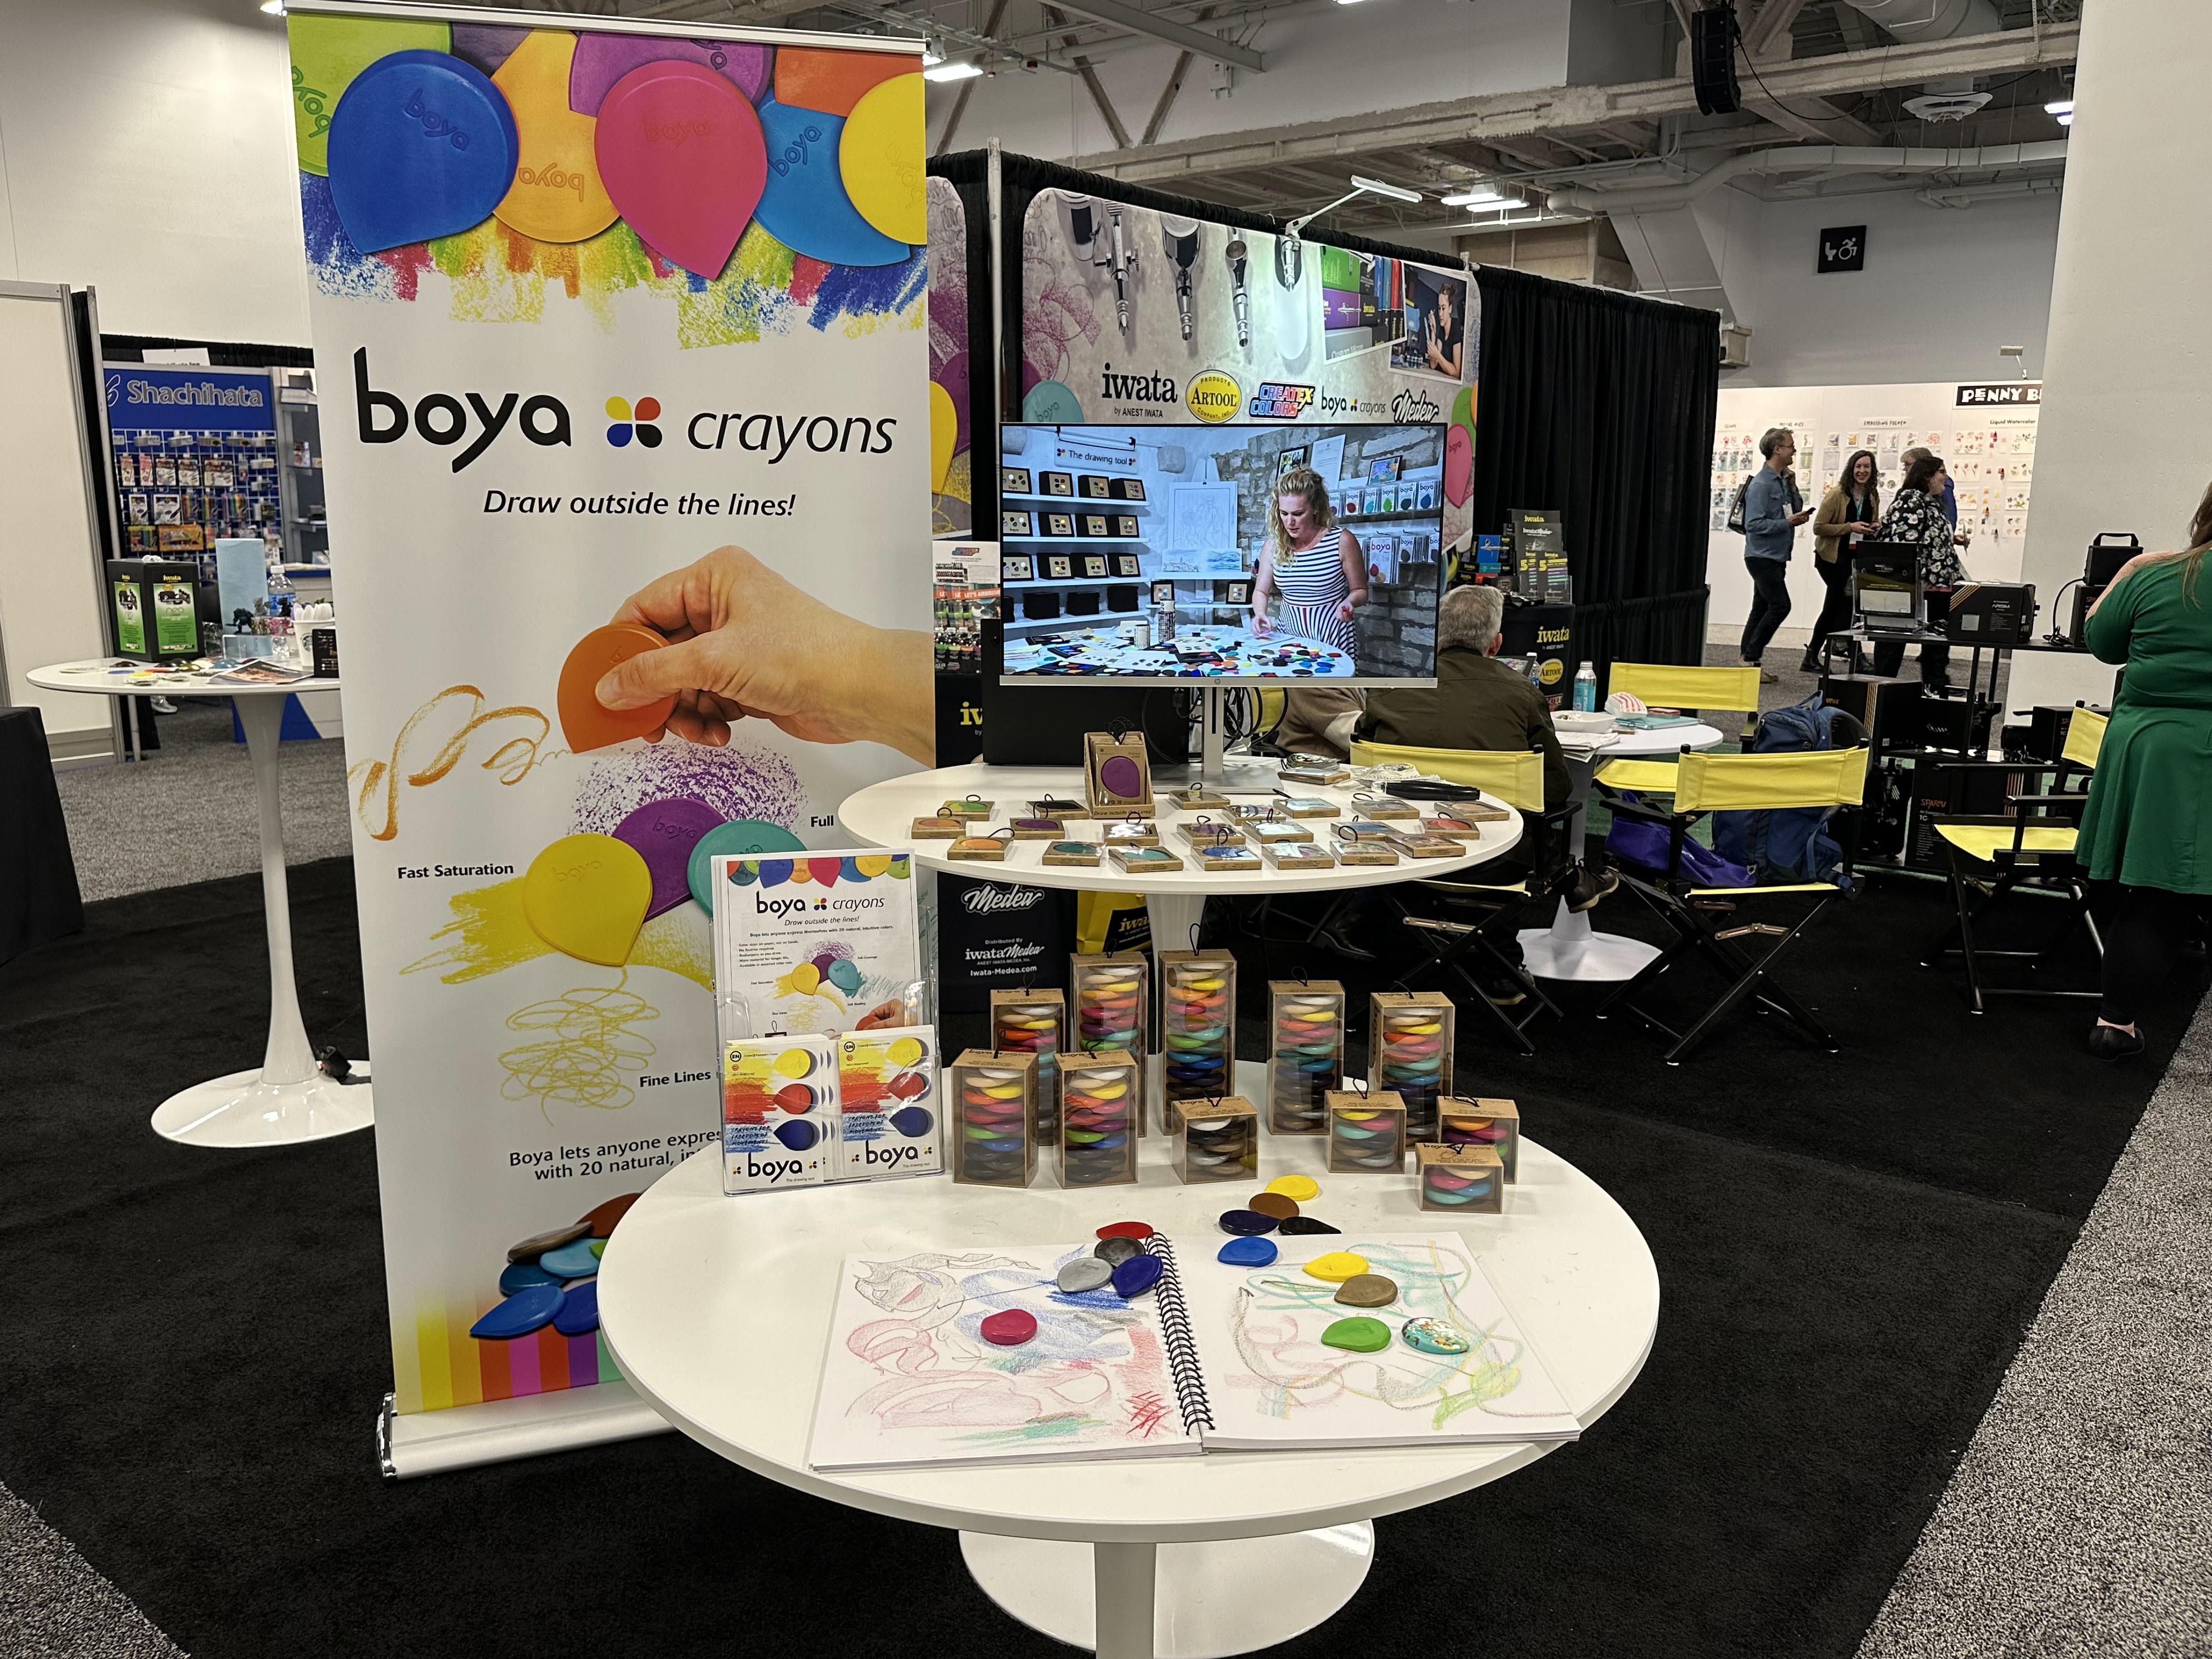
Boya Crayons


Iwata


Pear Blossom Press

Trinity Stamps

AALL & CREATE

Jack Richeson & Co

Paint Plates


Hahnemuhle - German paper company

Tomorrow's Artist Created with Encore

Retique It


DecoArt




Creative Professionals were invited to decorate a wood King Salmon fish shape which were displayed on the show floor. After the show they were donated to Mama's Hands, House of Hope..... each one was unique. I covered mine with small, pearly oyster shells I collected in Maine - it was a "Shellfish" 😜


Bob Ross

OHUHU

RGM Fine Art Tools


Jesmon Eco-Resin

MIYA and HIMI Jelly Paint

Grafix


Colart - Winsor & Newton


Yasutomo


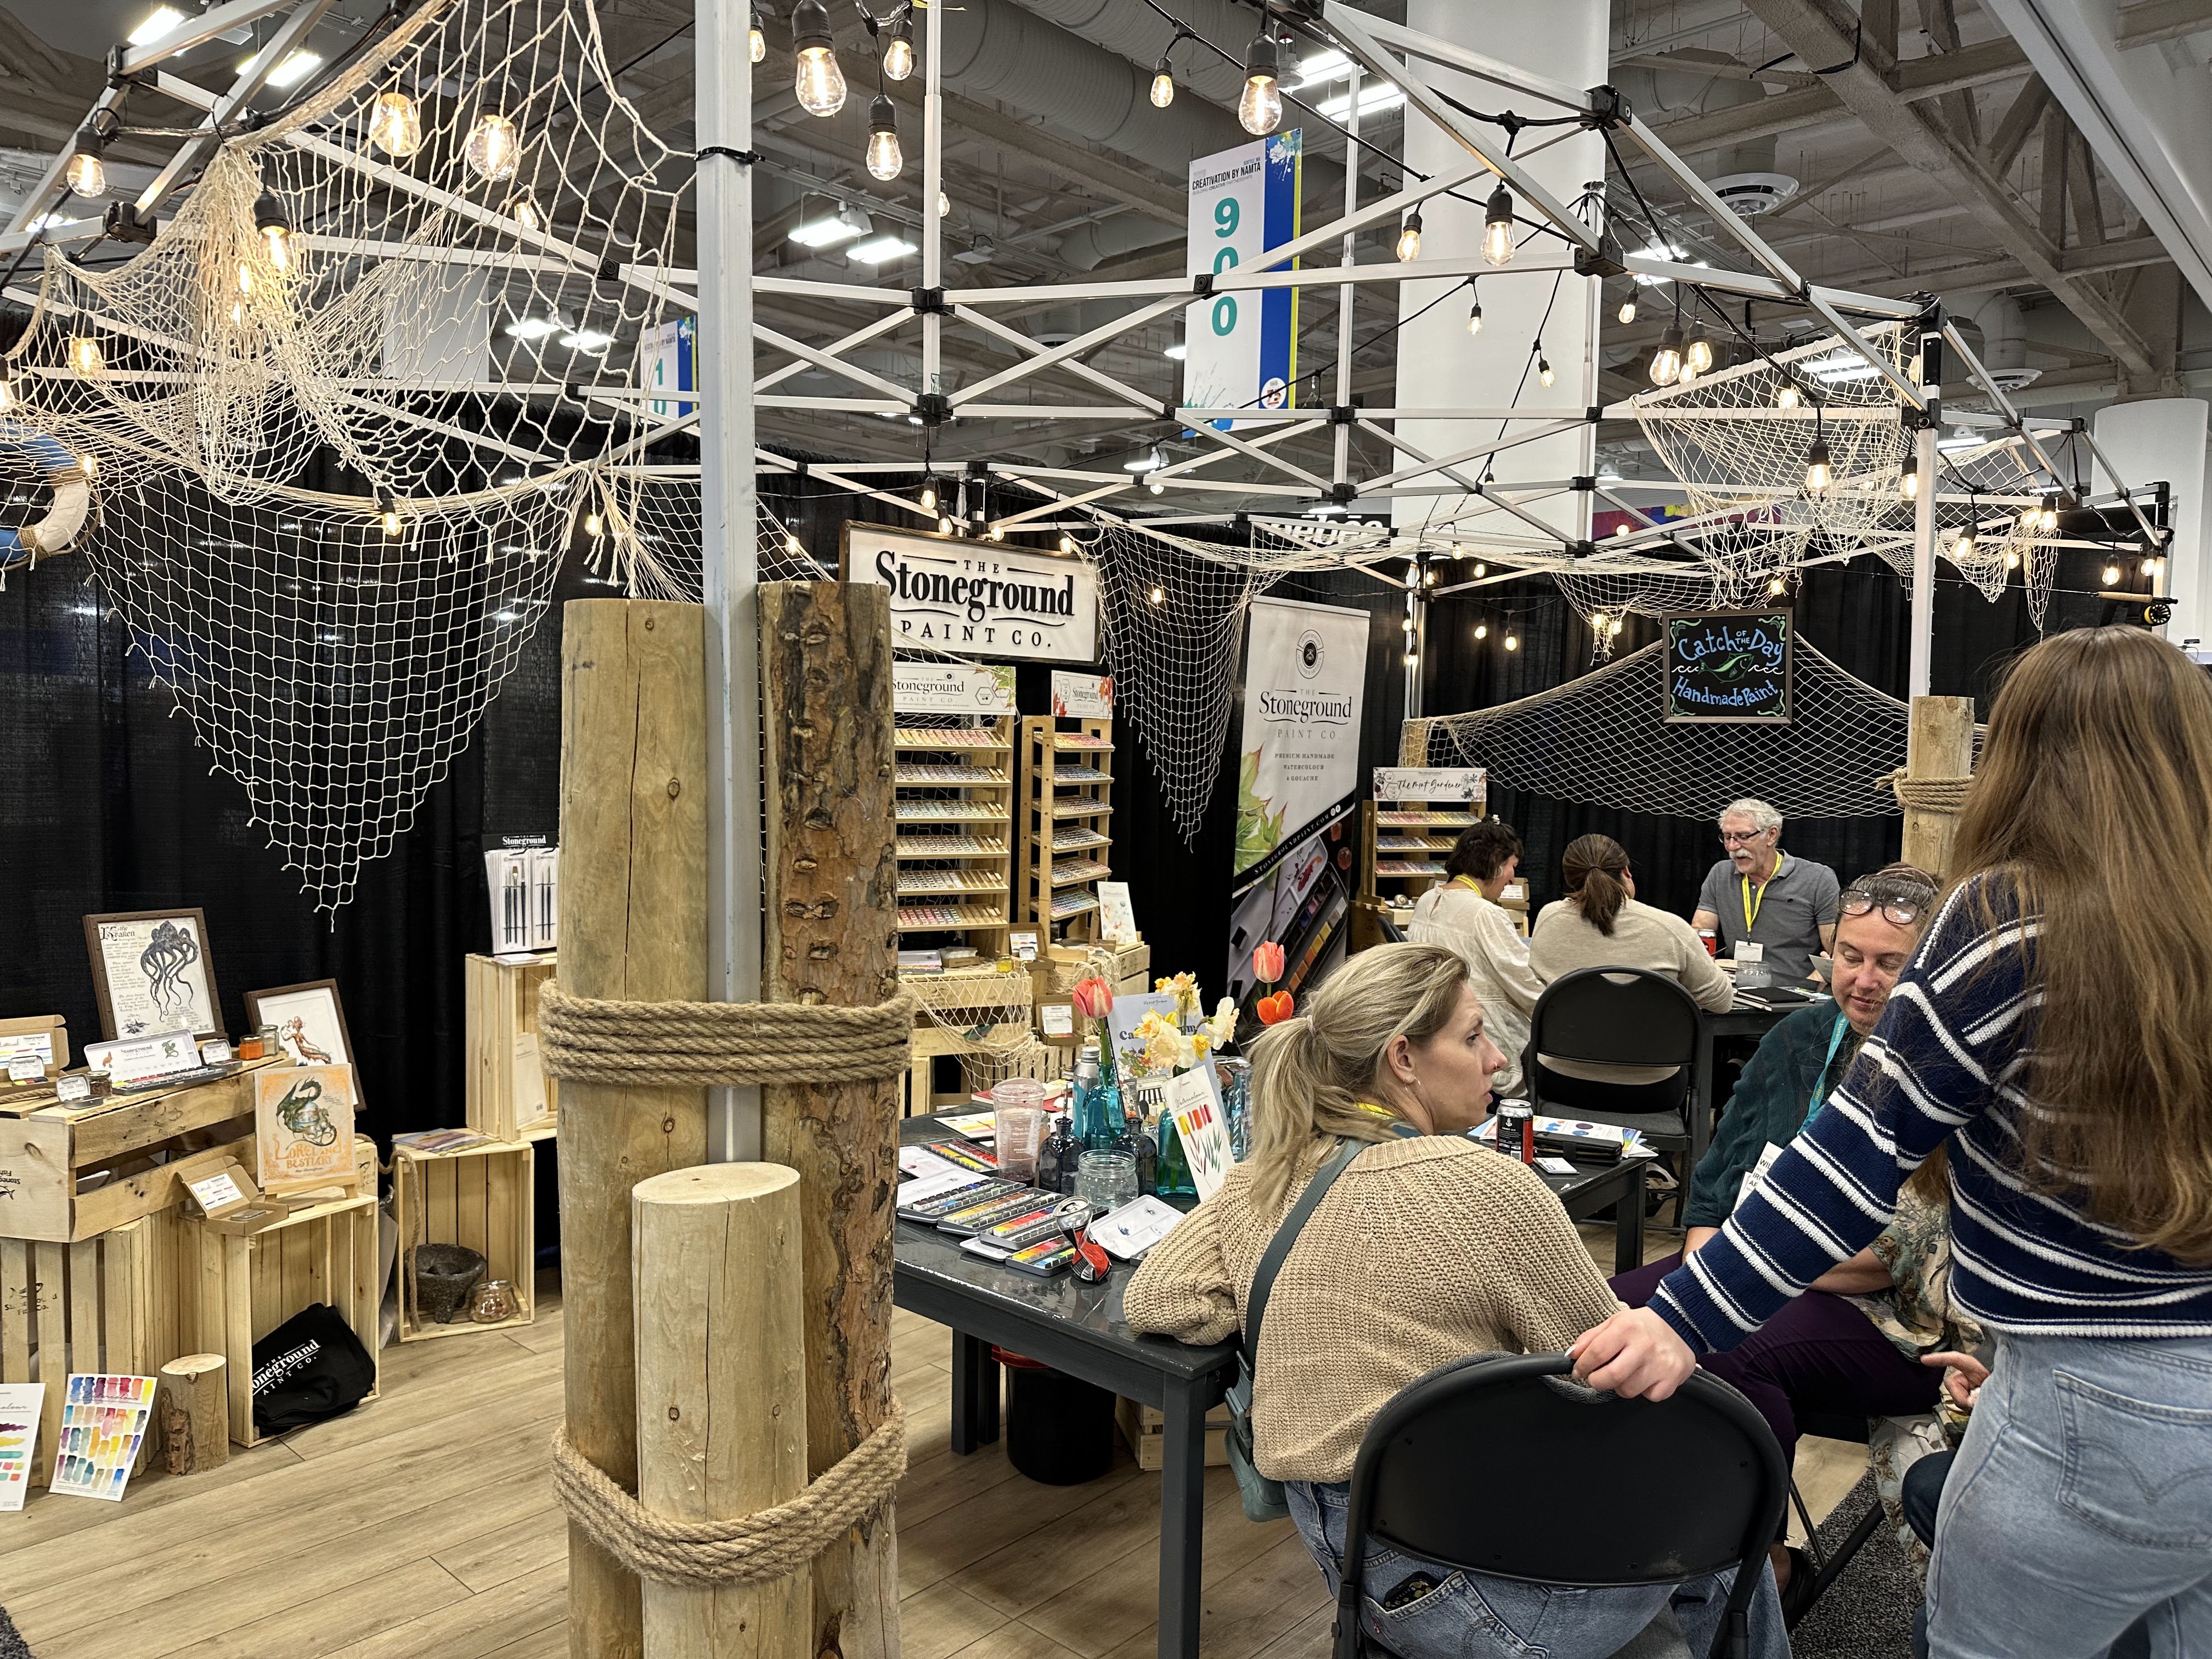


Faber Castell


Olo

Diamond Art

ALTENEW

Spellbinders


Sharpie


Leisure Arts

Sarah Hurley Academy Pavilion


Tintoretto


Staedtler


Photocentric


Ecstasy Crafts


Jacquard


NuWords Paint

Silver Brush

Excel Hand Tools and Blades

Iwata-Medea.com

Pear Blossom Press & Trinity Stamps


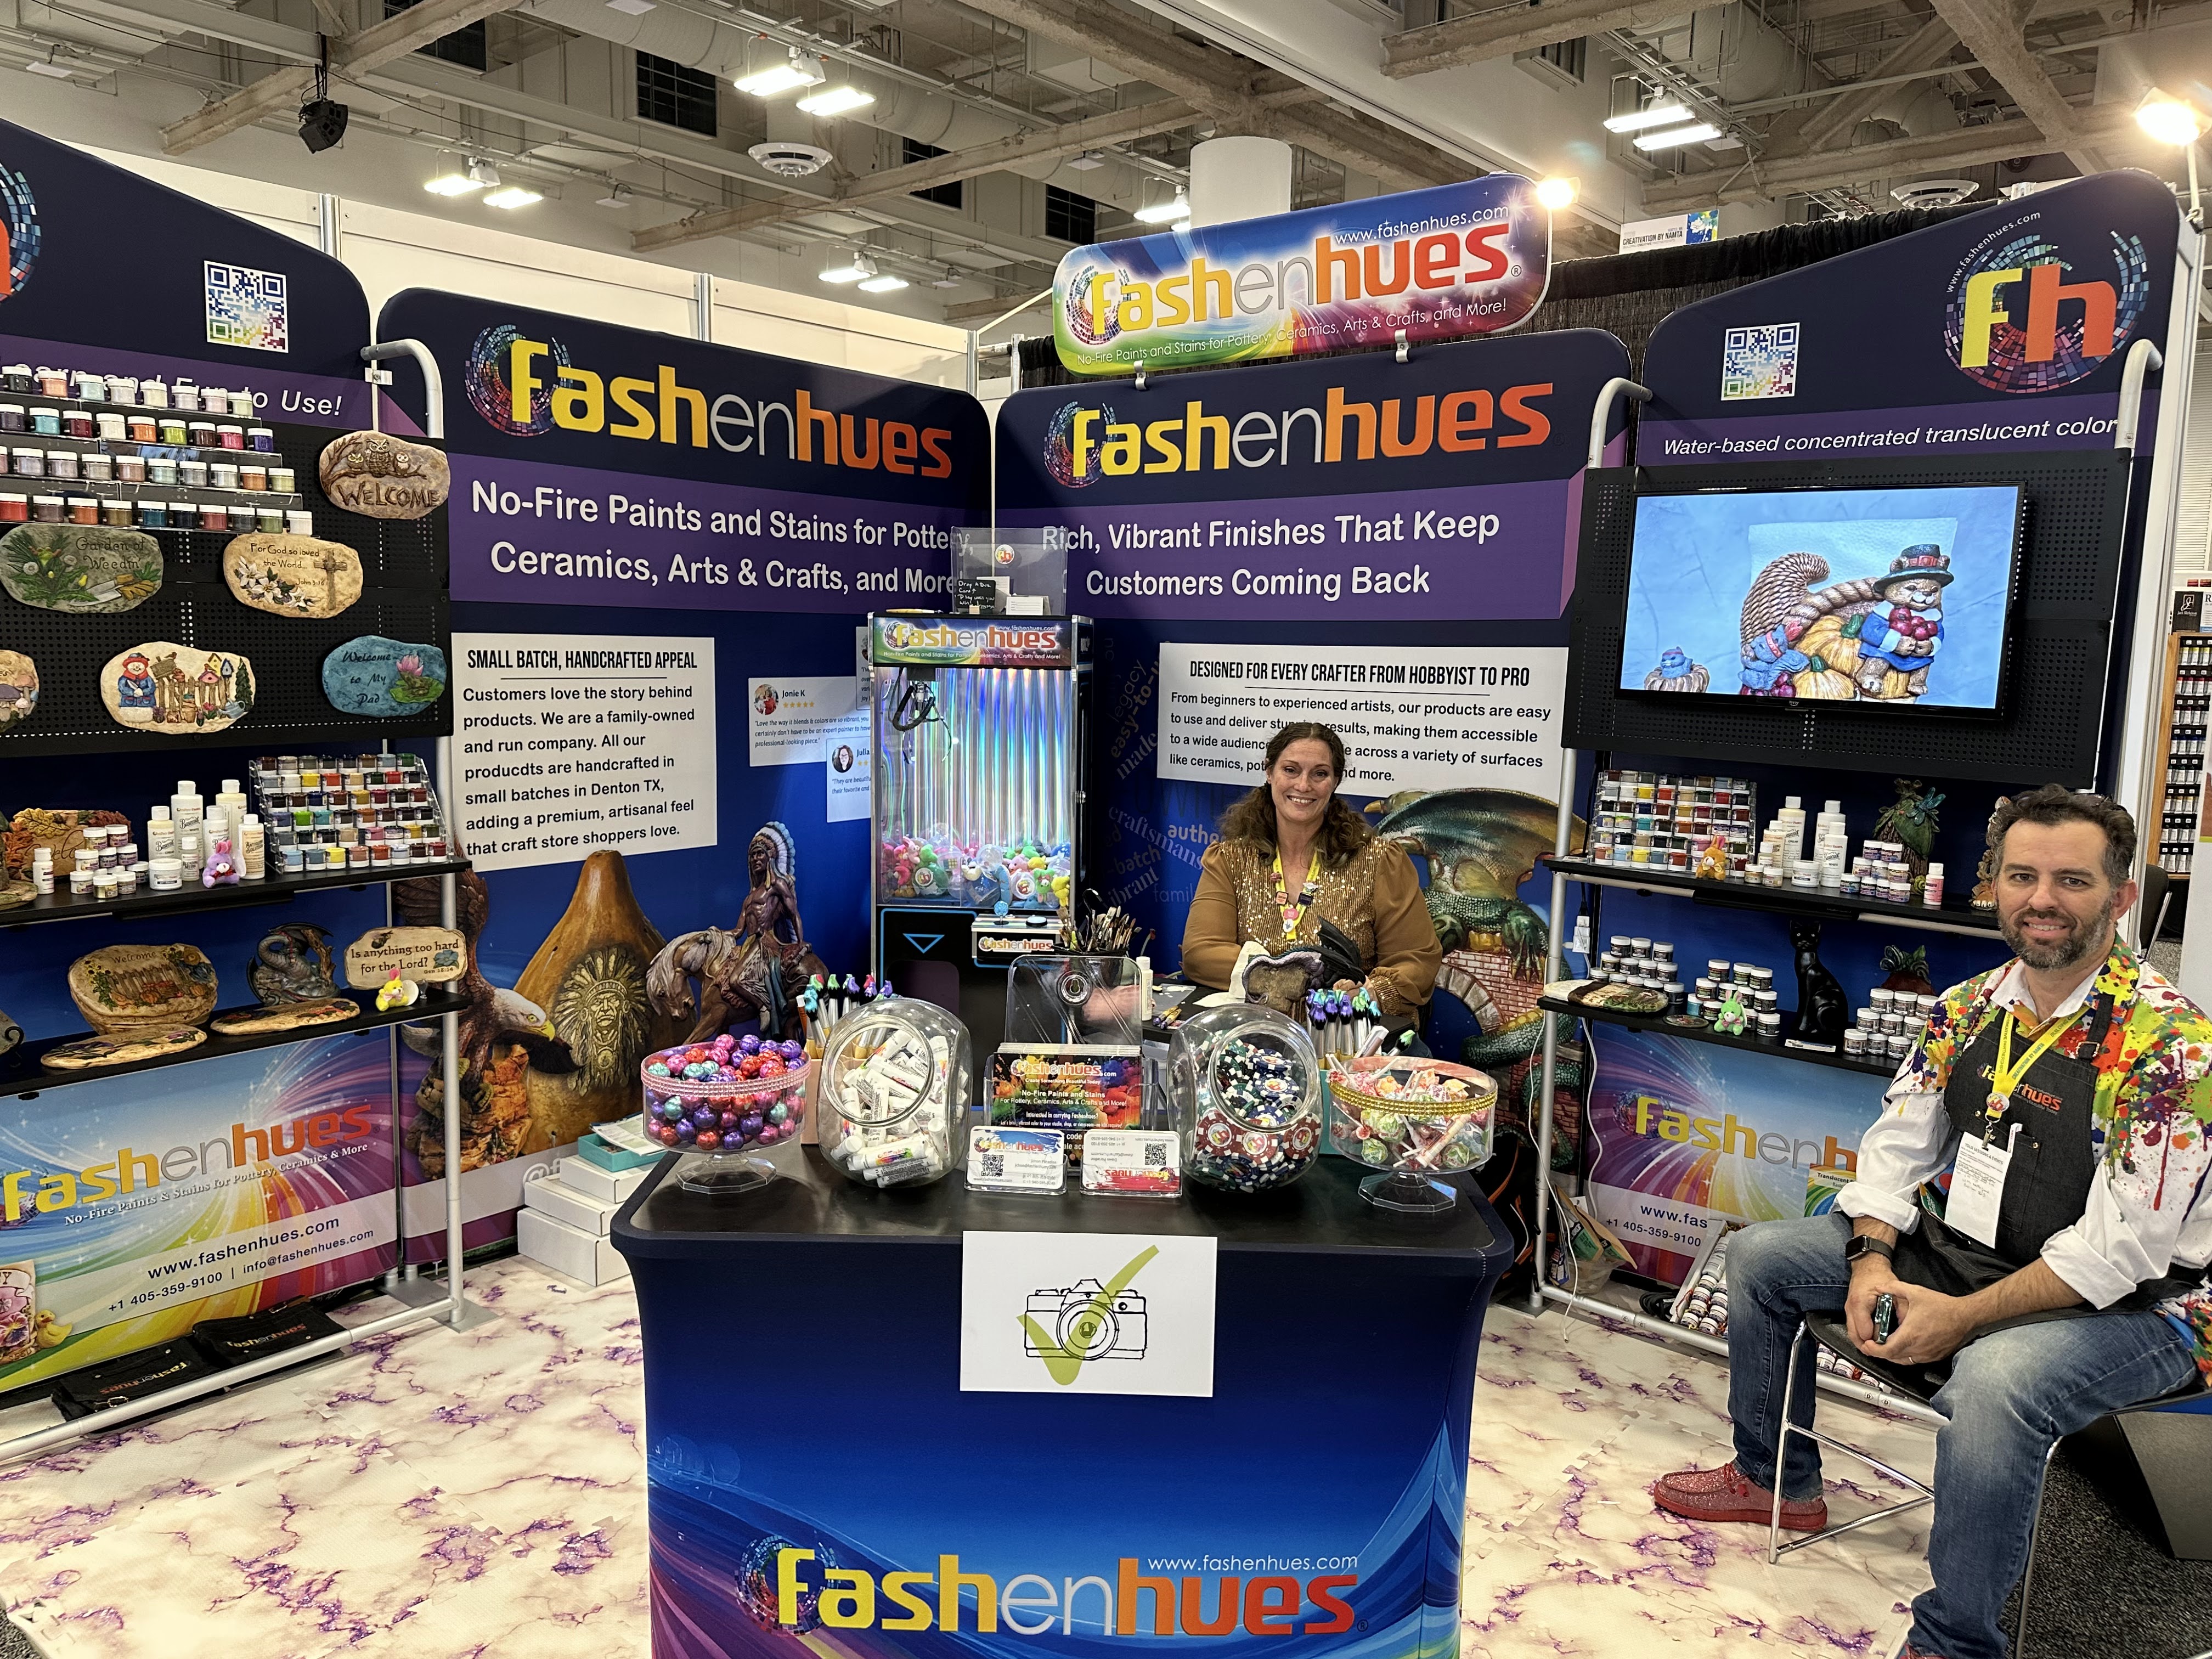
FASHENHUES

Paint Your Photo App

Belagio Enterprises (Cork fabric and more)


Paint-By-Number Kit


Speedball

Studio Light

Da Vinci Eye


My Creative Camp - Arts & Craft Kits


Triveni USA Inc - Strung beads

ZIMS GEMS LLC - Beads


Royal Talent


Splatter & Bloom - DIY Watercolor Kits


Notions - Distributors


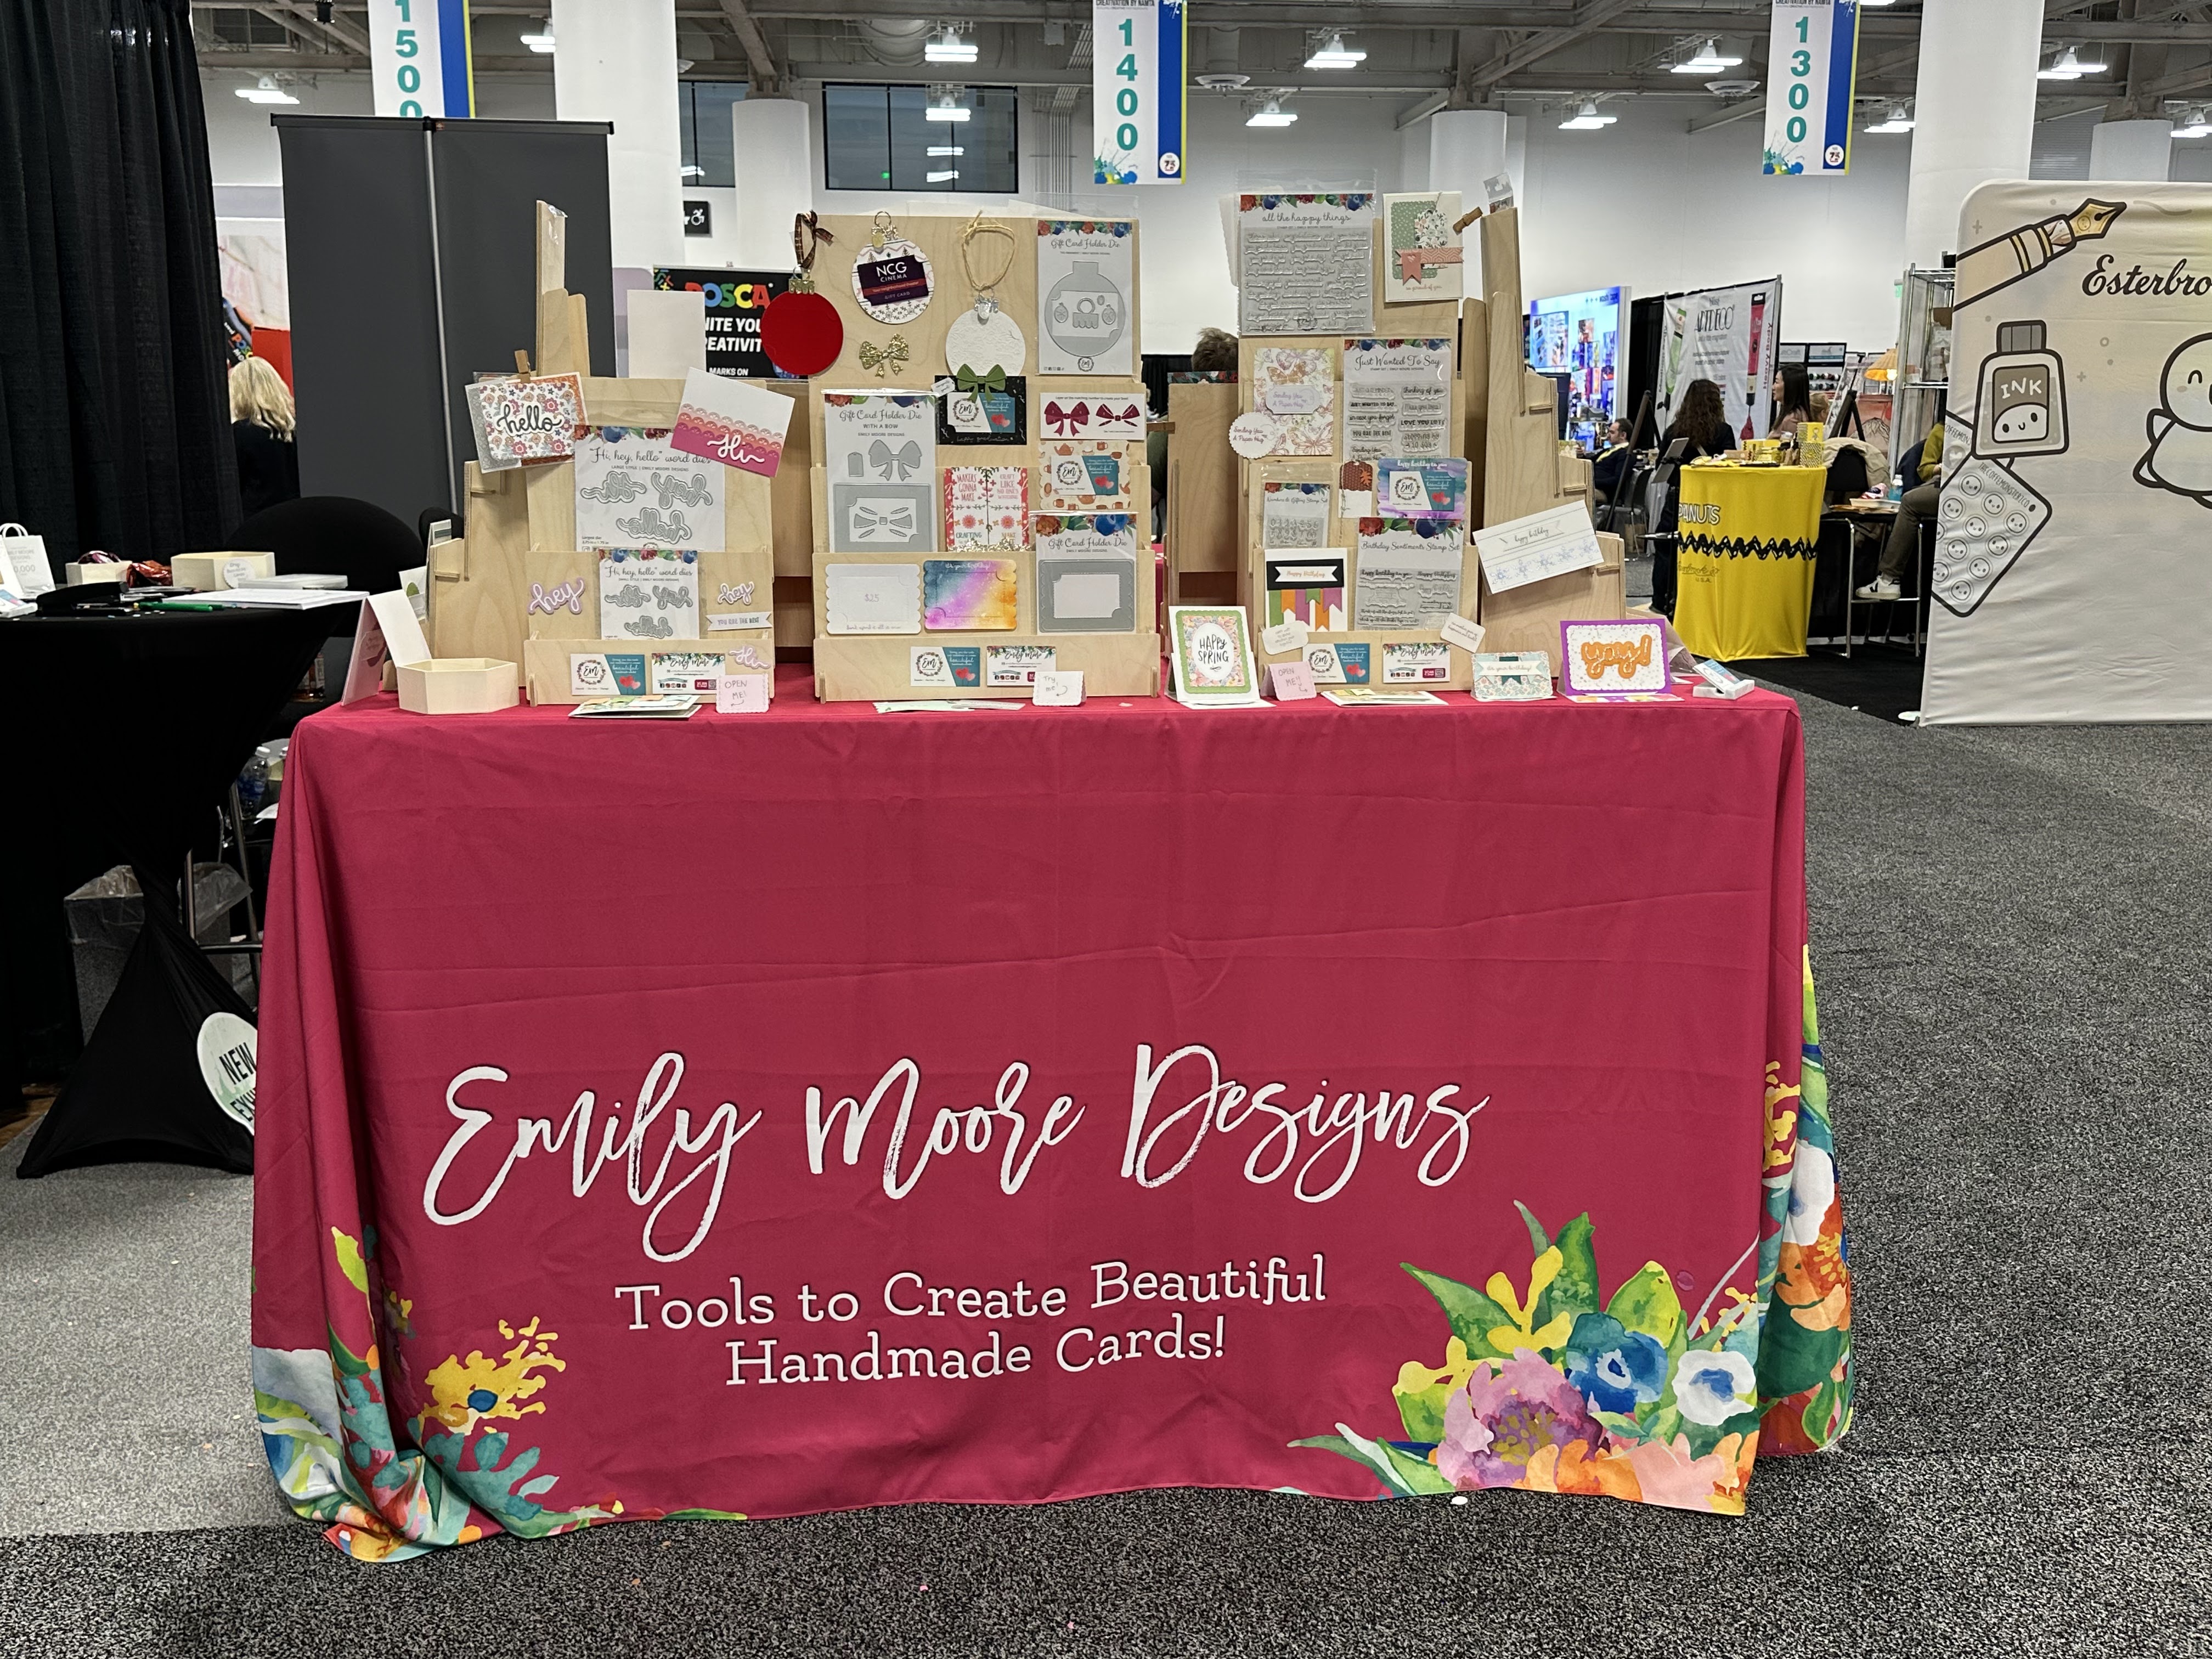


Kraft Geek


Alumilite - Resin


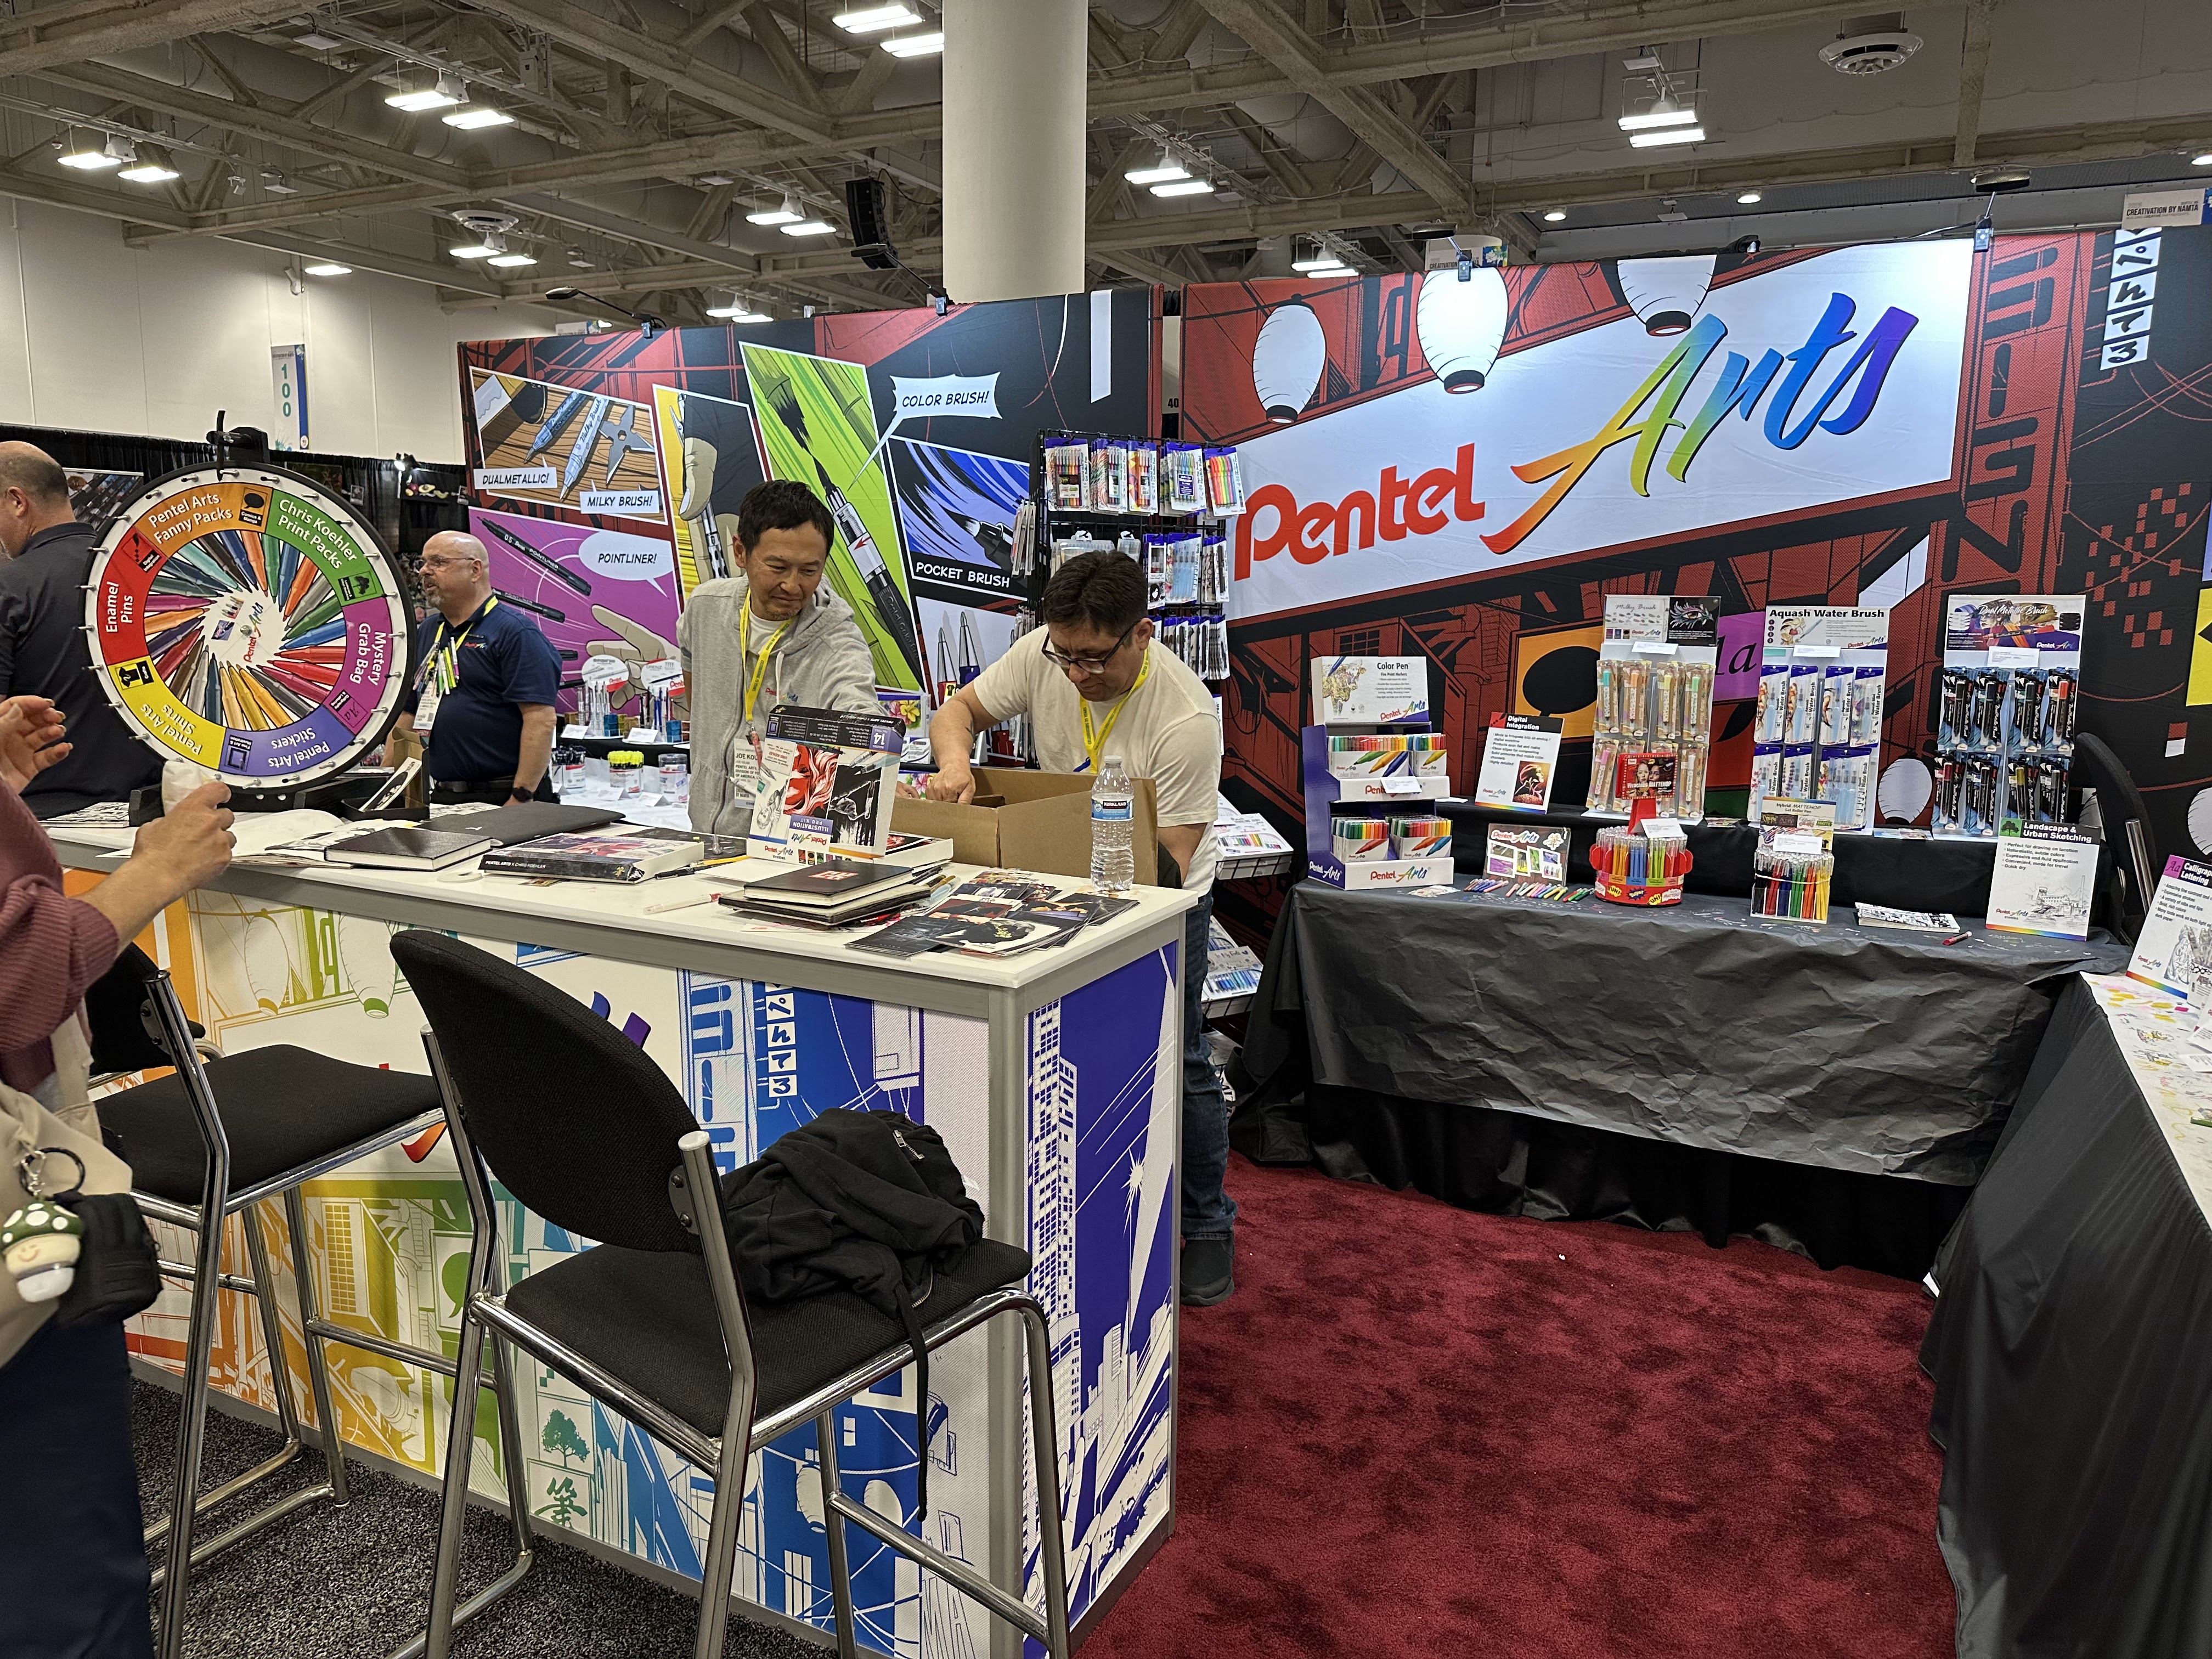
Sakura

Multicraft


Diamond Art

Paint Puck

Sunbird Spark (check them out on Facebook, YouTube & IG)


For videos and interviews from the show floor, check out Erin Reed's YouTube Creativation playlist and
Jennifer Crowther's 30 Best Arts & Craft Supplies

That's all for now folks! See ya next year..........

Yours truly, Julie
KEEP CALM AND CARRY ON CRAFTING