Showing posts with label etching liquid. Show all posts

Monday, August 28, 2023

Upcycle with etchall®!

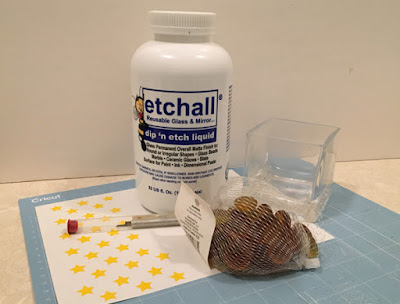
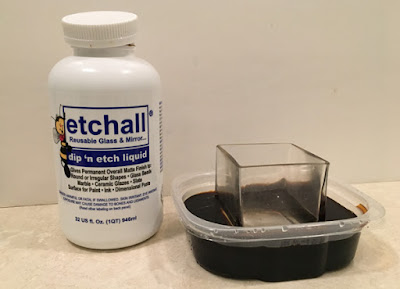
Don't throw empty perfume and/or cologne bottles away when you can pretty them up with etchall® dip'n etch!  Dip'n etch is a liquid that makes etching glass so EASY.....


You'll Need:
  • etchall® dip'n etch
  • Clear plastic container a little larger than the item you want to etch 
  • Permanent black marker

1. Cut off the top of an empty plastic bottle and set it aside to use as a funnel. 

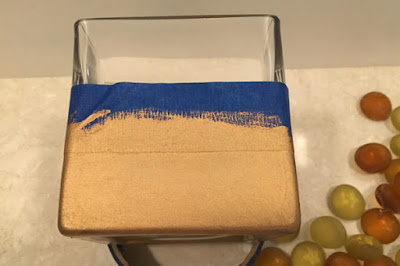
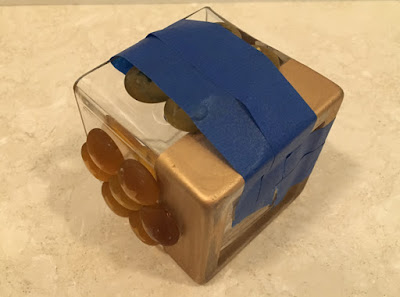
2. To determine how much dip'n etch liquid you'll need, place your item inside the plastic container. Fill with water up to the area you do not want etched. (I used my new bottle of cologne to photograph this step, since the old one was empty and would float. If you are etching something that would float/bob up, put something heavy on top, or fill with rice for example so it is weighted down.)
  
PLEASE NOTE:  
I colored the water with food coloring to make the water levels easier for you to see.


3. Remove the item and the water level will sink. Mark the level on the outside of your container with a marker, or tape.


4. Empty the container then dry the inside thoroughly.


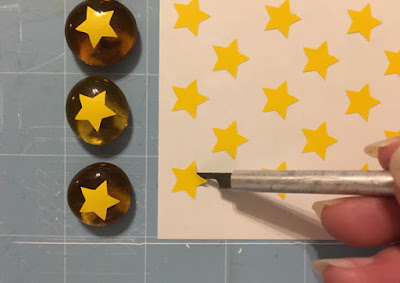
5. Fill the container with dip'n etch up to the mark then carefully add the item you want to etch.  Let sit for at least 15 minutes then remove your item. Rinse thoroughly then dry.

6. Etchall etching products are reusable, so using the top of the plastic bottle as a funnel, pour the dip'n etch back into its original container.  How easy is that!!!


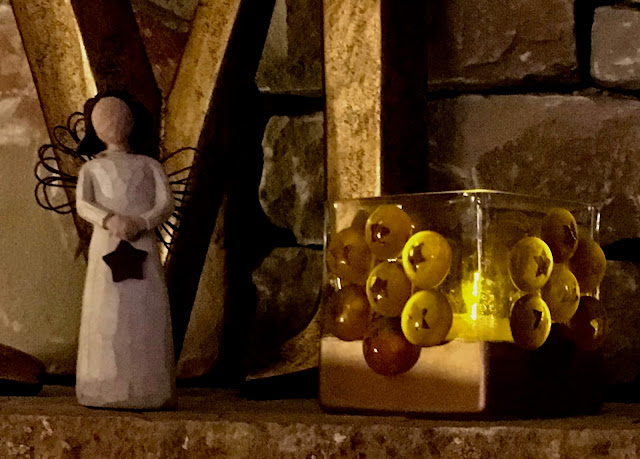
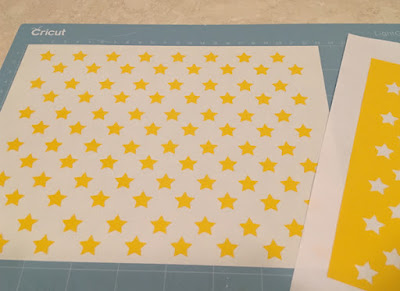
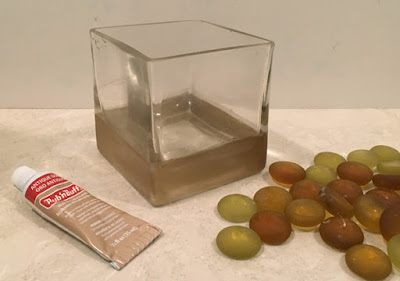
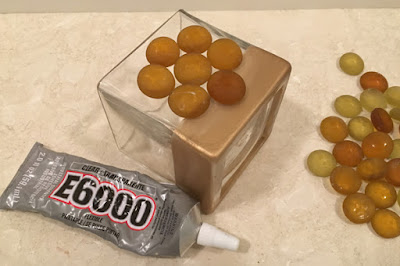
7. Decorate if desired. I used a simple piece of ribbon and sand dollar charm for mine.


         I love etched glass... it reminds me of sea glass and I love anything that has to do with the beach and ocean. 

PLEASE REMEMBER- Etching products remove glaze, so....
Do not rinse your etched items over a porcelain sink
Always work on a safe, non glazed surface, or use a mat  
Do not store etching product in cold, or hot areas
Always read directions on container!

        Look for more etched projects - including slate! - using the "search" tab here on my blog. There's also lots of inspiration, tutorials, videos and more on the etchall website.

Enjoy!

Yours truly,
Julie 💔

KEEP CALM AND CARRY ON CREATING!

Thursday, November 8, 2018

Etching with Dollar Store Glass

A couple of items from the local dollar store plus etchall® dip'n etch = a fun votive for Fall...


You will need:
etchall® dip'n etch*
etchmask™
Pick Knife
Glass Gems - Amber
Rub'n Buff*- Antique Gold
E-6000 adhesive
Square glass votive
Painter's tape
Star punch or digital shape cutting machine
Shallow plastic dish for etching
*Please read the manufacturer's directions if you haven't used these products before and always work on a protected surface.


Instructions:
1. Cut small star shapes from etch mask. I used my Cricut® Maker™ and filled a 9" x 7" piece of etchmask with 1/2" stars, spaced 1" apart. Peel away the outer area of etch mask after cutting and set aside. It can be used as an all-over star stencil for another project.    


2. Using the pick tool, lift stars from the sheet then center on each gem. Press firmly in place.


3. Place the gems in a single layer in a shallow, plastic dish then cover with dip'n etch. Leave for 15 minutes. Place a funnel into the top of the dip'n etch container, (I cut the top from an empty soda bottle to use for a funnel) then place a sieve on top. Carefully pour the dip'n etch back into the container letting the gems fall into the sieve, then rinse the gems thoroughly.  NOTE: Do not rinse over a porcelain sink!  Drops of dip'n etch may etch the surface.


4. Remove the stars and let the gems dry. Depending on the number of gems you need to etch and the size of the dish, you may need to do this in two batches.

5. Etch the base of the votive. Fill the plastic container with dip'n etch about 1/2" deep then place the glass votive into the container. Leave for 15 minutes, then remove the votive and rinse. Pour the dip'n etch back into the container. This step is optional. You can also leave the base of your glass piece clear.


6. Dry the votive with a soft cloth then place painter's tape around the top edge of the etched border. Color the border with Rub'n buff then remove the tape. I apply Rub'n Buff with a soft cloth, or paper towel. Rub'n Buff will stick to the etched surface, but can be easily removed from un-etched glass. Always protect the surface you are working on and your fingers! This step is also optional. You don't have to color the base. My glass had some marks in the glass around the base I wanted to cover up. Don't forget, this will be your project and you don't have to do either of these steps.  


7.  Use E6000 to glue gems onto each side of the votive, one side at a time. 


8. Let the glue "set up" for at least an hour before turning, then hold the gems in place with painter's tape to prevent slipping.


9.  As you can see, I didn't cover the sides completely, so I had quite a few gems left over to play with. Before putting supplies away, I covered a few with Rub'n Buff to create these gold, glass gems.....  not sure what I'll use them for yet, but they look pretty cool, so thought I'd share......  Enjoy!


Y'all come back now........

Yours truly,
Julie  

KEEP CALM AND CARRY ON CRAFTING!