Showing posts with label Solar lights. Show all posts

Friday, June 16, 2023

Patriotic Picnic Jars

         Celebrate your patriotism in style with etched mason jars for perfect party table decorations!


Memorial Day, Independence Day and Labor Day are all good times for family BBQs and picnics. 

You can also purchase solar lights mason jar lids from amazon to use it with any of the jars to add some fun summer lighting to your evening BBQ, or picnic party!


You will need: etchall® dip’n etcH • etchall® etchmask • etchall® Pik Tool • etchall® Squeegee 


PLUS 
Mason Jars, Quart (with smooth sides)
Star Punch, Small
Baker’s twine
Empty soda bottle
Craft Knife
Ruler

1.  Cut the top off the soda bottle and set aside to use as a funnel. Rinse the bottle thoroughly.
2.  Wash the outside of each mason jar with hot, soapy water. Rinse with vinegar to remove any remaining residue.
3.  To create the star border, use a lever punch to punch stars at equal intervals along the bottom, or side edge of a sheet of a sheet of etchmask. Make sure the strip is long enough to go around the jar. Punch upside down so you can see the guidelines on the back of the etchmask. NOTE: Do not discard the punched stars. You can use these on another jar. 


4. Use a paper trimmer, or craft knife and ruler, to cut the strip from the sheet, making sure that the star opening is centered between the top and bottom edges. Cut 3 strips.
5. To determine how much dip’n etch you will need, fill the mason jar with glass pebbles, or heavy items (so it won’t float) then place the jar inside the soda bottle. Fill the soda bottle with water up to the rim of the mason jar.


6. Remove the mason jar and the water level will sink. Place a piece of masking tape on the outside of the soda bottle then mark the water level. Empty the water then thoroughly dry the inside of the soda bottle and the outside of the mason jar. 


7. Remove the backing from the strips of etchmask then, starting about 1½” from the bottom of the jar, place around the outside of the mason jar. If the strips are too short, add additional strips as needed. Place a rolled piece of lined paper inside the jar as a positioning guide, or tape a ¾” wide strip of paper around the jar above each strip as a spacer.  Make sure the etchmask strips are pressed firmly onto the glass, especially around the star openings otherwise the dip will leak underneath.


8. Fill the soda bottle with dip’n etch up to the water level mark then gently place the mason jar into the liquid. The dip’n etch will rise to the rim of the jar.


9. Let stand for 15 minutes then carefully remove the jar. Rinse the mason jar thoroughly under warm, running water, or in a plastic bucket then remove the strips of etchmask.  
DO NOT rinse over a porcelain sink!   
This is etching liquid and it will permanently remove the glaze from porcelain! Please read all cautions and directions on the dip’n etch container.

10. Dry the outside of the jar and remove the glass pebbles to reveal your etched design.


11. If you would like to etch additional designs, adhere the stars to a second jar and ½” wide strips of etchmask to a third for a perfect patriotic trio. Simply place each one in the same dip’n etch (one at a time) and follow the directions above. etchall dip’n etch is reusable, so there is no need to replace it after each use. 


12. When you have finished etching all your jars, use the top of the soda bottle as a funnel to return the dip’n etch to its original container to be used for more projects!


Etching is a quick and easy way to upcycle and personalize a wide variety of glass pieces! Try it once and you’ll be itching to etch some more in no time at all….  Enjoy!  Y'all come back now........

Yours truly,
Julie 💝

KEEP CALM AND CARRY ON ETCHING!

etching product for these projects was provided by etchall®

Thursday, June 30, 2022

Curly Ribbon Crafts

 Rock your party with curly ribbon party lights! 

        It's almost time for a firecracker Fourth of July celebration, so let's get our red, white and blue craft on and create a few simple party lights to light up the night!  Here's a couple of ideas to start with...


Here's what I used:
  • Gwen Studios Curly Ribbon - Red, White & Blue
  • Gwen Studios 3/8" Grosgrain Taffy Stripe ribbon - Red & White
  • Double-sided Adhesive Tape
  • Glow Sticks
  • Solar Light Mason Jar Lid
  • Small Crystal Mason Jar
  • Scissors
  • 3 Small wood beads - 2 Red & White
  • Empty plastic bottle - Small
  • 12" Bakers twine, or jute (to hang)

Glow-Stick Light


1. Cut about 2" off the bottom of the plastic bottle. Make sure to include about 1/2" of the flat side of the bottle.

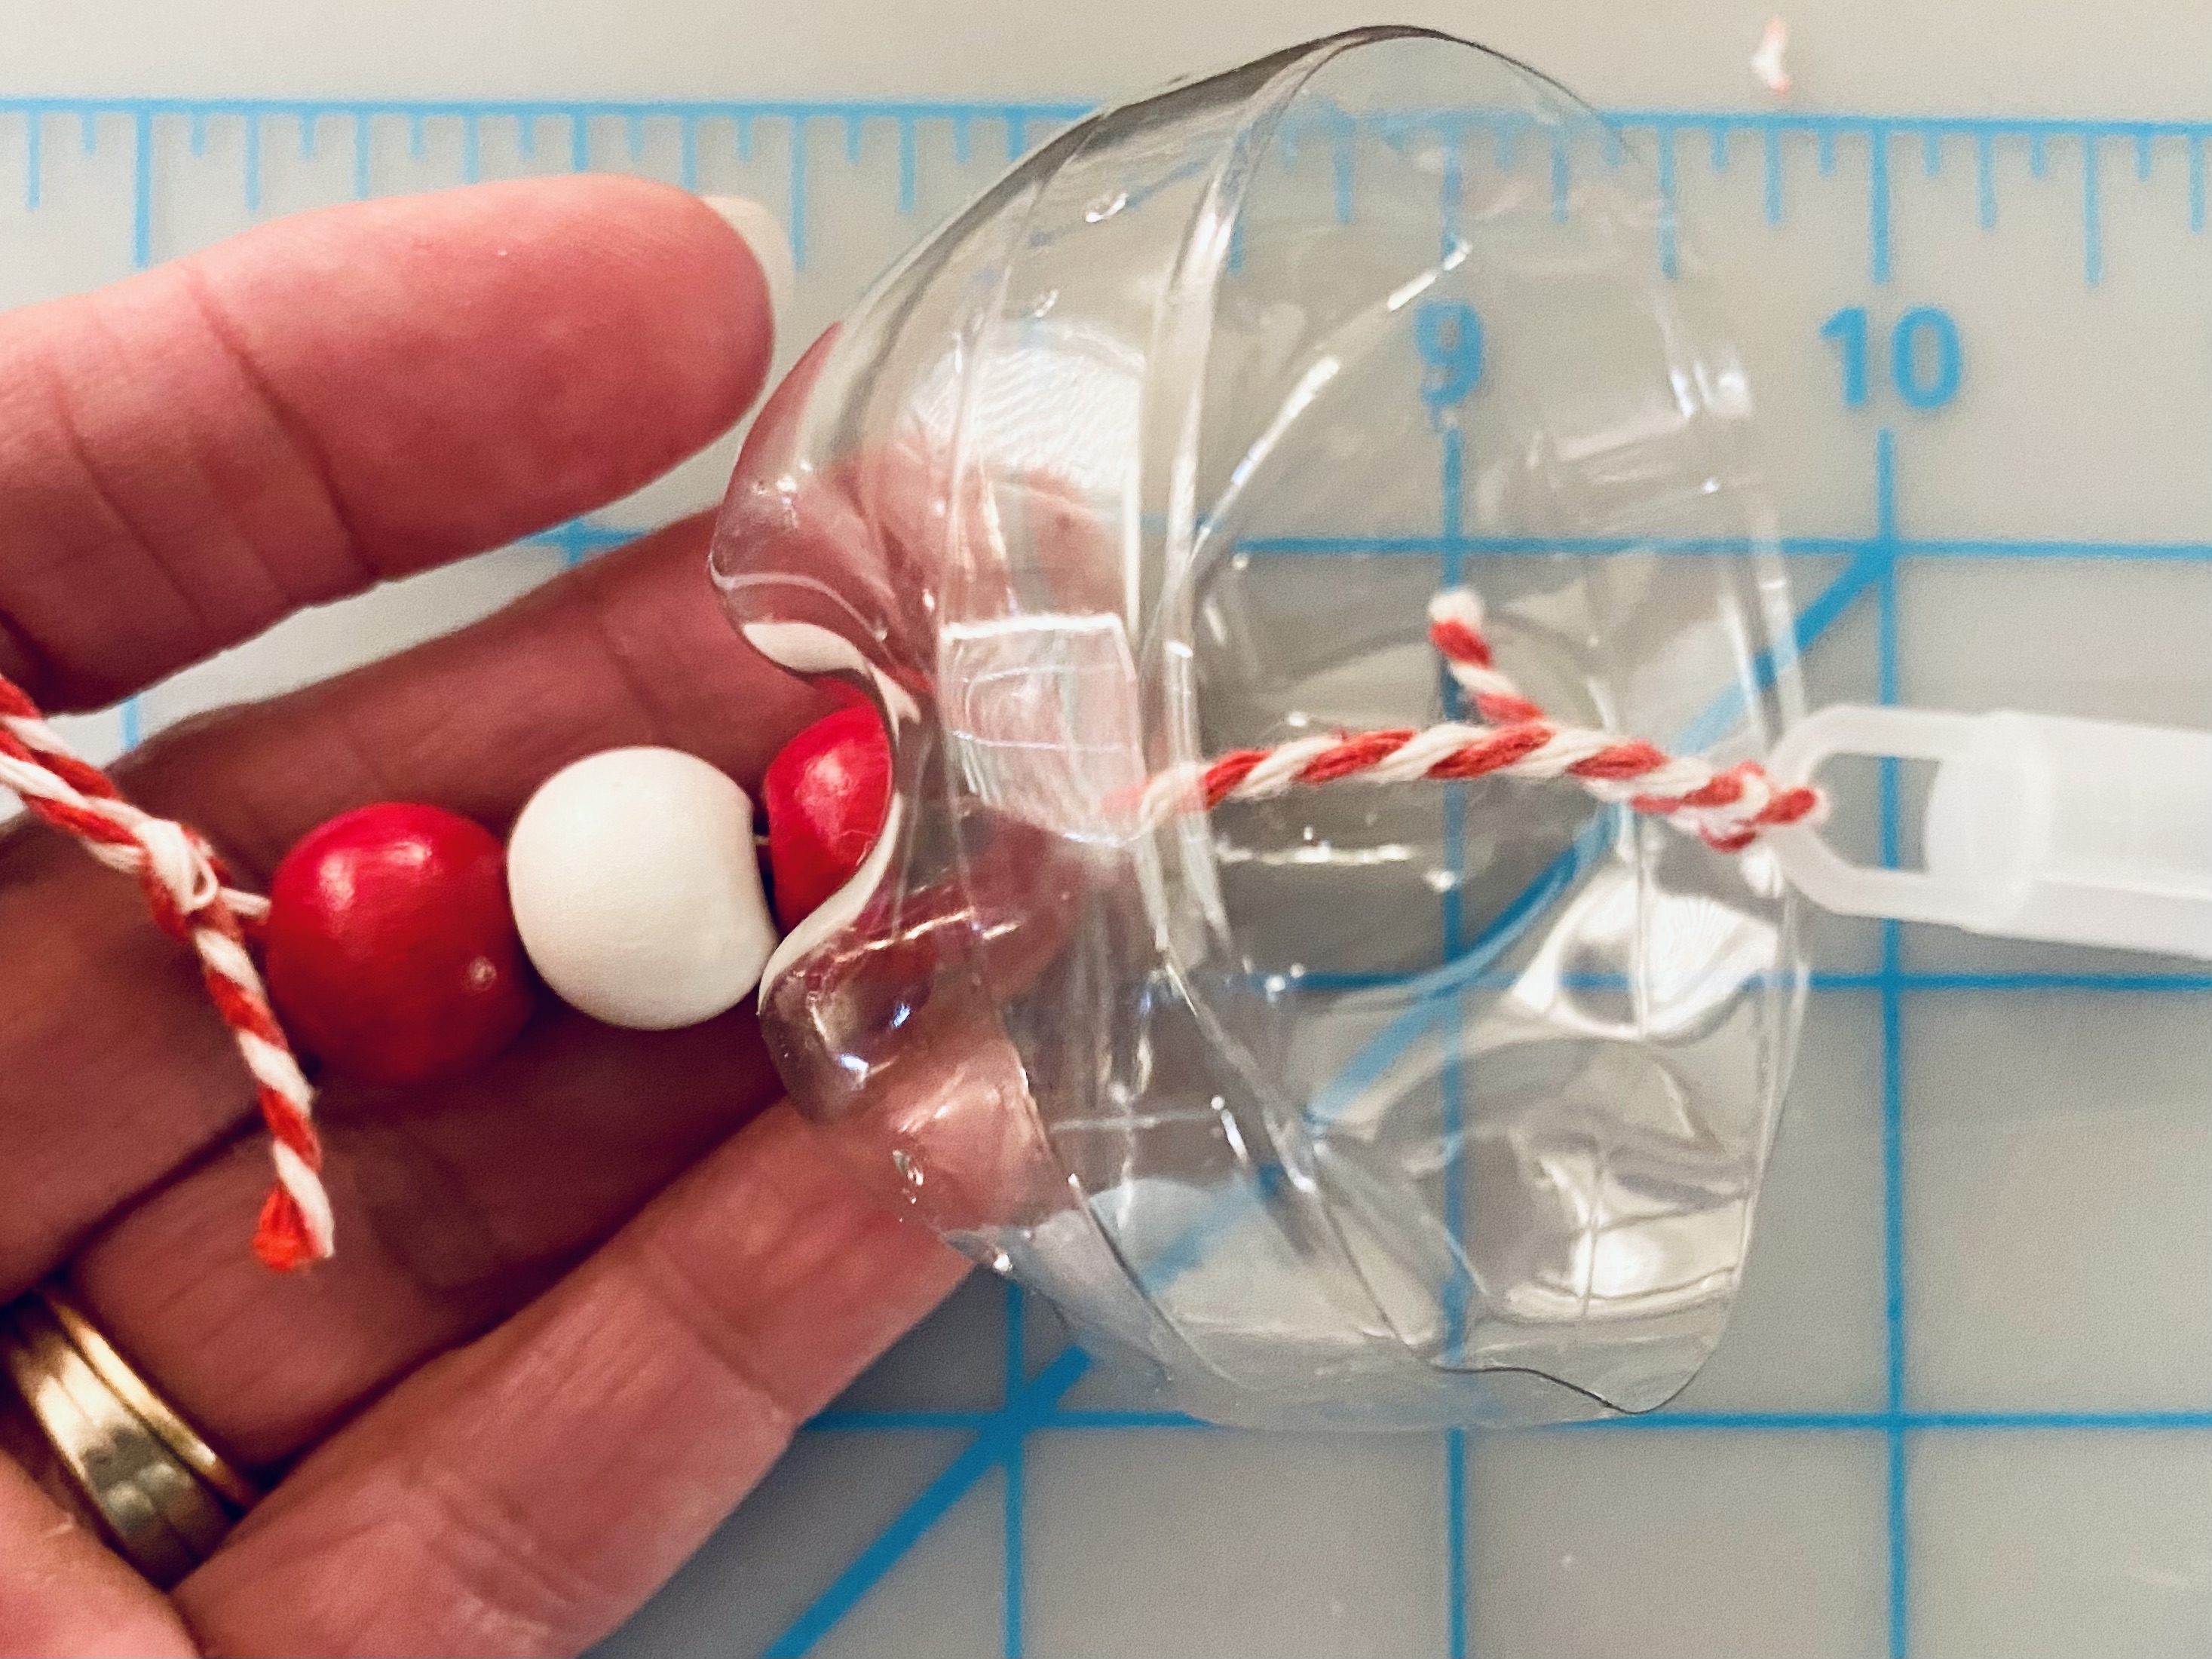
2. Use the point of your scissors to make a hole at the center of the bottom of the bottle. Tie one end of the twine to the glow stick cap then thread the other end through the hole up from the inside. Thread the beads onto the other end then make a loop at the top to hang. This will be the top of your light.


3. With edges aligned, adhere the double-sided tape around the cut edge.

4. Cut equal numbers of each color of curly ribbon into 15" lengths then curl each piece by carefully running the length of ribbon between your thumb and the blade of your scissors.  You will need enough pieces to go around the edge of the bottle. Adhere the end of each curled piece to the adhesive tape around the edge of the bottle. 

5. Adhere grosgrain ribbon around the edge to cover the ends of the ribbon and, if desired,  tie a small bow around the hanger at the top of the beads. Trim the lengths of ribbon as needed then push the glow stick into the top and hang.  Remove the glow stick to activate then replace. 


Mason Jar Solar Light

        You probably have a mason jar, but you may need to purchase the solar light lids. I purchased mine from Amazon.


        This is quick'n EZ to make. You don't even need to use a mason jar since the fairy lights will simply hang down from under the solar lid among the strands of curly ribbon. All you need to do is adhere the double-sided adhesive tape around the edge of the lid, add the curled pieces of ribbon then cover the ends with the grosgrain ribbon to finish.  Note: The wire ring of the hanger that comes with the solar lid, is sized to fit around the neck of a jar. You will need to make an adjustment to it if you plan to use it around the lid if you don't use a jar.

Time to light up the decorations! 


        There are so many other colors of curly ribbon to choose from and with glow-sticks in abundance at different times of the year, I can imagine glow-stick lights with white curly ribbon and google eyes as ghost lights for Halloween in Fall, shades of blue, green and a little pink would make a fabulous jelly fish! What would you make?

Enjoy!

Yours truly,
Julie 💝

KEEP CALM AND CARRY ON CRAFTING!

Curly ribbon used in my projects was provided by Gwen Studios. It is available in a variety of colors at Walmart and online at Walmart.com  All other supplies were purchased by me. 

Look for more curly ribbon projects on the Designer Crafts Connection blog