Showing posts with label Card Making. Show all posts

Thursday, August 12, 2021

Foiled Again

        Gilding has always been a popular technique used to decorate wood, statues and more in Ancient Egypt and beyond. Gold leaf was also applied to lettering, borders and figures in illuminated manuscripts as early as 400 A.D. and even used to decorate food in Japan. It's changed a lot since then of course, with updated techniques being developed for the hobby and craft industry making it available in a variety of forms and colors for today's makers.

        As a member of the Designer Crafts Connection, I received a trial package of toner card stock and colored foiling sheets from Ann Butler Designs.  Ann is a long time friend, and I was excited to try her new product line. I'd enjoyed working with Renaissance foil on wood back in the 90's and was looking forward to a more simple way of adding foiled designs to paper. There's nothing more elegant than foiled accents for cards and more!  

To create foiled projects you will need:

1. AnnButler™Designs toner card stock pack (floral, geometric or variety)*


2. Deco Foil paper

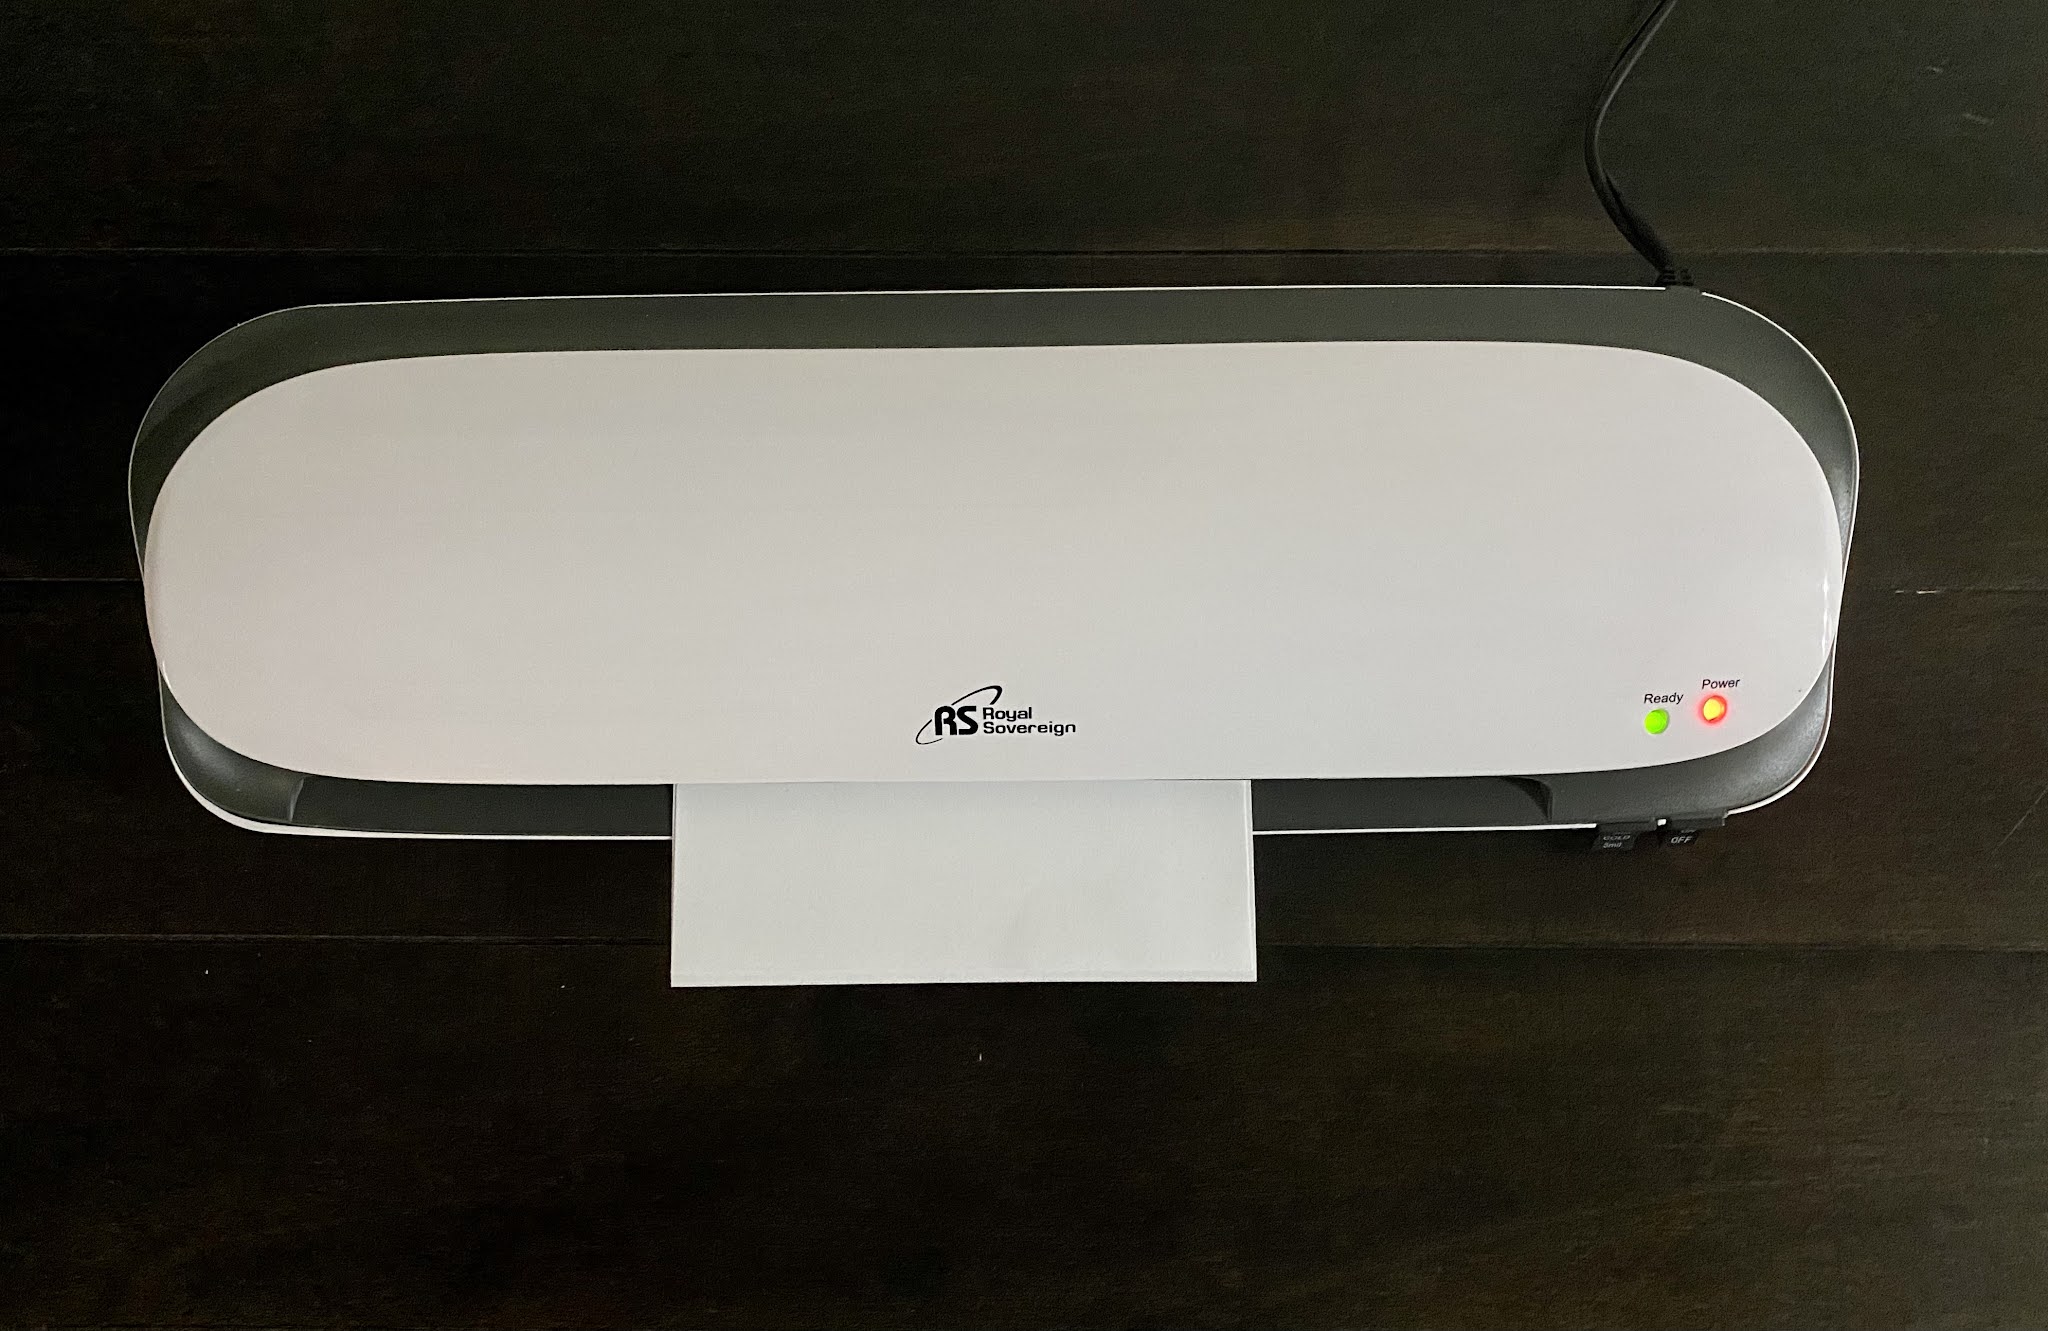
3. Hot Laminator (I used a Royal Sovereign, 12" laminator)

4. Card blank and/or 6" x 6" wrapped canvas 

5. Paper trimmer & scissors

6. Adhesive

7. Gwen Studios 3/8" satin ribbon and Rinea™ embossed foil paper

*I received three geometric toner card stock designs, 3 pieces of black toner card stock, plus royal blue, purple and turquoise foiling paper
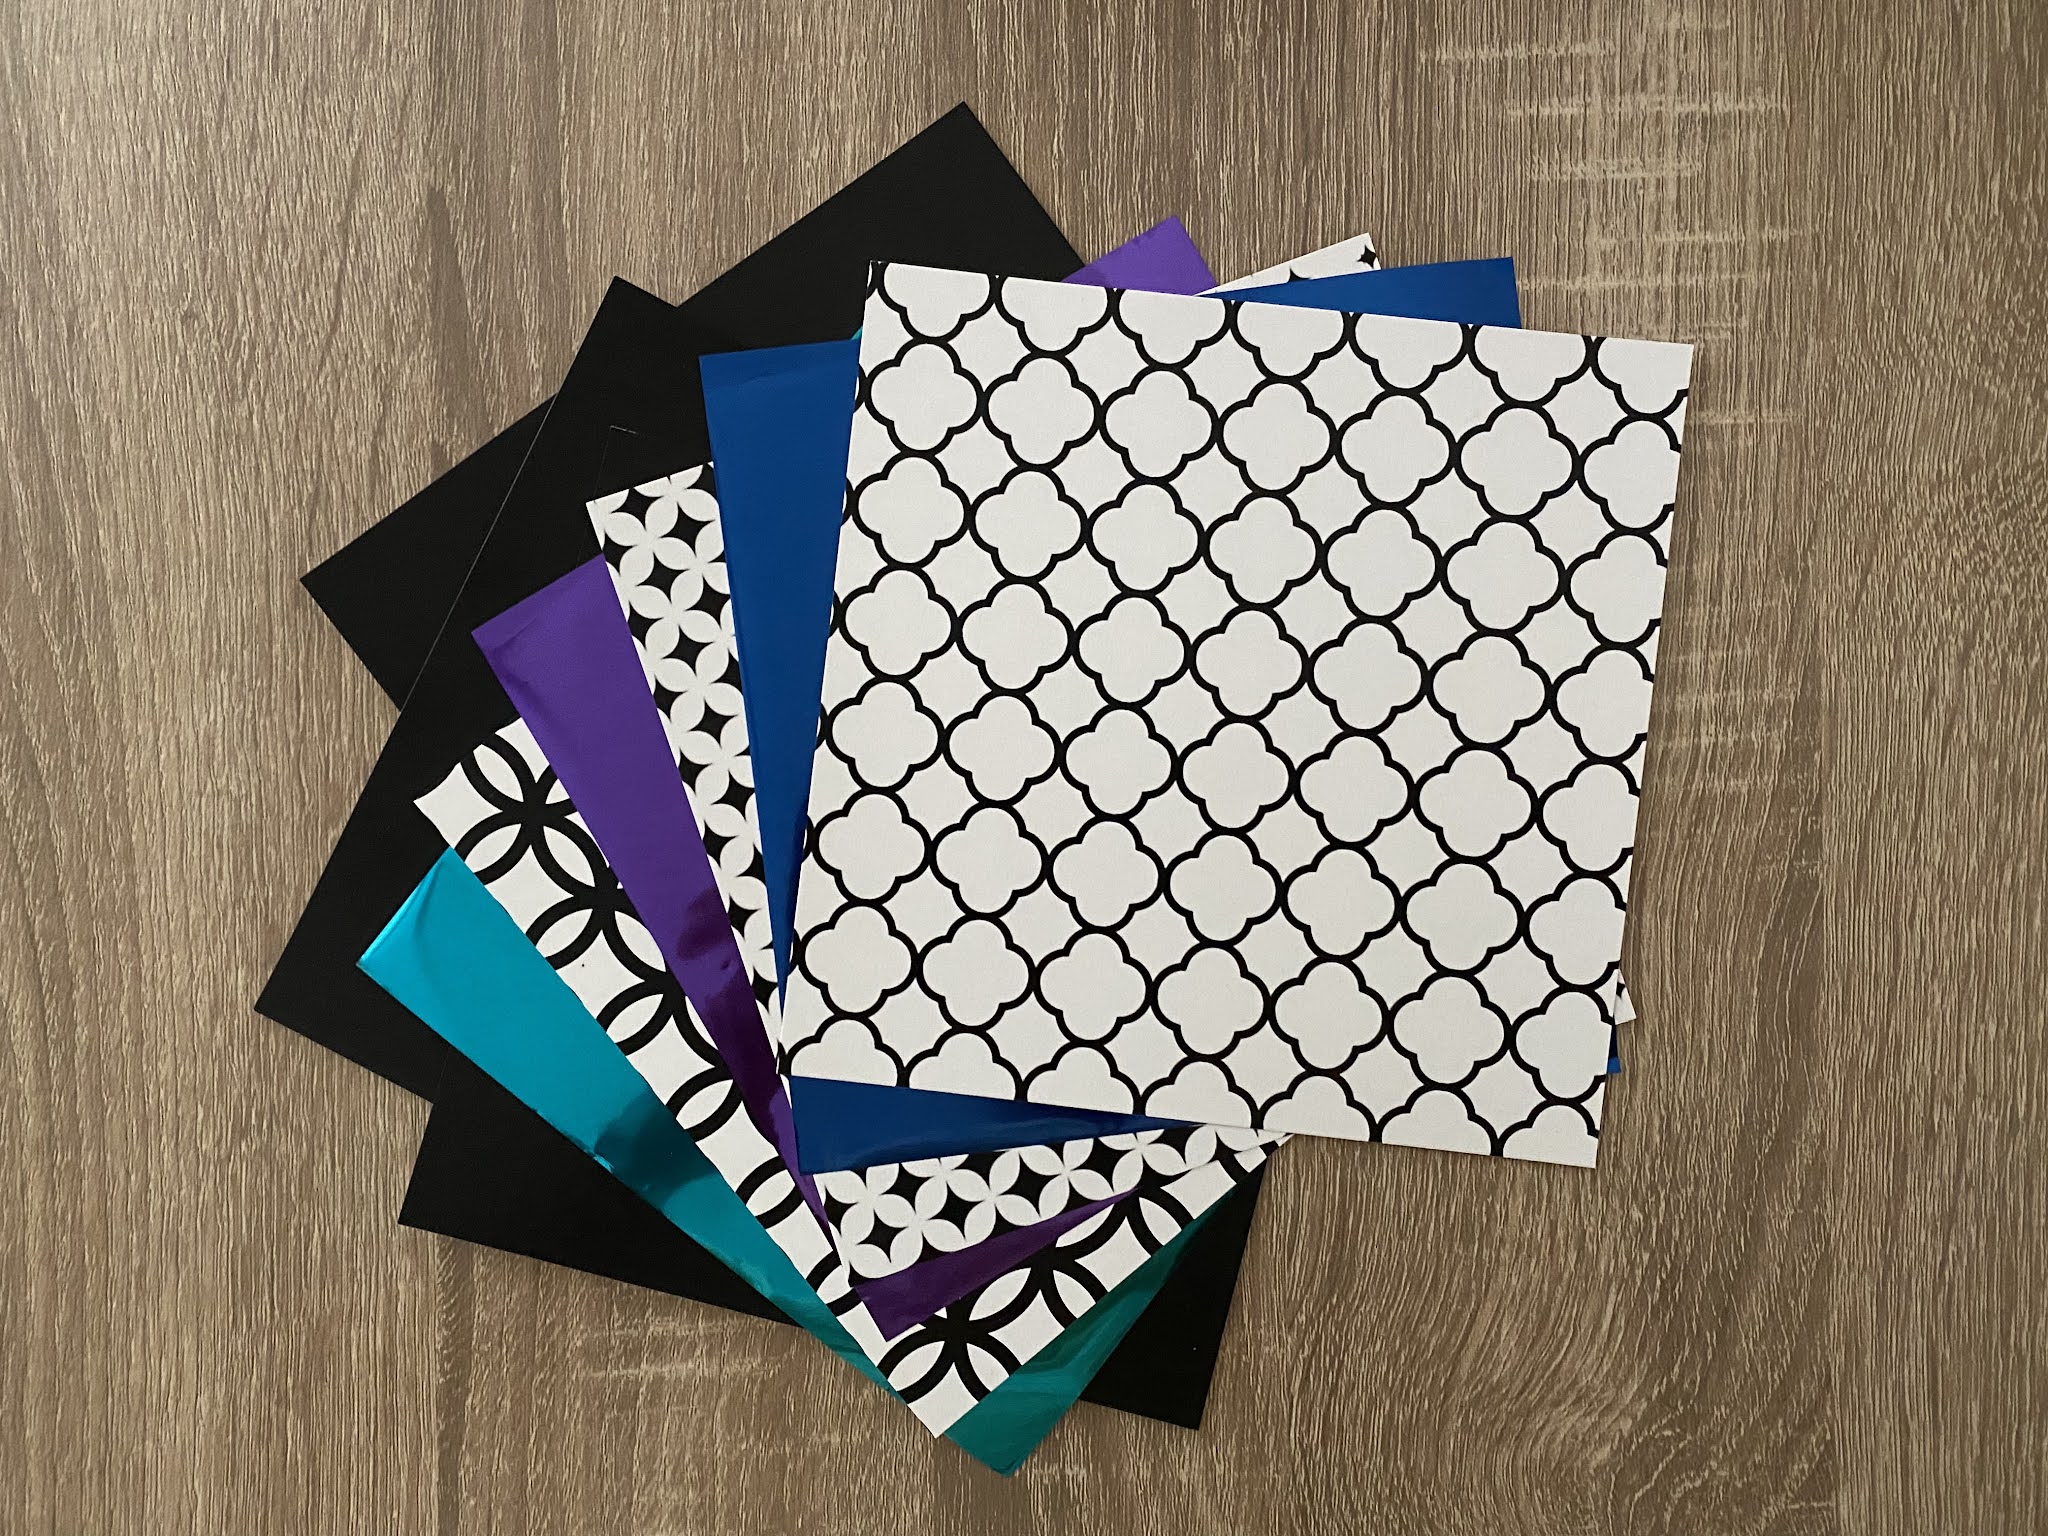
Let's get started:

1. Plug in your laminator; switch to hot

2. While the laminator is warming up, place a colored sheet of foil COLORED SIDE UP on top of one of the toner design papers. Place between a folded piece of copy paper then feed into the laminator. Ann recommends passing the sheet thru twice. 
 

3. The colored foil is now adhered to the toner paper. Starting at one corner, gently peel the foil sheet away.  The color from the foil will have adhered to the design and the negative part of the design remains on the clear sheet you removed. 

4. Place the negative sheet on the black toner paper, cover with the copy paper then feed thru the laminator 2x. This design will adhere to the black paper.  I repeated this process using the 3 sheets of decorative toner paper, 3 sheets of colored foiling paper and the 3 sheets of black toner paper.

Now that I have my foiled paper, it's time to create!

1. Card (4" x 6")


Cut a 3"x 5.5" piece of foiled toner paper. With top and bottom edges aligned, adhere to center of 4.5" x 5.5" piece of purple embossed paper foil then adhere to the front of the card.  Referring to photo, adhere two, 5" pieces of ribbon across the bottom of the card. Trim ends as needed, or fold under. Adhere sentiment (included in pack) on top of the ribbon then glue a small bow at the top to finish.

2. Wrapped Canvas (6" x 6")  
 

Adhere the 6" x 6" toner paper design directly on top of the canvas. Print a favorite saying, or quote on photo paper, mat with the same design on the black toner paper, then glue to the front. I cut and matted each word then glued in place for a different look. Adhere 2 lengths of ribbon, side by side around the outer edge of the canvas.

3. Leftovers!


There's always something to do with leftovers! Create tags, small gift cards, or simply use smaller pieces as embellishments for a multitude of other projects!  The opportunities are endless...............


Sparkle on!

Yours truly,

Julie 

KEEP CALM AND CARRY ON CRAFTING!

Wednesday, May 23, 2012

Scrapbook Soup Online!

Scrapbook Soup began broadcasting online at scrapbooksouptv.com  effective April 6th.  A new show is aired each week starting a noon EST on Fridays.  The show is available until the following Friday.

Episode 107 is airing now.   Julianna Hudgins opens the show by showing us how to create a cut and embossed fall card featuring Spellbinders dies. Then Julie Fei Fan Balzer and I present a wooden Advent Calender on behalf of Kaisercraft.  I love this project, since it's all about découpaging scrapbook paper onto wood then adding embellishments you might normally use for paper crafting projects. I think it's fun to be able to use all that neat stuff on other things besides cards and scrapbook pages!  Jo Pearson from Michaels Arts & Crafts stores shows us how to make a canvas wall hanging and at the end of the show Julie FFB shares an idea for using glue resist to embellish paper and fabric projects.

Photos and instructions for all the projects are on our website.  Select projects to download as many pdfs as you like.  You may also find projects from past episodes of Scrapbook Memories.  Just select a show to see thumbnail photos of all the featured projects.  Enjoy!  Y'all come back now!

Yours truly,
Julie :)

Sunday, April 1, 2012

April Showers bring May Flowers!

"And when it's raining, have no regrets, it isn't raining rain you know,
it's raining violets.... 
And when you see clouds high on a hill, there'll always be crowds of daffodils, 
so keep on looking for the bluebird and listening for his song,
whenever April showers come along...."

Daffodils, St. Mary's church in York, Northern England
I love, love Spring and I think it's mainly because of the flowers.  I love all kinds of flowers, but the flowers that bloom in Spring are just amazing.  Tulips are my favorite, but I can't resist Daffodils, Snowdrops, Lilies of the Valley, etc either.  Here's a scrapbook page I created of my mum using a photo of daffodils as backdrop for a title, which I added in Photoshop.

I love photography and have tons of flower photos.........  here are just a few.


I like to print the photos on ink jet transparency then use them to embellish cards, like this:

The card is just a piece of folded cardstock with a strip of embossed pearl paper across the bottom.  I attached the photo (matted with white cardstock) to the front of the card with brads.  I make sets of these as gifts for friends.  Can you identify the other 5 flowers?  Leave a comment here and I'll pick someone on Friday the 13th to receive a sheet of the photos on a transparency sheet together with a set of cards.

Don't forget to hop forward using the Designer Crafts Connection logo in my sidebar.  You'll find more amazing projects and more giveaways!  Enjoy and y'all come back now.................

Yours truly,
Julie :)