
Gilding has always been a popular technique used to decorate wood, statues and more in Ancient Egypt and beyond. Gold leaf was also applied to lettering, borders and figures in illuminated manuscripts as early as 400 A.D. and even used to decorate food in Japan. It's changed a lot since then of course, with updated techniques being developed for the hobby and craft industry making it available in a variety of forms and colors for today's makers.
As a member of the Designer Crafts Connection, I received a trial package of toner card stock and colored foiling sheets from Ann Butler Designs. Ann is a long time friend, and I was excited to try her new product line. I'd enjoyed working with Renaissance foil on wood back in the 90's and was looking forward to a more simple way of adding foiled designs to paper. There's nothing more elegant than foiled accents for cards and more!

To create foiled projects you will need:
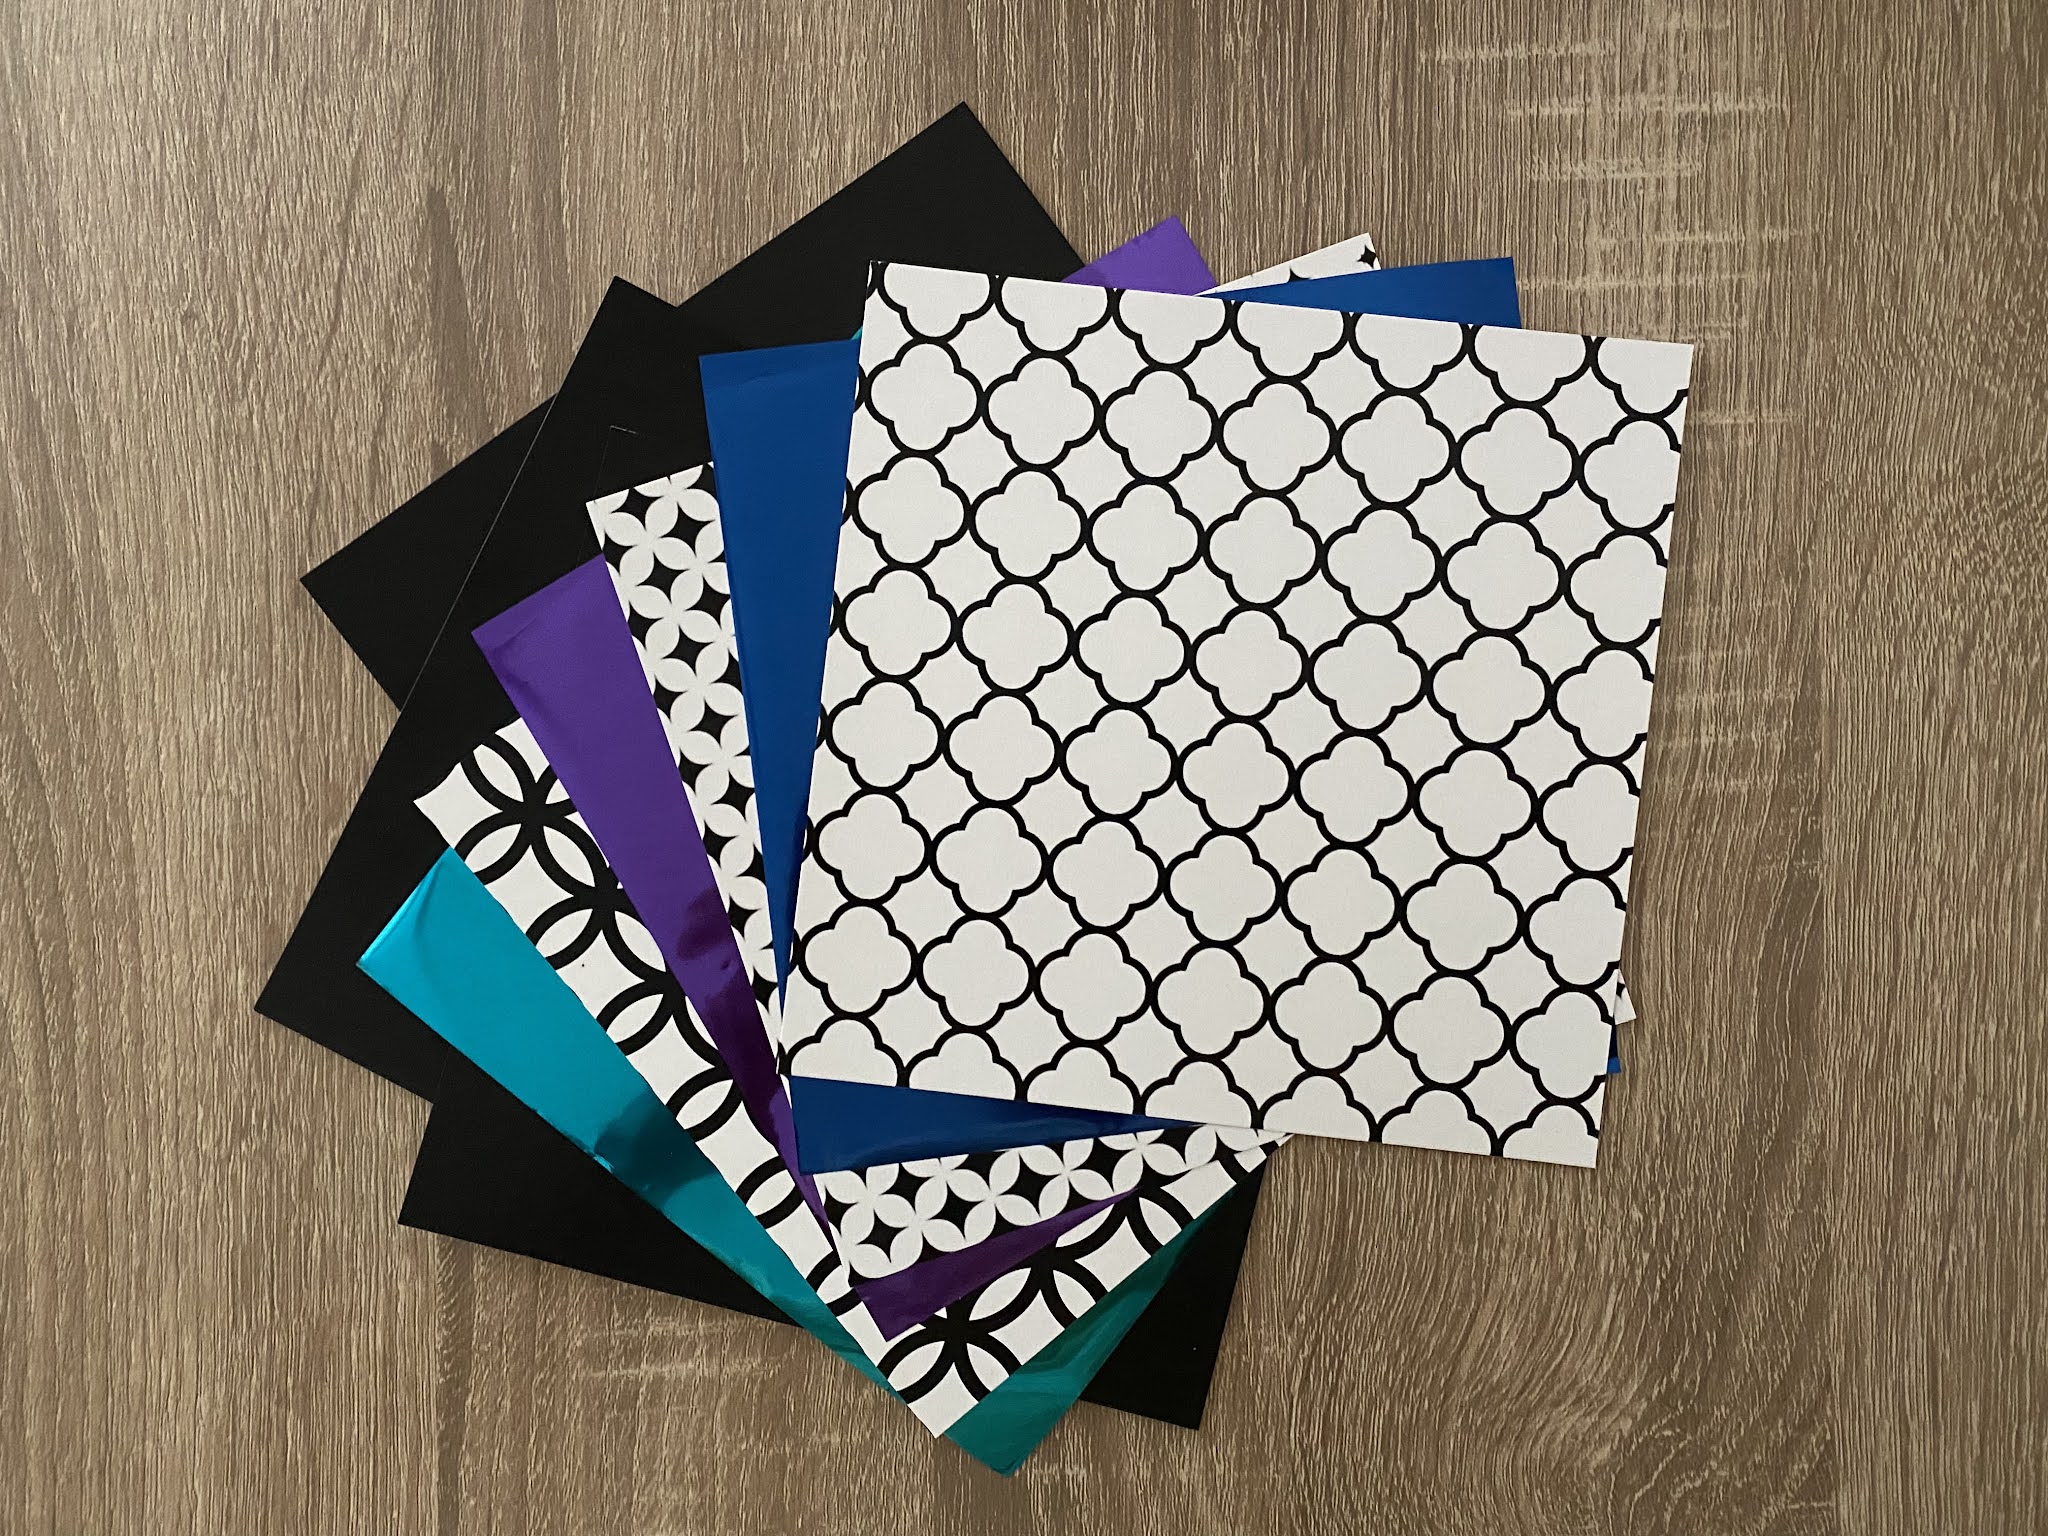
1. AnnButler™Designs toner card stock pack (floral, geometric or variety)*

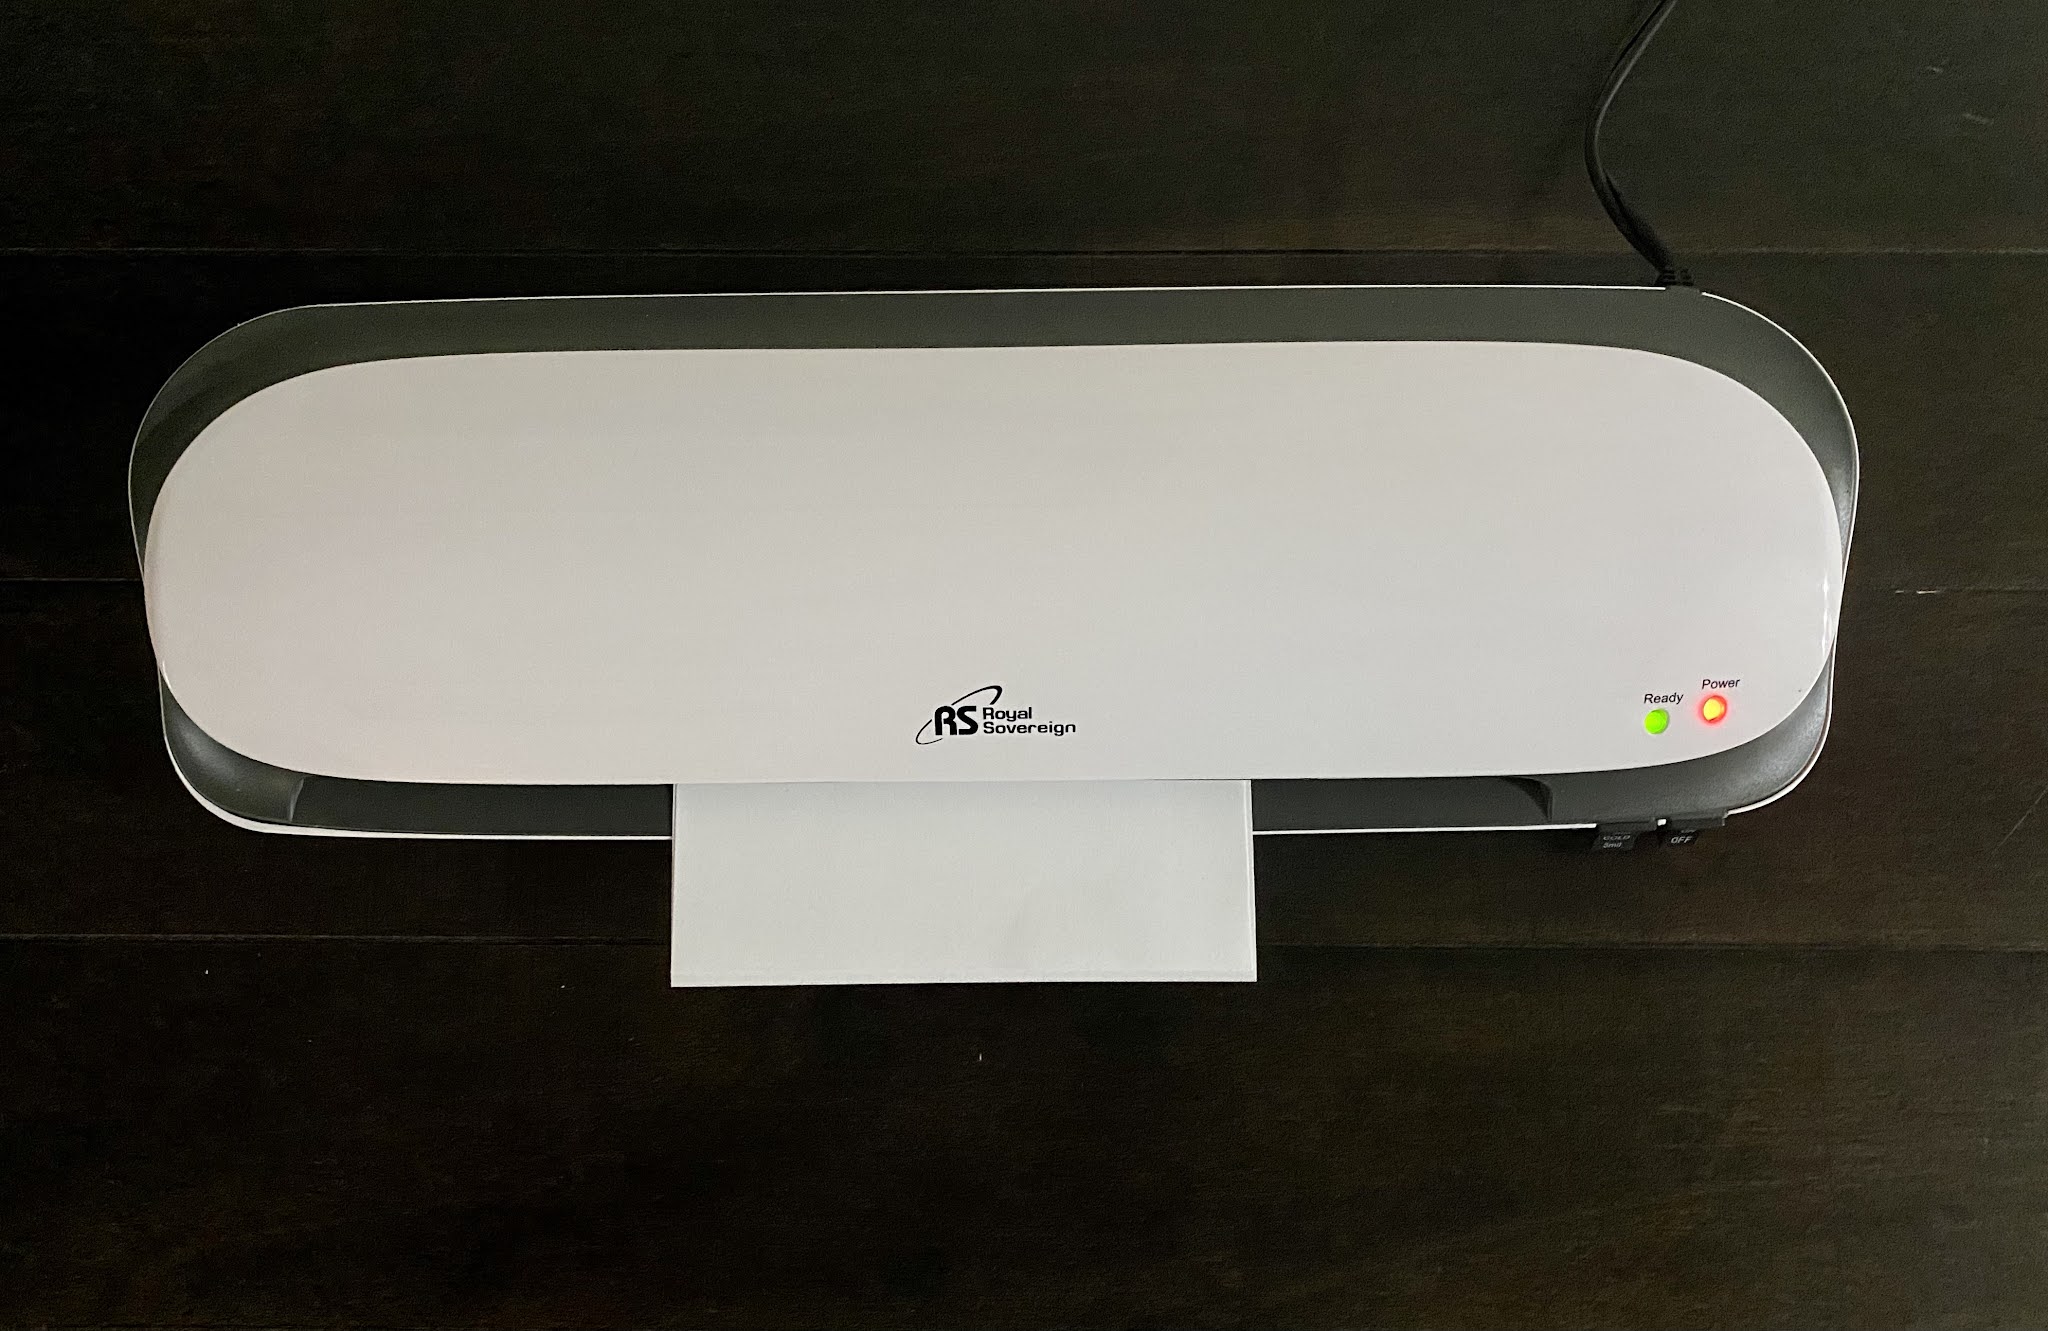
3. Hot Laminator (I used a Royal Sovereign, 12" laminator)
4. Card blank and/or 6" x 6" wrapped canvas
5. Paper trimmer & scissors
6. Adhesive
7. Gwen Studios 3/8" satin ribbon and Rinea™ embossed foil paper
*I received three geometric toner card stock designs, 3 pieces of black toner card stock, plus royal blue, purple and turquoise foiling paper
Let's get started:
1. Plug in your laminator; switch to hot
2. While the laminator is warming up, place a colored sheet of foil COLORED SIDE UP on top of one of the toner design papers. Place between a folded piece of copy paper then feed into the laminator. Ann recommends passing the sheet thru twice.

3. The colored foil is now adhered to the toner paper. Starting at one corner, gently peel the foil sheet away. The color from the foil will have adhered to the design and the negative part of the design remains on the clear sheet you removed.

4. Place the negative sheet on the black toner paper, cover with the copy paper then feed thru the laminator 2x. This design will adhere to the black paper. I repeated this process using the 3 sheets of decorative toner paper, 3 sheets of colored foiling paper and the 3 sheets of black toner paper.

Now that I have my foiled paper, it's time to create!


Adhere the 6" x 6" toner paper design directly on top of the canvas. Print a favorite saying, or quote on photo paper, mat with the same design on the black toner paper, then glue to the front. I cut and matted each word then glued in place for a different look. Adhere 2 lengths of ribbon, side by side around the outer edge of the canvas.
3. Leftovers!


Sparkle on!
Yours truly,
Julie
the two purple versions are my favorites and the addition of the flower really works well.
ReplyDeleteFabulous cards, love your sentiment...so true!
ReplyDeleteVery pretty, love the canvas idea.
ReplyDeleteLove all of your projects!
ReplyDeleteOh my goodness Julie...I love how the cards turned out!!
ReplyDelete