Showing posts with label Fall Wreath. Show all posts

Wednesday, September 8, 2021

Beaded Wreaths - EZ and EZer

 I see them here, I see them there, wooden beads are everywhere! 

I'm sure you've noticed too, and, like me, you've thought - "I can make that'!  I especially like beaded wreaths so, of course, I had to make one for Fall.  The finished ones I saw had beads threaded onto a metal hoop, but I wasn't sure how to accomplish that. Metal hoops are readily available, but I'd need a band saw and metal blade to cut one to add beads.  No matter, where there's a will there's always a way......  I came up with an easy and easier way..... 


You'll need:
5/8" (20mm) Beads - 21 for a 12" wreath, or 25 for a 14" wreath (sizes are approximate)
Grapevine garland
18 gauge 18" covered wire stem (12" wreath)
Wire coat hanger (14" wreath)
Assorted Fall flower picks
Jute
Wire cutters
  

Step 1:
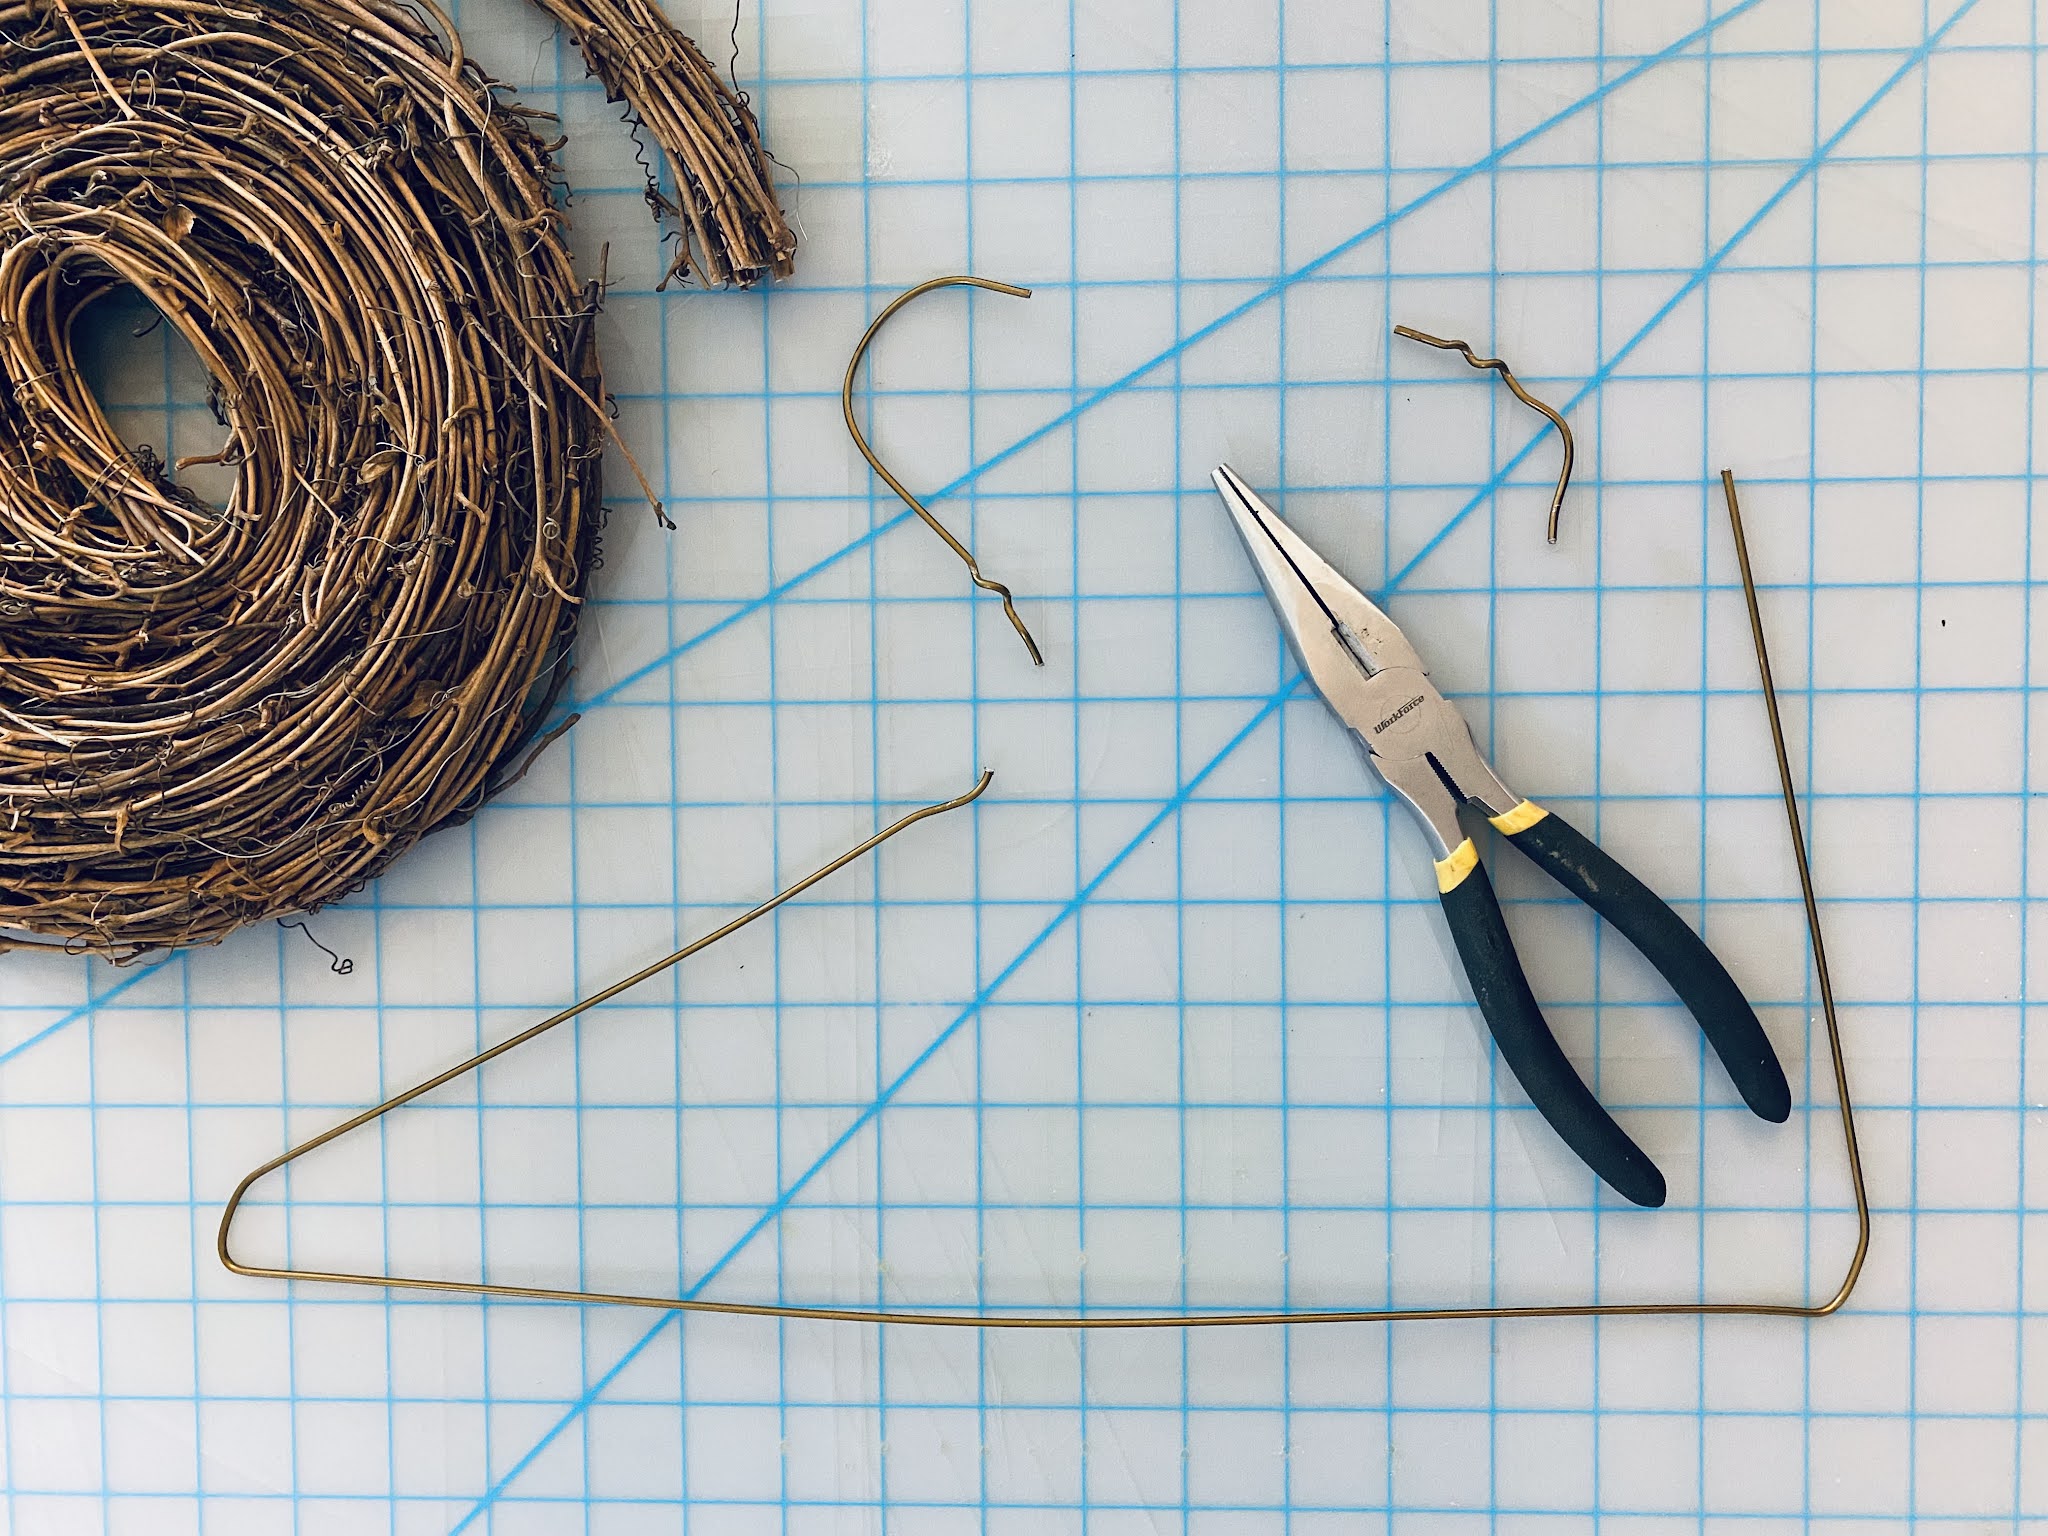
    a. Carefully cut the hook from the top of the coat hanger then gently shape the wire into a circle. Work slowly, especially when straightening the corners.  Bend one end over then thread the beads onto the wire. Bend the opposite end over then link the ends together to form a circle.


    2. The wire stem is easier to work with, but will only accommodate 20-22 beads. Thread the beads onto the stem leaving about 2" of stem at each end. 
 
Step 2:
    a. Remove the thin wire holding the coiled garland together then cut 2 pieces* long enough to cover the coat hanger wire between the beads. Sandwich the wire between the two pieces then, starting at one end wrap the garland with jute finishing and securing at the opposite end. Adjust the curve of the garland and beads to create the circle. *Two pieces are needed for thickness.
    b. Cut 2 pieces of garland for the smaller wreath,  Gently straighten out the curve from each piece then, starting at one end wrap the pieces together with jute. Insert the ends of the stem wire into the tightly wrapped ends of the garland. Adjust the curve of the beads and garland to create the circle.


Step 3:
Separate the stems from the floral picks. Starting at the outer edges of the garland, insert the ends between the twigs.  The twigs should hold the picks firmly in place, but you can dip the ends in lo-temp glue for extra security if desired. Working from the outer edges to the center, add pieces from contrasting picks to finish. You can also find a selection of laser cut words at your local craft stores to add if desired.


All you need now is a place to hang your finished wreath! Enjoy!


TIPS: Check the sales at your favorite arts & crafts stores for seasonal floral picks for best prices!  You can also find plain wire coat hangers at your local Walmart if you don't have any. 

Happy fall y'all!

Yours truly,
Julie 😍   

KEEP CALM AND CARRY ON CRAFTING!

Friday, October 18, 2013

Fall & Halloween Wreath

It's a little late to be posting Halloween projects, or maybe not...  Halloween is still two weeks away, but the cool thing about this wreath is that you can switch it to a Fall wreath in 5 minutes or less.  I love anything that I only have to make once then use it for something else with just a quick change.   This all came about because my daughter-in-law sent me a photo of a wreath she saw on somebody's door and asked if I could "make one like that".   It was already a bit late to find exactly the same supplies, but I grabbed the last roll of orange deco mesh at my local craft store and a Halloween garland, now on sale and here's what I came up with, plus the idea to change it to a Fall wreath on November 1st!  This is the wreath for the next 2 weeks


and this is the Fall wreath transformation!


This is what you do.  You'll need a wreath, a roll of 5" wide Deco Mesh and some floral pins to make the basic wreath. I used a straw wreath for this because it was cheaper.  KEEP THE PLASTIC ON!  For the Halloween wreath decorations, I used Smoothfoam™ letters "B, O, O", a 1" Smoothfoam ball,  a small piece of cheesecloth, 2 black sequins, 2 sequin pins (they are shorter than regular straight pins), 4 bamboo skewers, black paint and 2 plastic zip ties. 

1.  Pinch the end of the mesh together then secure to the wreath with a floral pin.

2.  Pinch the mesh about 6" from the end then secure to the wreath with a floral pin about 2"-3" from the first pin to create a loop.  Make loops all around the wreath.


3.  Secure the end of the black tinsel garland to the top of the wreath then wind it backwards and forwards around the mesh loops.


4.  Make the decorations.
 
    Ghost:  Stick the blunt end of a skewer into the base of the ball.  (There's a small indentation you can use as a guide.)  Attach the zip ties to the dowel as shown for arms then cover the head with the cheese cloth draping it over the arms as shown.  Push the "arms" upwards to the base of the head.


Tie the cheesecloth tightly around the skewer at the base of the head.  I used a piece of a black chenille stem I happened to have, but you can use anything.  Attach the sequins to the head with sequin pins for eyes.  You can also make black dots of paint (or marker) directly on the ball for eyes, before covering with the cheesecloth.


    Letters:  You can leave these white, or add small black dots using the rounded end of a paintbrush handle - perfect for dotting.  Black adhesive acrylic jewels would look great too!

    Bow:  This is a simple bow.  Cut about 24"of Deco Mesh.  Cross the ends over then pinch together at the center.  Attach to the wreath with a floral pin.  You can also use a zip tie to wrap around the center to secure.


5.  Cut 3 skewers to 5"-6" in length then push one into the bottom of each letter.  Attach the letters and ghost to the wreath.

When November 1st comes around, simply remove the bow, ghost and letters then replace the tinsel garland with a Fall garland.  You can use the same bow again, or add a burlap bow and a floral pick.  How cool is that!!!!!

Enjoy!  Y'all come back now...........

Yours truly,
 Julie :) 

KEEP CALM AND CARRY ON CRAFTING!