These are string art embellishments and this is where you'll learn how to make them!


If you came here from the Craft Paper Scissors blog, welcome! If you didn't, you might want to hop over there first so you'll have a better idea of what's going on here http://www.craftpaperscissors.com/string-art-paper-crafting/
This post is essentially part two of my post about string art embellishments for paper crafters. I shared a little history in my post on the Craft Paper Scissors blog, but this is where we get down to the nitty gritty of the "how to".
1. You need shapes. The most popular shapes are round, but they can be any shape as long as they have a notched edge. You can purchase "Spirelli" punches at Ecstasy Crafts for punching round shapes from lightweight cardstock, cut shapes with decorative edge scissors, or, if you have a digital die cutting machine, you can use the shapes I designed. These shapes are in jpeg format and you can find them under the tab "String Art Instructions" right here on my blog. Drag each shape onto your desktop, then upload to your cutting software. I uploaded the jpegs to Cricut Design Space then cut them from medium weight cardstock on my Cricut Explore. The shapes were sized after being uploaded. The large ones are 2.5" diam and the small ones are 1.5" diameter. Ideally you will need small - 1.5", medium - 2", and large - 2.5" shapes for layering. The sizes can be any size you like, but for layering you will need graduated sizes.

2. You need thread: I have an assortment of spools of thread in lots of different colors and thicknesses. The shapes are wrapped with thread to create your embellishment. Please see the wrapping instructions under the "String Art Instructions" tab.

3. Layering: As you can see in the samples above, I wrapped small, medium and large shapes with one layer of thread. For a different effect you can also wrap one shape with 2 layers of the same color of thread like the ones below:

You can also use more than one color of thread on one shape. For the sample below I started by wrapping with blue thread, separated by 8 petals, then silver thread separated by 6 petals and finally with green thread separated by 4 petals.

You can also layer different sized shapes like this. I used a brad at the center to secure them:

Here's an example of layering using 3 shapes. Note, only 2 of them are wrapped:

This is an example of a flower shape on top of a square, matted with a plain square:

Once you've mastered the art of wrapping, which takes about 3 minutes, it's fun to cut lots of different shapes in different sizes from different colored cardstock. I will usually place an adhesive jewel at the center of the top shape, or punch a tiny hole at the center and insert a brad. I layer the shapes using 3D glue dots, or small, adhesive foam pads for a little extra dimension between the layers.
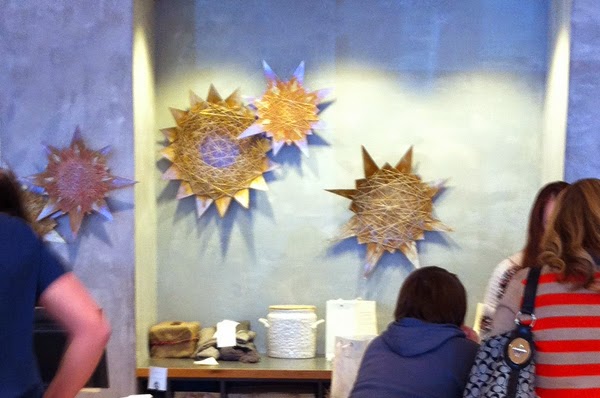
Finished embellishments can be used on scrapbook pages, cards, bookmarks, even wall art. (If you saw my earlier post this year on String Art, you can see a photograph I took of this type of embellishment on the wall of my local Anthropologie store.)
Here are a few samples for inspiration:


The most exciting thing about these embellishments however, is that they are fun, easy to make and, dare I say, very addictive.
I hope you enjoy this string art technique as much as I do. Please let me know in the comments if you do and I'll post more ideas and shapes for you to use. Enjoy! Y'all come back now......
Julie :)
KEEP CALM AND CARRY ON CRAFTING!