Showing posts with label Patriotic. Show all posts

Friday, May 27, 2022

Red, White and Blue!

         It's been really, really windy in Texas this Spring, so a wind sock seemed like a pretty good project to feature some red & white striped ribbon! Plus, it's always a good idea to be able to look thru the window to see which way the wind is blowing before stepping outside....  and, it's another way to show support for the red, white & blue on Memorial Day, Independence Day and Veterans' Day if you don't have a flagpole...

Here's what you'll need:


1. Separate the embroidery hoop then cut a piece of fabric long enough to go around the inner hoop, plus 2".  I measured the length along the selvedge edge of the fabric, then cut the width between the 6th & 7th rows of stars. (I adjusted later by removing the 6th row of stars.) 


2. Cut two, 30" pieces of string. Use a small piece of tape to attach one end of one piece to the outside edge of the inner hoop.  Note: Unravel the ends so they will lay flat.  Attach the opposite end to the opposite side of the hoop, then add the other piece of string to the hoop in the opposite direction.


3. With the ends of the string facing upwards and the loops hanging down, wrap the fabric around the outside of the hoop with the pattern facing inward. You may find it easier to put double-sided tape around the outside of the hoop first to hold the fabric in place. Overlap the ends then fold the upper piece of fabric back 1".  Adjust the top edge so about 1" of the fabric shows above the edge of the hoop.


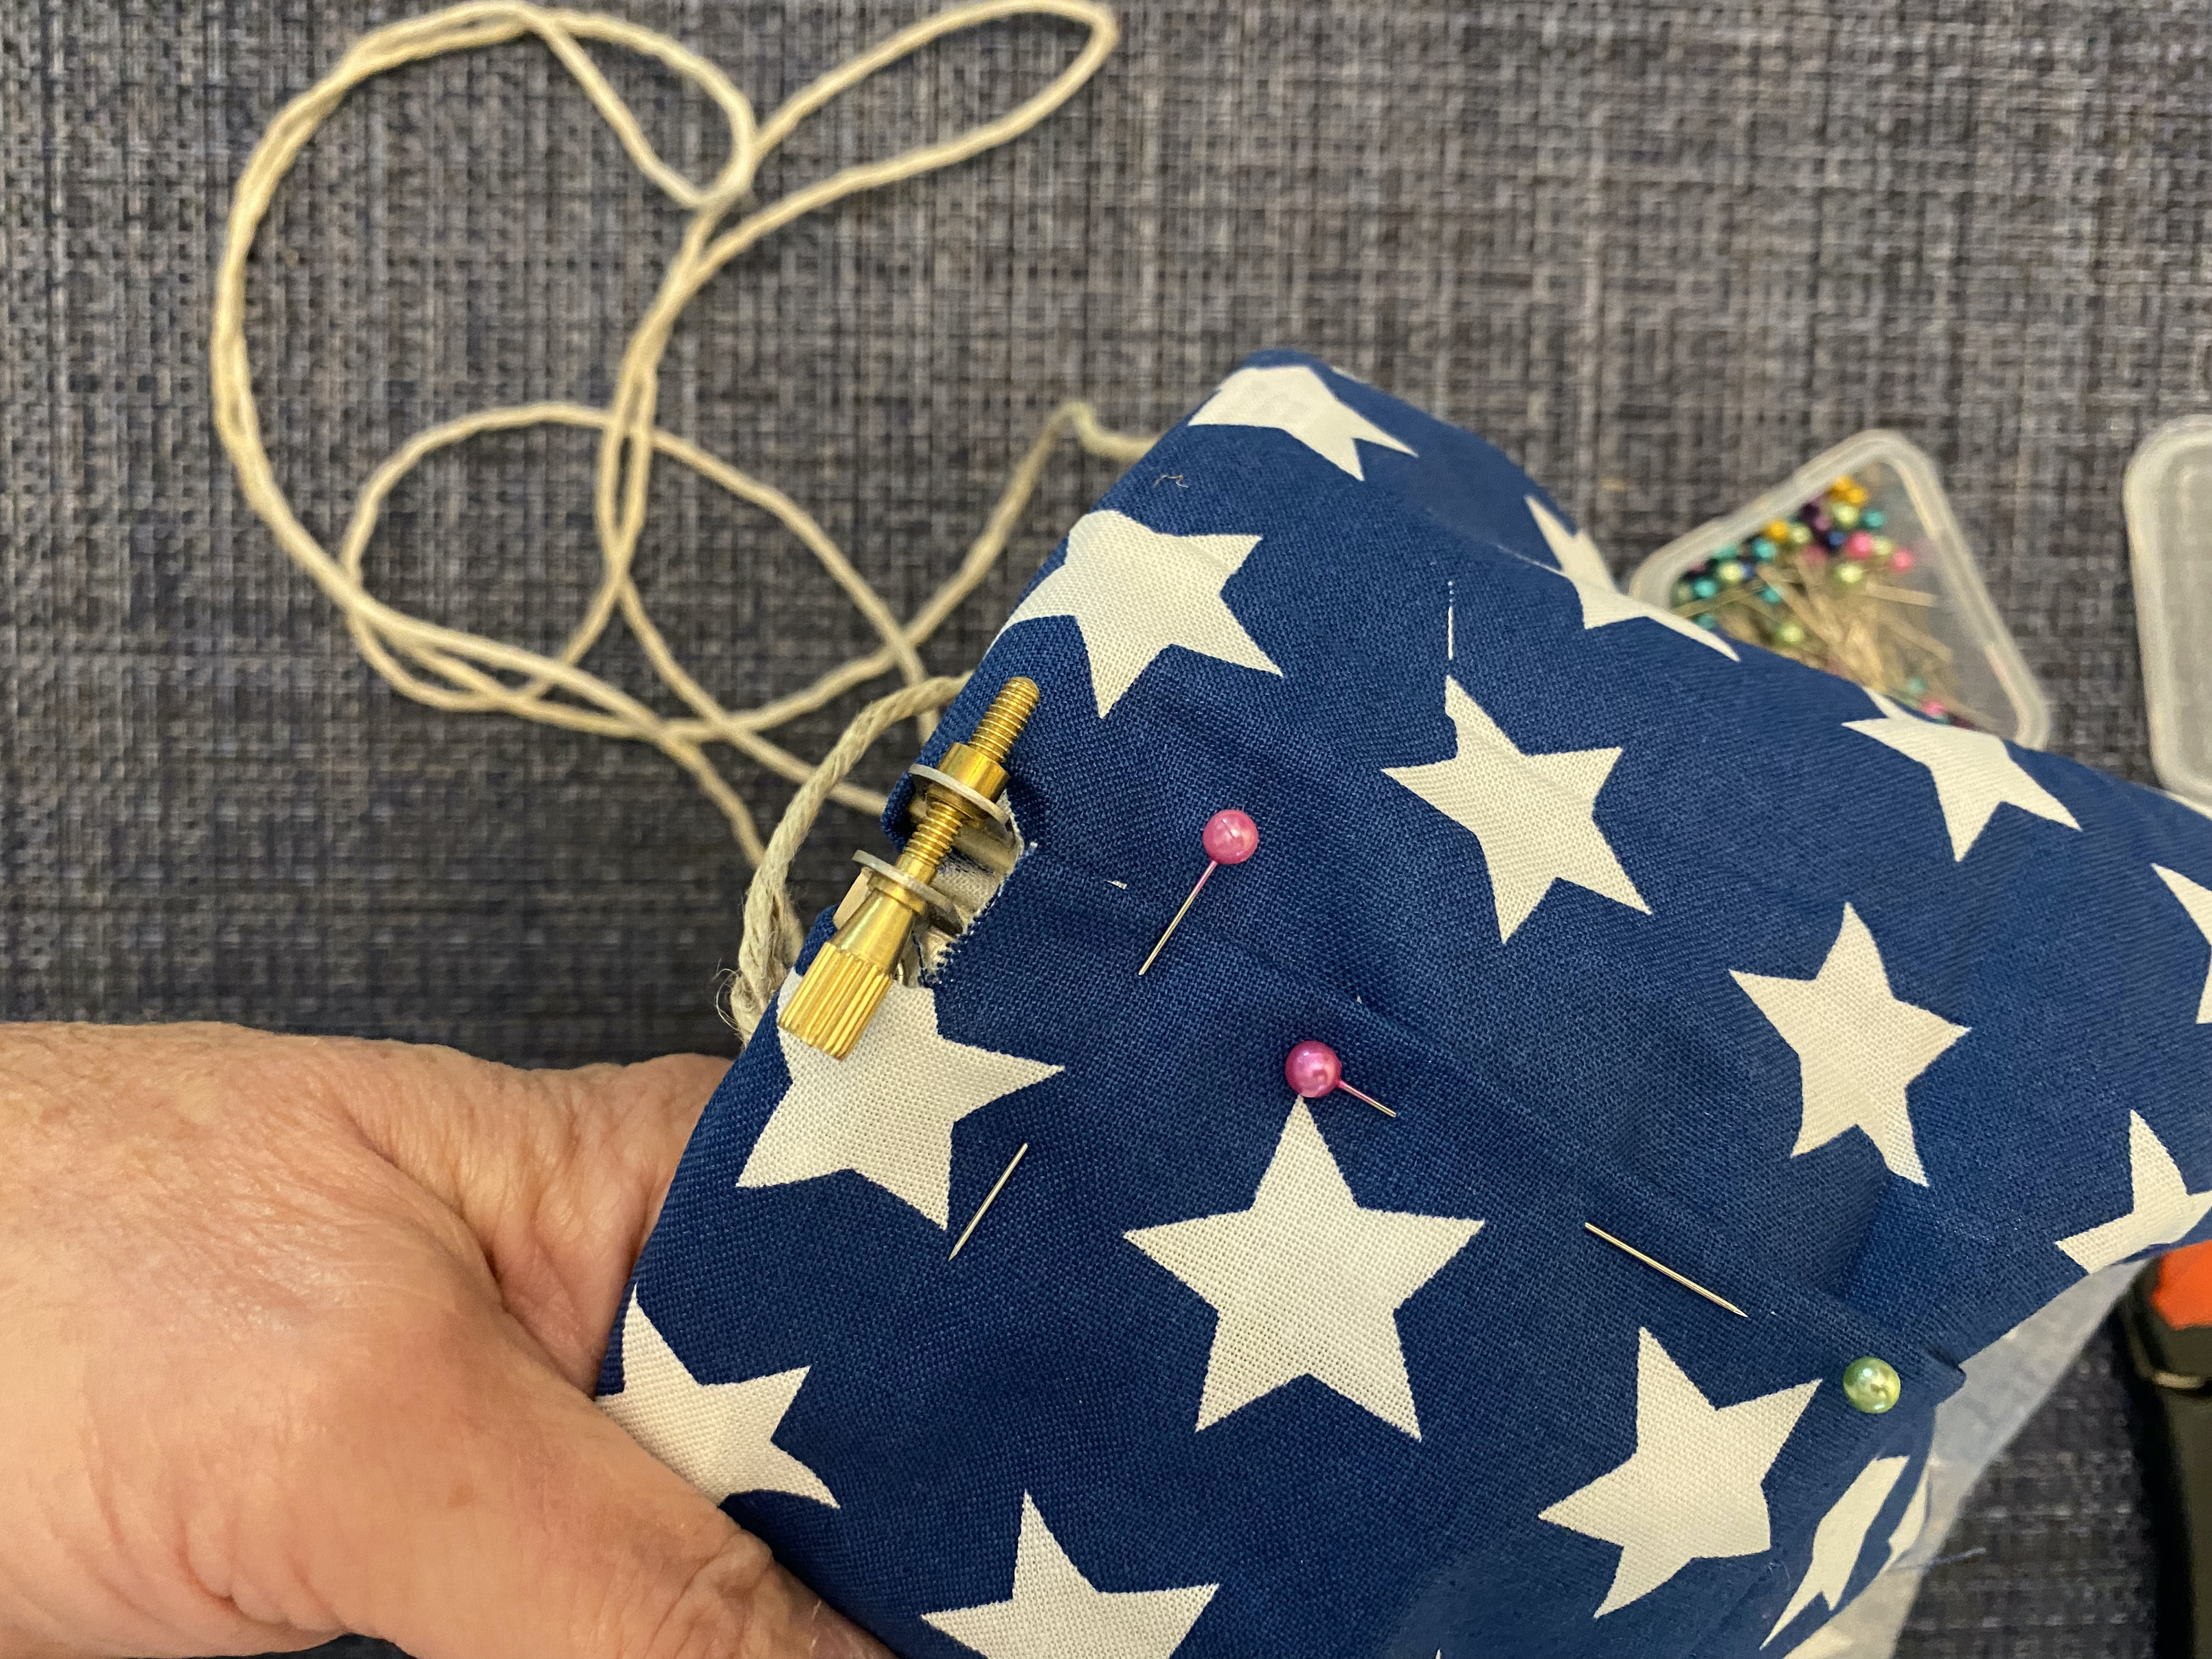
3.  Unscrew the outer hoop so you can slide it around the fabric covered inner hoop with the screw placed where the ends of the fabric overlap.Tighten the outer hoop to hold the fabric and the ends of the string in place. Flip the fabric over the outer hoop. 


4. Snip the fabric where the ends overlap around the screw. Fold one end under then pin together.  "A stitch in time saves nine, but I hot glue mine" is a popular saying in crafts, but for this project I used a simple running stitch to stitch the sides together. 


5.  Cut one spool of ribbon into 8 pieces. (I folded the full length of ribbon from the spool in half, then in half two more times to create 8 equal pieces.) Using one of the pieces as a guide,  cut 6 additional pieces from the second spool. 

6.  Attach the ribbons around the bottom of the fabric as follows:
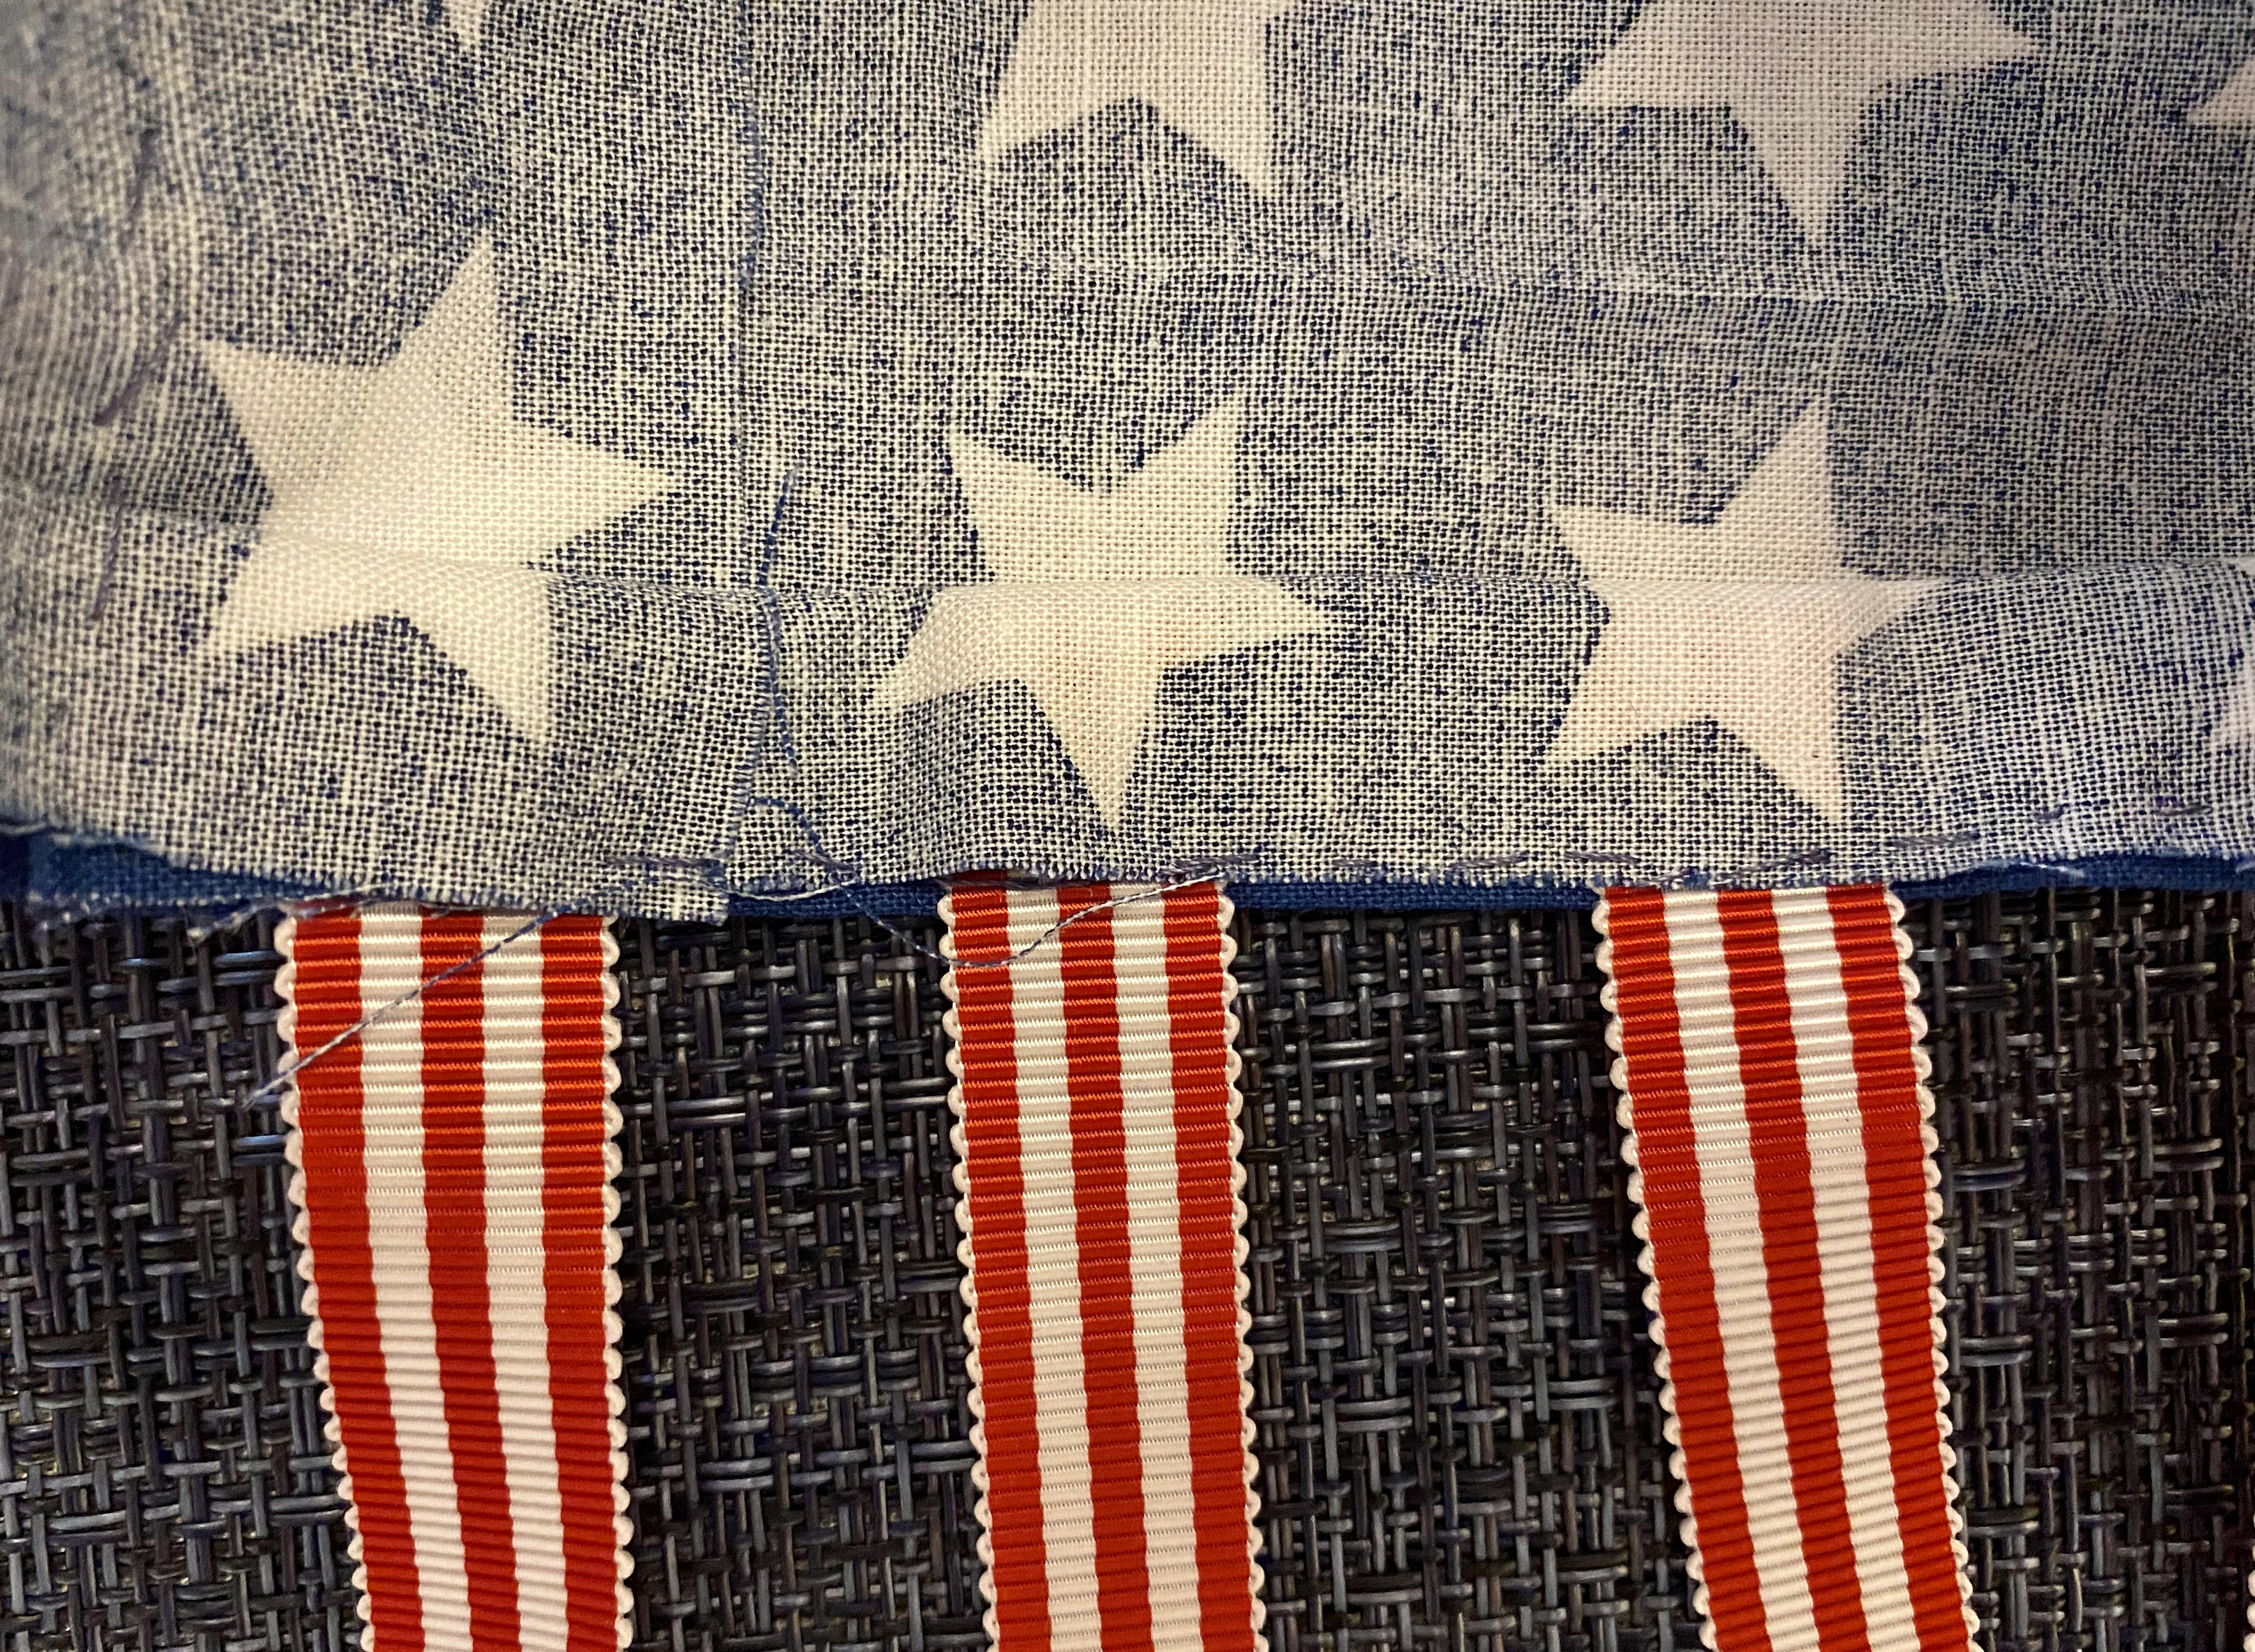
  • Fold the bottom edge of the fabric upward then place the end of the ribbon at the center.  (I used the stars as a guide for placement.)
  • Pull the top of the fabric down over the end of the ribbon. 
  • Pin in place all around the edge, then stitch to secure.


7. Thread the bead over the folded ends of the strings. Make sure the ends are aven then tie an overhand knot above the bead to create the hanger. 


With a wide variety of ribbons to choose from, this is a fun project for parties and celebrations! Enjoy!

Yours truly,
Julie 💝

KEEP CALM AND CARRY ON CRAFTING!

Look for more inspiration using the red & white stripe ribbon from Gwen Studios on the 


The red & white striped ribbon was provided for this project by Gwen Studios. 
The fabric and embroidery hoop were purchased at my local Michaels store.


Monday, June 5, 2017

Picnic Party Mason Jars

Memorial Day, Independence Day and Labor Day are all good times for family BBQs and picnics. Celebrate your patriotism in style with etched mason jars for perfect party table decorations!


You will need: etchall® dip’n etcH • etchall® etchmask • etchall® Pik Tool • etchall® Squeegee 


PLUS 
Mason Jars, Quart (with smooth sides)
Star Punch, Small
Baker’s twine
Empty soda bottle
Craft Knife
Ruler

1.  Cut the top off the soda bottle and set aside to use as a funnel. Rinse the bottle thoroughly.
2.  Wash the outside of each mason jar with hot, soapy water. Rinse with vinegar to remove any remaining residue.
3.  To create the star border, use a lever punch to punch stars at equal intervals along the bottom edge of a sheet of etchmask. Punch upside down so you can see the guidelines on the back of the etchmask. NOTE: Do not discard the punched stars. You can use these on another jar.


4. Use a paper trimmer, or craft knife and ruler, to cut the strip from the sheet, making sure that the star opening is centered between the top and bottom edges. Cut 3 strips plus additional strips as needed to go all the way around the jar.
5. To determine how much dip’n etch you will need, fill the mason jar with glass pebbles, or heavy items (so it won’t float) then place the jar inside the soda bottle. Fill the soda bottle with water up to the rim of the mason jar.


6. Remove the mason jar and the water level will sink. Place a piece of masking tape on the outside of the soda bottle then mark the water level. Empty the water then dry the inside of the soda bottle and the outside of the mason jar thoroughly. 


7. Remove the backing from the strips of etchmask then, starting about 1½” from the bottom of the jar, place around the outside of the mason jar. If the strips are too short, add additional strips as needed. Place a rolled piece of lined paper inside the jar as a positioning guide, or tape a ¾” wide strip of paper around the jar above each strip as a spacer.  Make sure the etchmask strips are pressed firmly onto the glass, especially around the star openings otherwise the dip will leak underneath.


8. Fill the soda bottle with dip’n etch up to the water level mark then gently place the mason jar into the liquid. The dip’n etch will rise to the rim of the jar.


9. Let stand for 15 minutes then carefully remove the jar. Rinse the mason jar thoroughly under warm, running water, or in a plastic bucket then remove the strips of etchmask.  
DO NOT rinse over a porcelain sink!   
This is etching liquid and it will permanently remove the glaze from porcelain! Please read all cautions and directions on the dip’n etch container.

10. Dry the outside of the jar and remove the glass pebbles to reveal the etched design.


11. If you would like to etch additional designs, adhere the stars to a second jar and ½” wide strips of etchmask to a third for a perfect patriotic trio. Simply place each one in the same dip’n etch (one at a time) and follow the directions above. etchall dip’n etch is reusable, so there is no need to replace it after each use.


12. When you have finished etching all your jars, use the top of the soda bottle as a funnel to return the dip’n etch to its original container to be used for more projects!


Etching is a quick and easy way to upcycle and personalize a wide variety of glass pieces! Try it once and you’ll be itching to etch some more in no time at all….  Enjoy!  Y'all come back now........

Yours truly,
Julie :)


 KEEP CALM AND CARRY ON CRAFTING! 

etchall products were provided by B&B Products