It's October! Let's share the love and "Makerdifference"


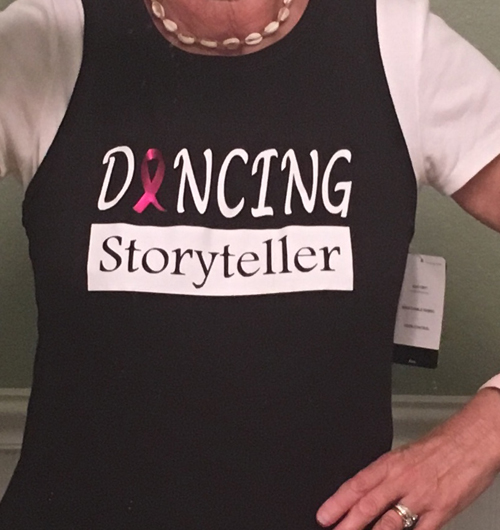
For those of you who have a Cricut® cutting machine and are familiar with the "Dancing Storyteller" Facebook group, here's a shirt to make for yourself and/or a friend....
You'll Need:
Cricut® cutting machine
Cricut® Iron-on - White and Hot Pink foil
EasyPress® or iron (no steam)
Shirt (I got mine at Target)
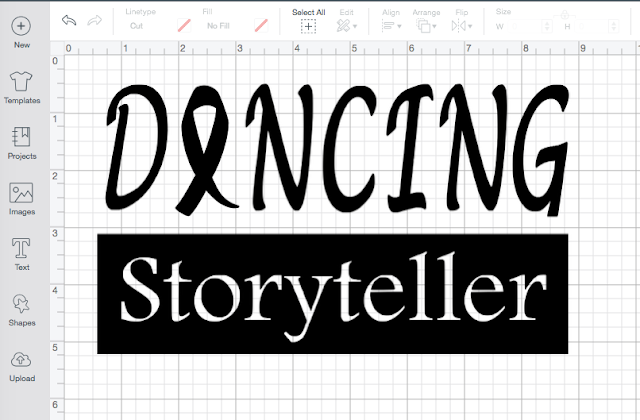
1. Sign in to Cricut Design Space. Click on the link for the design below, download to your computer desktop then upload to CDS:
NOTE: This design is a JPEG. After uploading to CDS, you will need to delete all the white areas in CDS, Step 2. i.e. the area around the letters and each letter in the word "Storyteller". You can also use a font in your system to create the word "D ANCING" together with the Storyteller PNG.
2. Size the design for the front of your shirt then cut from white iron-on. Remember to select Mirror Image. FINISH to return to the project page. If using a different font for the "D ANCING", you will need to size to the same length as the Storyteller block.

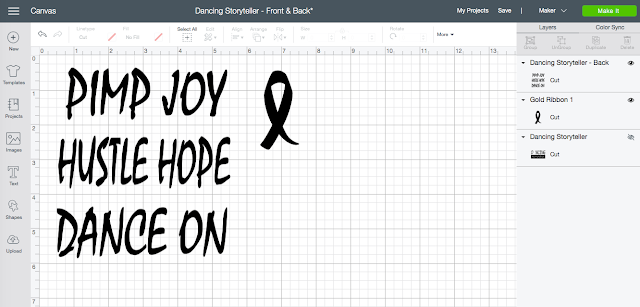
3. Upload the FREE Pink Ribbon image from the CDS image library. Size the ribbon to fit in the space between D & N then "hide" the "Dancing Storyteller" image by clicking on the "eyeball" in the column on the right.

4. The ribbon and wording on the back of the shirt are cut from pink foil. Select a font from your computer, a Cricut font, or download the PNG file below. Size the block of words as needed to fit the back of the shirt then cut the ribbon and words - Mirror Image! Note: If using a computer font, create each line separately, then adjust the width so each line is about the same length.

5. Weed both designs. Position the white design on the front of the shirt then press in place. Remove the liner. Separate the pink "ribbon" from the wording, then place the pink ribbon in the space between the "D" and the "A". Press in place. Note: Temperature settings for your Easy Press can be found here.
Directions for the iron-on can be found on the packaging.
6. Place the Easy Press mat, or a folded towel, inside the shirt. Position the wording on the back of the shirt then press in place to finish.

Yours truly,
Julie
KEEP CALM AND DANCE ON
We don't care if someone is watching!


No comments:
Post a Comment