Tuesday, May 13, 2014

Dallas Gift Market - March 2014

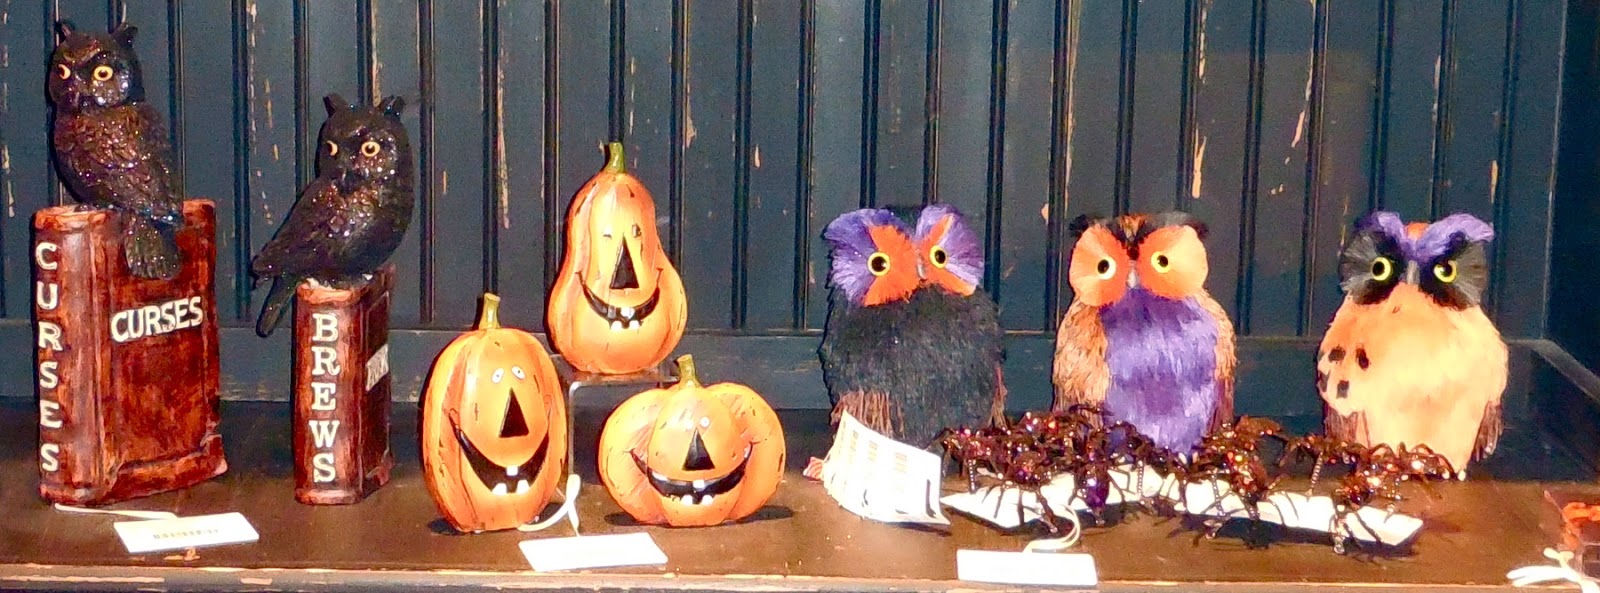
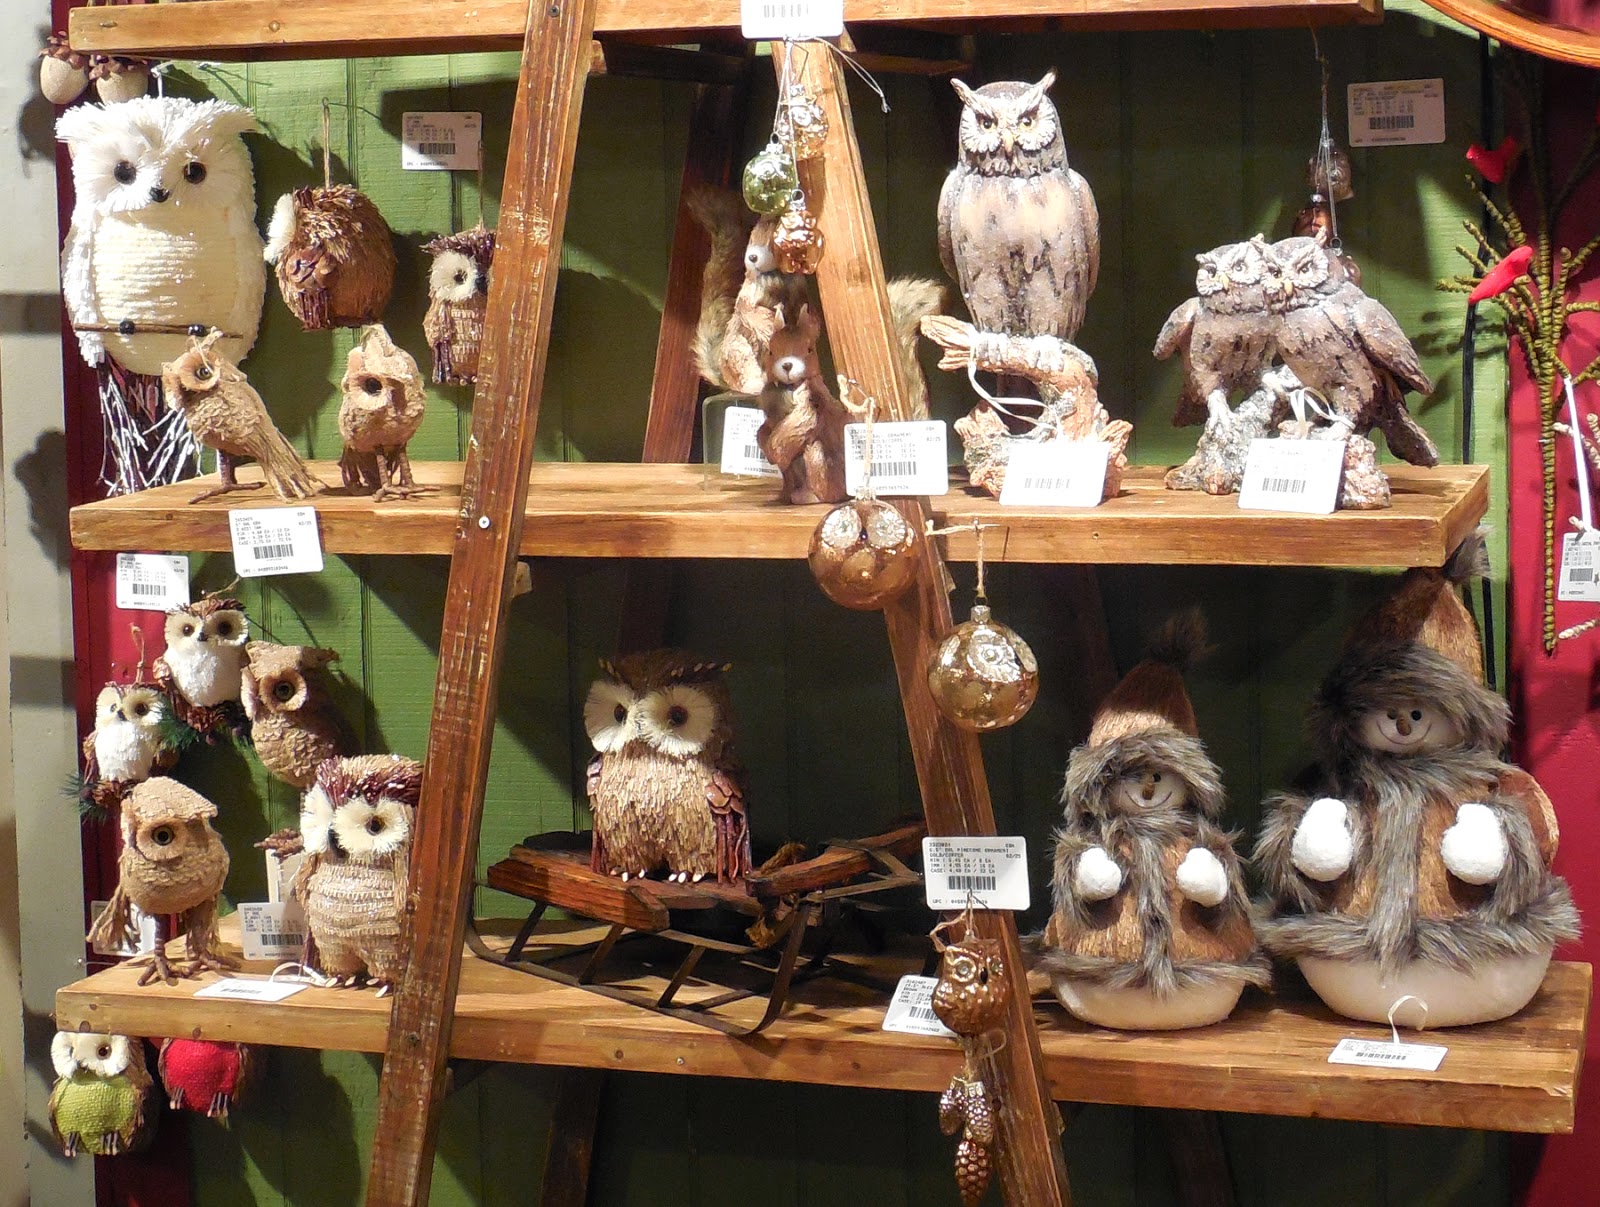
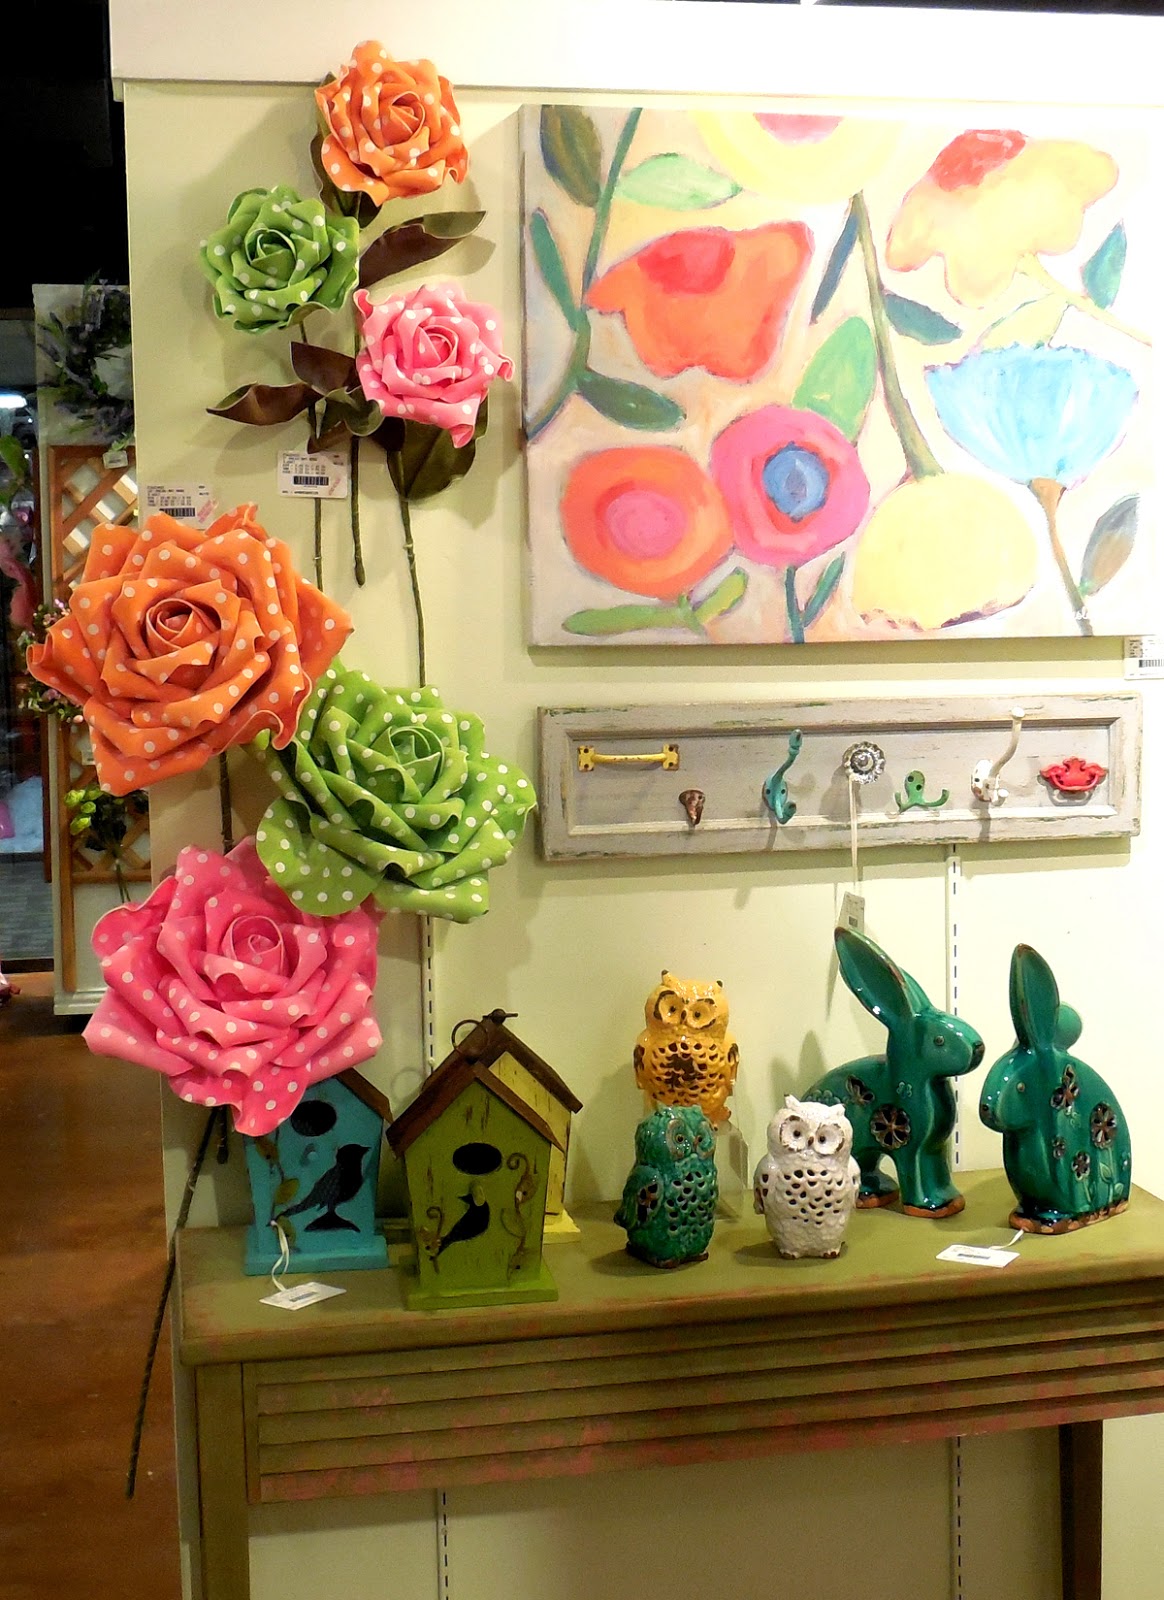
I made my bi-annual trek to the Dallas Gift market in March this year.  I usually go in January, but there was waaaaay too much going on this time.  It doesn't change much between January and March.  The only difference is that there are no temps.  Major lines are in the permanent showrooms anyway, so it's not a big deal. 

Many of the showrooms have a "no photographs please" policy, but even if they don't, I always ask permission to take photos for my blog.  Most of them love the extra PR, but there are still a handful who don't want everyone to see what they have to offer, mostly the co-ops who offer a lot of handmade items from a variety of small business manufacturers. 

Anyway here are the photos, so grab a cup of coffee, glass of wine, box of chocolates, or whatever, sit back and join me on my walk thru many of showrooms at the Dallas Gift Market.


This blog post is all "eye candy" and for designers, a peak into what the gift stores are seeing for the upcoming Fall and Winter seasons.  I don't comment about trends - I like to let each of you draw your own conclusions, but I'd be remiss not to say something about "Katherine's Collection".  The displays in this showroom will take your breath away.  I think you could spend a whole day in here and not see everything.  The creativity will amaze..........


And that's the last of the photos from "Katherine's Collection".  Hope you enjoyed them......  now let's move on.


Yes!  This is an old TV set being used as a display!  How clever......


This "Brazil" display was in the "Two's Company" showroom.  Look for more design influences from Brazil as the 2016 Olympics get closer.


That's all for this trip, but I'll be back with more after the summer show in July - God willing and the creek don't rise.........  Y'all come back now.  Enjoy!

Yours truly,
Julie


Wednesday, May 7, 2014

How Does Your Garden Grow?

Mary, Mary, quite contrary how does your garden grow?
With silver bells and cockle shells and pretty maids all in a row!

As you no doubt know by this time, I love crafting with shells, so it was only natural that this nursery rhyme popped into my head along with this month's blog theme.  And here's my "pretty maid" made from shells:


I've always loved to craft with shells, so in the early 90's I proposed a book on shell crafts to Design Originals.  It took almost a year for the company to agree to my proposal, but Seaside Treasures was eventually published.  The book stayed in Michaels stores until about 3 years ago, when it was "updated" - basically the cover was changed and a few kid's crafts were added, but the remainder of the projects were exactly the same.  That's a pretty good shelf life and a non too subtle indication that there are some crafts that never seem to go out of style.

If I've whet your appetite for shell crafting (and you can't find a copy in your local Michaels' craft store), comment here and share this with your friends.  At the end of the month, I'll randomly select someone to receive a copy of the book together with a selection of shells from US Shell company!  Enjoy!  Y'all come back now.........

Yours truly,
Julie :)

KEEP CALM AND CARRY ON CRAFTING!

Sunday, April 13, 2014

Easter Crafts

It's Easter Sunday next week, so here's a last minute project you can make for yourself, or take to a friend's as a hostess gift.


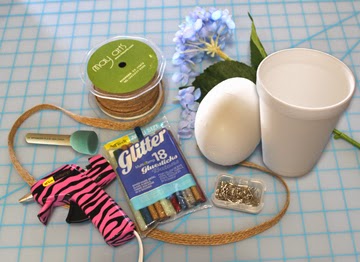
You'll need the following supplies, most of which you may already have around the house:

        4" Smoothfoam Egg; 2" Smoothfoam ball, or cupcake shape; small disposable coffee cup; green Floral Plant Stake (or bamboo skewer painted green); small silk florets (from a hydrangea for example); glue gun; clear glitter glue stick; sequin pins; 1/2" Burlap ribbon; scrap of accent ribbon and/or curly ribbon; craft paint (color to match florets - not necessary if you use white florets); sponge pouncer and a rabbit "peep".  


1.  Push the plant stake into the bottom of the egg.  Use as a handle while you pounce paint over the surface of the egg.  Let dry.
2.  Glue the end of the burlap ribbon at the bottom of the cup.  Wrap the ribbon around the cup until it is completely covered.  Glue at the top then cut.  Glue either a ball, or a cupcake shape to the inside of the cup with the hole facing up.
3.  Pull the small florets off the stems. Attach each floret to the surface of the egg with a pin until the surface is completely covered.  Add a spot of glue to the center of each floret to cover the head of the pin.


4.  Trim the stake to the desired length then push the end thru the center of the peep from the top down.  Insert into the foam piece in the center of the cup. Secure with glue.  Note: I let my peeps harden first by leaving them out of the package.  
5.  Tie a small bow around the stake at the base of the egg and/or add curly ribbon.  Fill the cup with Easter candy.

GLUE GUN TIP:  There are lots of colored glue sticks to be creative with.  One of the challenges, however is emptying the glue gun when you wish to change color.  You can use up the color already in the gun by making little dots of glue on wax paper, or a disposable foam plate to make "brad" accents for all kinds of projects, or if you have silicone molds, fill the shapes with glue for some really fun accent pieces.  I have silicone button and floral molds which I used to make the embellishments shown below.  These molds are for cake decorating, but perfect to use with glue and paper clay!  The detail is amazing!


Hop to it!  There aren't many days left, but you'll find this project EZPZ, quick'n EZ.  Enjoy!  Y'all come back now...............

Yours truly,
Julie :)

KEEP CALM AND CARRY ON CRAFTING!

Monday, April 7, 2014

DCC First Monday - Spring Flowers

I love flowers!  I like to paint them, photograph them and grow them in planters and barrels around the house and in the front yard.  Unfortunately Texas weather doesn't really cooperate except in Spring when the wild flowers here are beautiful.  Bluebonnets, Indian Paintbrush and yellow daisies start to decorate the highways and byways in April, making it the prettiest time of year.  It's illegal to pick these, of course, so I venture to say they are the most photographed wild flowers in the US.


Snowdrops start to poke their heads thru the snow in February in the UK, followed by hosts of daffodils in March which grow willy nilly along the banks of both country and city lanes, up hill and down dale like clouds of yellow.  This is one of my favourite photos taken in York.


I used to collect wild flowers as a child and pressed them between the pages of the telephone book.  Once dried, I would place them in a journal with a note about where and when I found them together with the name.  I won a prize at school one year, for having collected the most wild flowers (almost 150, all found locally).  The prize was a book about trees - I have yet to figure that one out....

The most common of all wild flowers is the tiny daisy - they grow everywhere!  These are the tiny daisies we used to make crowns for our heads and daisy chains to drape around our necks.  My mum's lawn was always full of them and when I visited in the Spring of 1999 I couldn't resist picking a handful and pressing them between the pages of her phone book, so I could bring some home.  I quickly found a use for them and scanned them to show Scrapbook Memories viewers a technique for creating custom embellishments for their scrapbook pages.  I also used the dried flowers to embellish this scrapbook page. You can see them on the border on the left side of the page together with a few buttercups.  If you remember the earlier scrapbooking shows you may remember this page and, in case you're wondering, I still have a handful securely stashed away together with my other memories.....

  
I love all flowers, but my favourite flowers are tulips..... and daffodils... and fresias... and daisies... and iris, especially if they're all together in one big vase on my dining room table..........  Enjoy!  Y'all come back now..........

Yours truly,
Julie :)

KEEP CALM AND CARRY ON CRAFTING!


Thursday, April 3, 2014

Stained Glass with Attitude!

I'm sure everyone realizes by now that I pretty much love all kinds of crafts, but I do have some favourites.  As a craft designer in the creative, Arts & Crafts industry for 30+ years, I've had the opportunity to see and work with some wonderful products.  It's always a special thrill, however when a company introduces something that's brand new to the industry - something that hasn't been seen before.  Craft Attitude™ is one such product and it is absolutely amazing!  Craft Attitude is a printable film that works with your every day inkjet printer and whatever surface YOU like to work with, whether it's wood, glass, fabric, metal, or...... you get my drift.  You can print anything onto it, photographs, clip art, music, graphic art, etc. then adhere it to a surface you like to work with.

When I was asked to create a project for the Spring blog hop, I had the hardest time trying to decide what to create - I was overwhelmed with ideas!  Since Easter is just around the corner and I love working with glass, I finally decided to make a "faux" stained glass piece to hang in a window.


I purchased a float glass frame for this project.  This type of frame includes 2 pieces of glass and no backing.  The design is a combination of a photograph of the Amaryllis growing in front of  my house and graphic art I designed for this project. You can download a PDF of the artwork here (it's free): https://drive.google.com/file/d/0B1iqvH1CdtvxRktaZ25TbW9qcGM/view?usp=sharing


I printed the artwork onto Craft Attitude, applied it (printed side down) to one of the pieces of glass then placed the second piece of glass on top.  The film clings to the glass easily.  Remove the backing slowly, smoothing as you go with your fingers, or a soft cloth.  If there are any wrinkles in the film, carefully lift the film then smooth out the wrinkles working from the center to the outer edges. 


I used fishing wire to hang the frame from the top of the window, but you can also prop it up in a well lit corner. 


I posted a jpeg of the artwork, minus the flowers, on the "Images for Personal Use" page here on my blog if you would like to use it.  You can drag the image off onto your desktop then click to open in "Preview" or,  import the jpeg into a Word document if you would like to re-size.  

Check out and "LIKE" the Craft Attitude Facebook page here 
for more ideas and year round inspiration.  Enjoy!   Y'all come back now.........

Yours truly,
Julie :)

KEEP CALM AND CARRY ON CRAFTING!


Disclaimer: This is a paid post. I have a professional relationship with Craft Attitude and received compensation and/or product for this blog post. The opinions and project are my own.

Friday, March 28, 2014

Easter Parade!

"Here's my Easter Bonnet, with all the frills upon it......."  and I forget what comes next.

Easter was always one of my favourite times of the year; mostly because it meant we had 2 weeks off school.  We always went to church on Easter Sunday wearing a new dress, new shoes and a hat - this was the 50's and a hat was a very important part of our ensemble.

In school we made Easter hats out of paper plates, crêpe paper flowers, lace and bric-a-brac, basically anything we could get our hands on then we'd wear them proudly as we joined the Easter parade.  It was always fun and whenever I think of Easter, I think of bonnets, so this year I decided to make one - just for fun.


I used the following Smoothfoam™ pieces: a 12" disc, half a hollow 8" ball and three, 1" balls for the flower centers.  Plus a packet of colorful napkins, Yellow Flower Soft sprinkles, découpage medium, tacky glue, a selection of ribbon (wired for the flowers), white cord and some white, sparkly deco mesh ribbon.  You'll also need a large, soft brush, toothpicks, sequin pins and a sharp paring knife, or hot knife if you have one.


    Step 1:  Separate the printed layer from the napkin and throw the rest away.
    Step 2:  Cover one side of the disc and the half hollow ball with the napkins using découpage medium.  Let dry.  Use a hair dryer to hurry the process if you like.

 
    Step 3:  Place the half ball on the disc where you want the hole to be then draw around the edge.  You can place it in the center, or offset it a bit like I did.


    Step 4:  Cut the hole in the center about 1/2" inside the line you drew.  This part is optional.  You really don't need to cut the hole unless you actually want to wear it.  If you do, you may also want to découpage the under side of the brim.
    Step 5:  Glue the half ball over the hole.
    Step 6:  Place each 1" ball onto a toothpick then cover the surface with glue and sprinkle with yellow flower soft sprinkles.  Let dry.
    Step 7:  I pinned a length of gros grain ribbon around the edge of the disc and white cord around the area where the ball was glue to the disc.

Now let's decorate!  You can use anything you want to decorate your bonnet.  This is a wonderful opportunity to use up all those odds'n ends and bits of ribbon and lace you've been saving, plus silk flowers you may have had tucked away.  I made the flowers for my hat from leftover ribbon as follows:

    Cut one, 18" piece of wired ribbon and two, 12" pieces of 2.5" wired ribbon to make the flowers. Fold the ribbon in half lengthways then gather the edges by pulling along the wire.  Don't forget to twist the ends of the wire together, or you may pull it out.......


Gather it as tightly as possible then wrap one end of the wires onto to the toothpick around the base of small, yellow ball.  Wrap the ribbon around to create your flower; secure with the opposite ends of the wires, trim away the excess wire then push the toothpick into the brim of your hat.  I made one large ruffled flower and 2 small ones, but you could make enough to go all around the brim.  I added some loops of deco mesh between the flowers (I secured the loops with the excess wire cut from the ribbon) and a bow at the back.  Now I'm ready for the parade.  No, there isn't a photo of me wearing it...............yet.  You'll have to wait for my Easter selfie, or maybe I can get my granddaughter to model it for you.

You'll find more fun crafty ideas for Easter on the Smoothfoam blog this month and next, so check it out.  You can also see lots of fun projects on the Pinterest board.  Enjoy!  Y'all come back now...........

Yours truly,
Julie :)

KEEP CALM AND CARRY ON CRAFTING!

Sunday, March 16, 2014

Flower Fairies

I've been doing some Spring cleaning this week. I use the term "cleaning" loosely because, from the look of it, I've made a bigger mess than I had originally.  It's always a challenge because I'm a craft hoarder at heart.  I have magazines and catalogs from waaaay back when, which I know I'm going to need at some point.....  Murphy's law, says that if I throw it away today, I'll need it tomorrow. 

I just love looking thru old things: photos, catalogs, magazines and tear sheets of projects I created, let's just say forever ago.....  Most of them are dated, but some crafts are timeless.  Here's one of my favourites - Flower Fairies.  Not sure you can read the text on the tear sheets I scanned, but basically I share, that belief in fairies was commonplace during my childhood in England.  Not only did the tooth fairy come to visit, but we always had a fairy at the top of our Christmas tree and it was a fairy who was Father Christmas' sidekick.

In 2000, Miriam Olsen, the editor of Crafts magazine saw one of my flower fairies at my Designer Showcase at an SCD convention.  Not only did she want that particular project, she wanted me to do a whole "Fairies in Bloom" series for the magazine for 2001.  I've often had projects on the cover of magazines, but I have to admit I was blown away when this cover was the feature cover at the HIA  PriMedia Awards show in the Winter of 2001.  (HIA - Hobby Industries of America is now CHA.) The cover was blown up to the size of the wall behind the presentation podium.  Note: The Primedia Awards were like the Oscars for the craft industry.  Here's the magazine cover:


and these are the Spring Fairy projects:


followed a few months later by the Summer Fairy projects:


There were also fairies for Autumn and Winter.  I can share those later this year, but I think you'll have fun coming up with your own creations.  These were all created using seasonal silk flowers, doll pin and doll pin stands and tiny wooden beads threaded onto chenille stems for the arms. 

I also featured a  "This Bud's For You" project in my Shoebox Crafts column for Craftworks magazine in July that year:


My granddaughter has a fairy garden in her back yard and we still search for evidence that the fairies come to visit "in the during of the night".....  but that was before they got a cat........

I still love fairy stories and often make little fairies for our Christmas tree each year.  I'll have to share those with you later this year.  Enjoy!  Y'all come back now..........

Yours truly,
Julie :)

KEEP CALM AND CARRY ON CRAFTING!

Monday, March 3, 2014

Decorative Painting Made Easy!

It's First Monday and Designer Crafts Connection bloggers are posting about projects and/or techniques that will blow you away - after all, it is March.....

I've seen so many ideas over the years it's hard to pinpoint the best, so I thought I'd share an easy painting technique I published in a small book a couple of years ago.  I love decorative painting and was at the Creative Painting show in Las Vegas last week - (photos to come later).  Decorative painting is a fun hobby and many of you think you could "never do something like that".  Well, I'd like you to know that you CAN..... 

When working on painting projects for books, I always like to share things for beginners - techniques that anyone can do and become successful.  With a little success under one's belt, it's easy to try something a little more challenging the next time.  I used glass surfaces because there's no prep required and only one brush.  It doesn't matter what kind, or size because you're going to use the handle of the brush to paint these simple, decorative flowers.


You don't have to use the same pieces of glass pictured here, or the same colors, this is all about learning an easy technique to create something sweet and simple. 

I used glass paint - for obvious reasons, but you can use this technique with any kind of paint.  Practice the technique first on an old china plate - just to get the hang of it.  Pour a small puddle of paint onto a piece of wax paper, or disposable plate.  Holding your brush upright, dip the end of the handle into the puddle of paint then place it directly onto the surface to make a simple dot.  Dip the handle in the paint again, place it on the surface, but this time slide the handle toward you to create a stroke.


Now you know how to make a brush handle dot and a brush handle stroke.  No big deal, but when you put dots and strokes together in different colors and formations you have the beginnings of some really fun and simple designs.  Look at these strokes in the photo below for example.  Now imagine a ring of those around the stem of a wine glass! 


A daisy is simply a dot with lots of strokes around it. Strokes also become tiny leaves on a flower stem.  (Use a paint marker and ruler to make a straight stem.)  When working with glass, make a pattern first on a piece of paper then slide this inside the glass vase, or under a glass plate.  Make lines for the petals and dots for where you want the dots to be.   Here are a couple of pattern ideas to start with.  Notice how I added small dots around large center dots, or at the end of the strokes.  Make sure the first coat of paint is dry before adding additional dots.  The size of the brush handle will determine the size of the dots you make, so use a large brush handle for large dots, medium one for medium size dots, etc.  Teeny tiny dots can be made with a toothpick!


These patterns and projects were created for this small booklet for DecoArt using Americana Gloss Enamels.  You may still be able to find copies at your local Michaels store in the paint section.


Hope you'll give it a try - it really is very easy.  Enjoy!  Y'all come back now.......

Yours truly,
Julie

KEEP CALM AND CARRY ON CRAFTING!