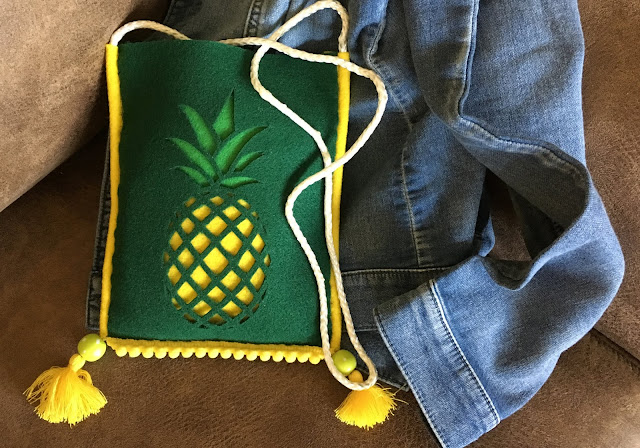
You're slated for success when you create a
"Welcome" sign with a slate and etchall® etching crème!
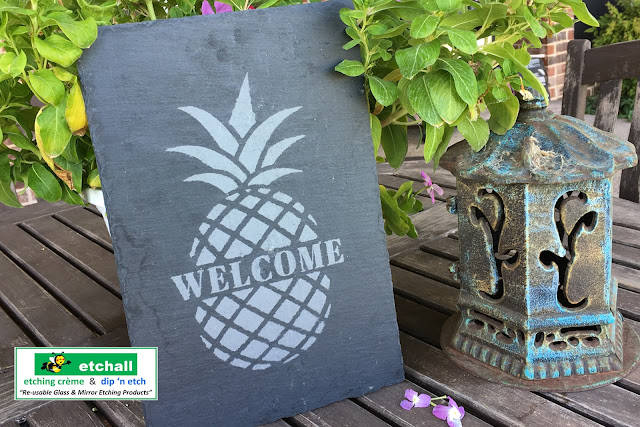
You will need:
etchall® etching crème
etchall® etchmask and transfer paper
8" x 12" slate*
etchall® Pik tool and squeegee
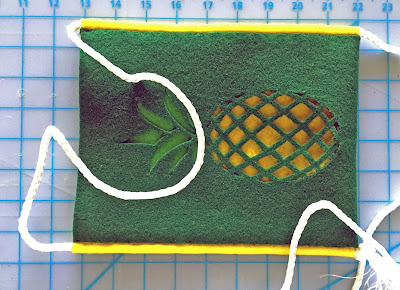
Stencil pattern (vinyl)
*Not all slate will etch. Check a small area on the back before starting your design.
Instructions:
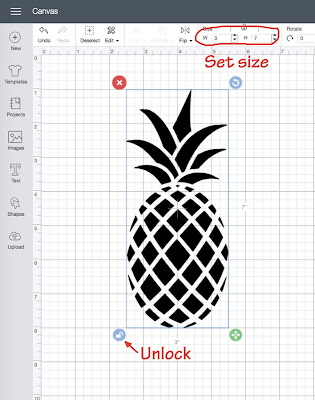
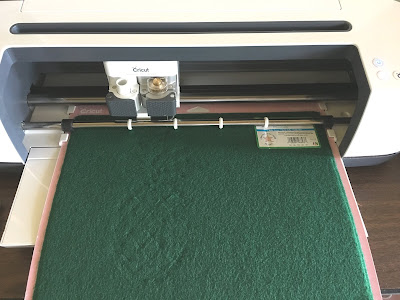
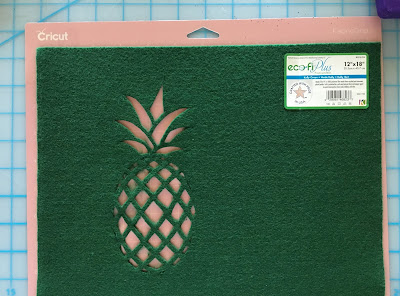
1. Cut the stencil with a digital die cutting machine.

NOTE: You can cut the stencil across the center, separate the two halves then add a stencil for the word "WELCOME" in the space between. If you have access to Cricut Design Space, you can find the complete stencil design here
Press ⌘-c t

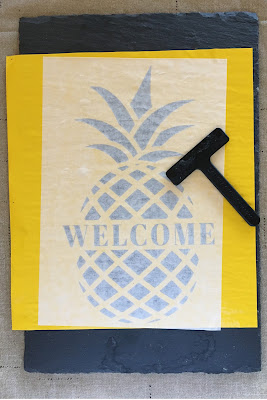
2. Cover the stencil with transfer paper. Press firmly in place then lift the stencil from the mat and remove the backing paper.

3. Position on the slate then use the squeegee to press firmly in place. Remove the transfer paper.
4. Cover the open areas of the stencil with etching crème. Use pieces of the transfer paper to cover the slate not covered by the stencil to prevent accidental etching. Don't skimp - etchall crème is re-usable.

5. Leave the crème on the stencil for 15 minutes then scrape as much as possible back into the container. Rinse away any residue with a soft sponge in a bucket. Do not do this over a porcelain sink to avoid accidental etching.
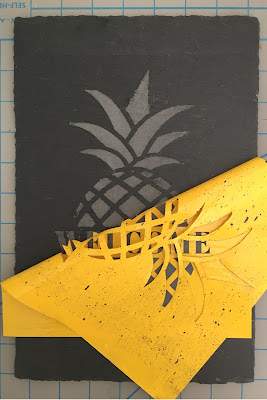
6. Peel away the stencil then rinse the slate once more. Let dry. Do not dry with a towel, or paper towel to avoid leaving bits of residue on the slate's rough surface.
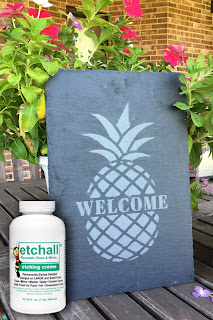
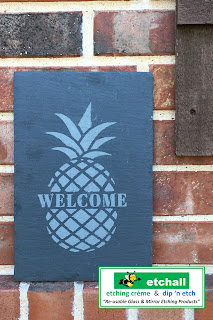
Enjoy! Y'all come back now.........
Yours truly,
Julie
KEEP CALM AND CARRY ON CRAFTING!