Friday, August 31, 2018

Glass Etching Quick'n EZ

From boring to brilliant in literally minutes!

I love this set of glass bottles I recently found at my local craft store, but thought they needed a little extra oomph....  


so, I filled each one with dip'n etch.... wrapped a little jute around the neck


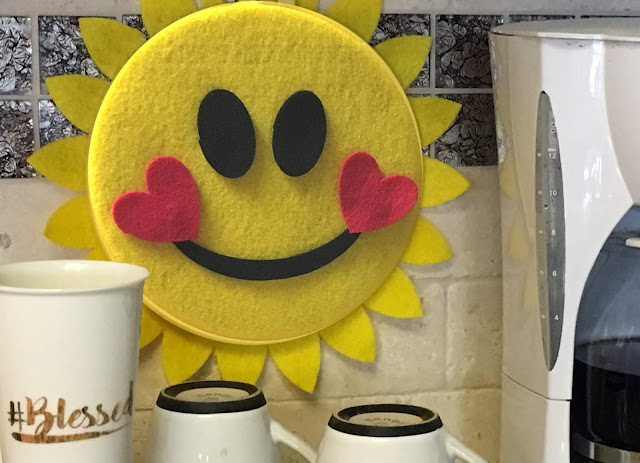
and now they look like this......


Perfect for my bright and cheery sunflowers....


and it took less than an hour!  Here's how....
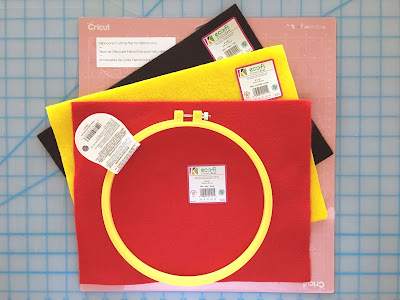
You'll need:
etchall® dip'n etch
Plastic container, large enough to hold the bottle
Pebbles, marbles, or coins 
Jute
Scissors

1. Clean the outside of the glass bottles thoroughly then wipe with vinegar to make sure it's squeaky clean. Dry thoroughly.

2. To determine how much dip'n etch you'll need, fill the bottles with the pebbles (so they don't float) then place one bottle in the plastic container. Fill the container with water up to the place where you want the etching to stop. 


3. Remove the bottle and the water level will sink.  Mark the water level then empty the container.  Dry the container and the bottle thoroughly.


4. Pour dip'n etch into the container, up to the water level mark, then place the bottle in the container. Leave for 15 minutes.


5. After 15 minutes remove the bottle. Rinse the outside thoroughly and dry. Set aside and place the second bottle in the same container of dip'n etch. Repeat the process until all 3 bottles have been etched. DO NOT rinse over a porcelain sink. Etching product may accidentally etch the glaze.


6. Wrap the neck of each bottle with jute, while the other bottles are being etched. After the last bottle has been etched, pour the dip'n etch back into the container.  (I cut the top off a plastic soda bottle to use for a funnel.) 
NOTE: etchall® crème and dip are re-usable. 


Leave as is, or add your favorite flowers and enjoy!


You can find lots of glass containers in craft, thrift and dollar stores and easily turn them into home dec treasures in minutes.  Enjoy!  Y'all come back now...

Yours truly,
Julie

KEEP CALM AND CARRY ON CRAFTING!  


Tuesday, August 21, 2018

Keep Smiling

Create a mood ring to hang by your coffee, or tea pot as a reminder to start each day with an amazing smile!


You'll need the following supplies:
Kunin® Classic Felt 9” x 12” – Red, Black and Yellow x 2
Cricut® Maker™ with Rotary blade*
8” Embroidery Hoop
Tacky glue
Smile pattern


Instructions - Cutting the Shapes:

1. Using the “shapes” feature in Cricut Design Space, select then cut the following felt shapes, one color at a time:

1¼" x 2” Yellow Hearts - 24-32
2” x 2” Red Hearts - 2
9” Yellow Circle - 1
1¼” x 2” Black Ovals - 2   


2.  Select the heart shape then size to 1¼" x 2”.  Copy and paste 24 hearts on the canvas making sure they fit inside the 9" x 12" guidelines, then select "Make It".


3.  Continue then select  “Browse all materials”.  Enter “felt” in the search field and select “felt acrylic fabric”.


4. On the next screen select Rotary Blade and "More" pressure. Place yellow felt horizontally at the top of your pink cutting mat, then cut.  


5. Remove the felt from around the cut hearts, then carefully lift each heart from the mat.

6. Clear the canvas then add and cut two, 2" x 2" red hearts following above directions.


7.  Cut a 9' circle from yellow felt.

8.  Download the "Smile" pattern, then upload to design space and place on a new canvas.


9. Add two ovals to the same canvas. Using the shapes feature, select the circle shape. Unlock, then size to 1¼” x 2”.  Place black felt on the mat then cut.


Instructions - Assembly:

1. Separate the hoop rings then center the felt circle on top of the small, inner ring. Place the large ring over the felt, sandwiching the felt circle between the 2 rings. Tighten the outer ring.


2. Arrange the the small, yellow hearts in a circle.  Spread the glue on the back of the hoop rings then place the hoop, glue side down on top of the hearts. Adjust the hearts as needed then flip the hoop over to prevent it sticking to the surface.  Let dry.

 TIP: Working on a mat with a 1” grid is helpful when arranging the hearts. You can also draw a circle on paper for a guide.


3. Depending on where you hang your hoop, the felt embellishment pieces will easily stick to the front of the hoop without glue, so you can re-arrange them every day.  If you need them to be more secure, add a small piece of the “hook” side of hook and loop tape to the back.


Have fun arranging the additional felt pieces to express your mood for the day and share a smile with everyone you meet!  And yes, you’re allowed to turn the smile upside down every once in a while, but no longer than 10 mins……

Enjoy! Y'all come back now........

Yours truly,
Julie 


KEEP CALM AND CARRY ON CRAFTING!  
-->