Showing posts with label Ribbon crafts. Show all posts

Saturday, January 7, 2023

Dress It Up with Ribbon!

It's almost Valentine's Day and you're wondering what to get for a special friend... 

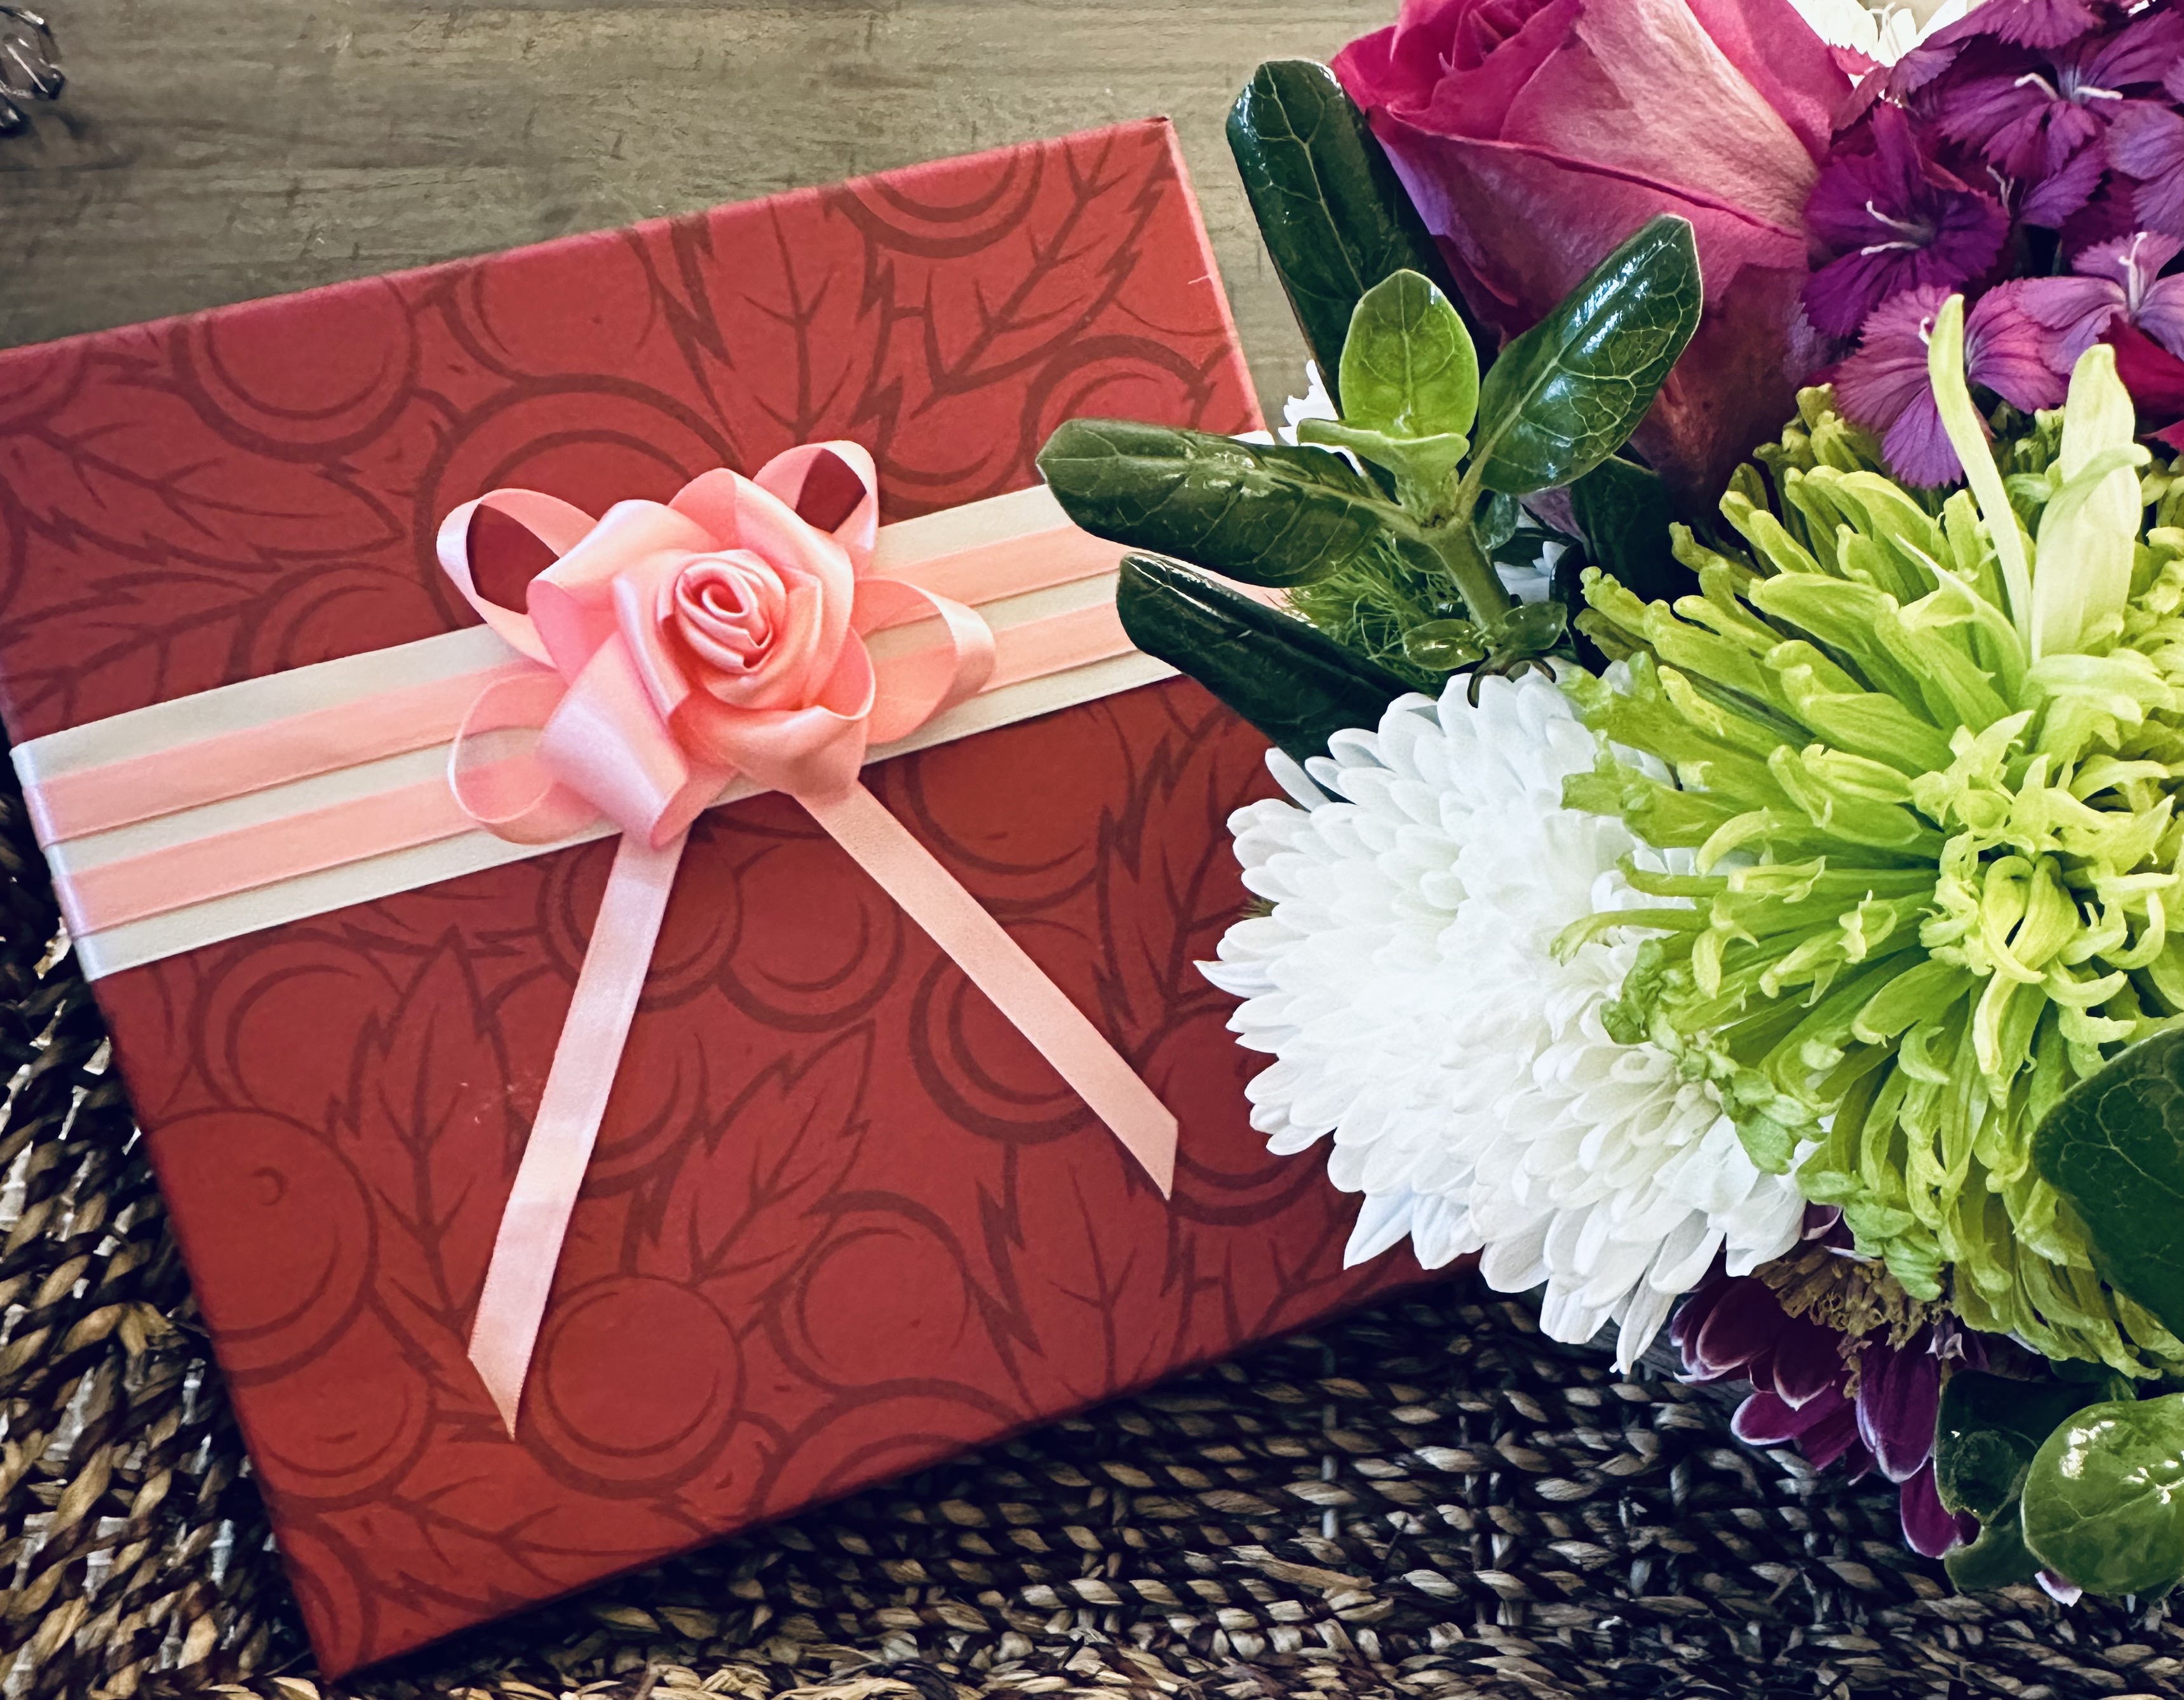
A box of chocolate is a good idea for any occasion, but let's dress it up with some ribbon and gift along with some fresh flowers. After all, presentation is everything!
You'll need:
Gwen Studios Single-faced 1.5" white satin ribbon 
Gwen Studios Double-faced 7/8" pink satin ribbon - 28"
Gwen Studios Double-faced 3/8" pink satin ribbon - 1 yd
Double sided adhesive tape
Lo-temp glue gun (optional)
12" ruler
Scissors
2 Small binder clips


1.  Wrap the white ribbon around the box, or just the lid if it's removable, about a third of the way down from the top. Secure at each end then add two lengths of the narrow pink ribbon over the top as shown below then add bow at the center.  You can make a simple bow by creating 4 loops as you pass the narrow ribbon back and forth then secure the loops where they cross at the center with a staple - EZPZ. Adhere to the center of the ribbon across the box.   
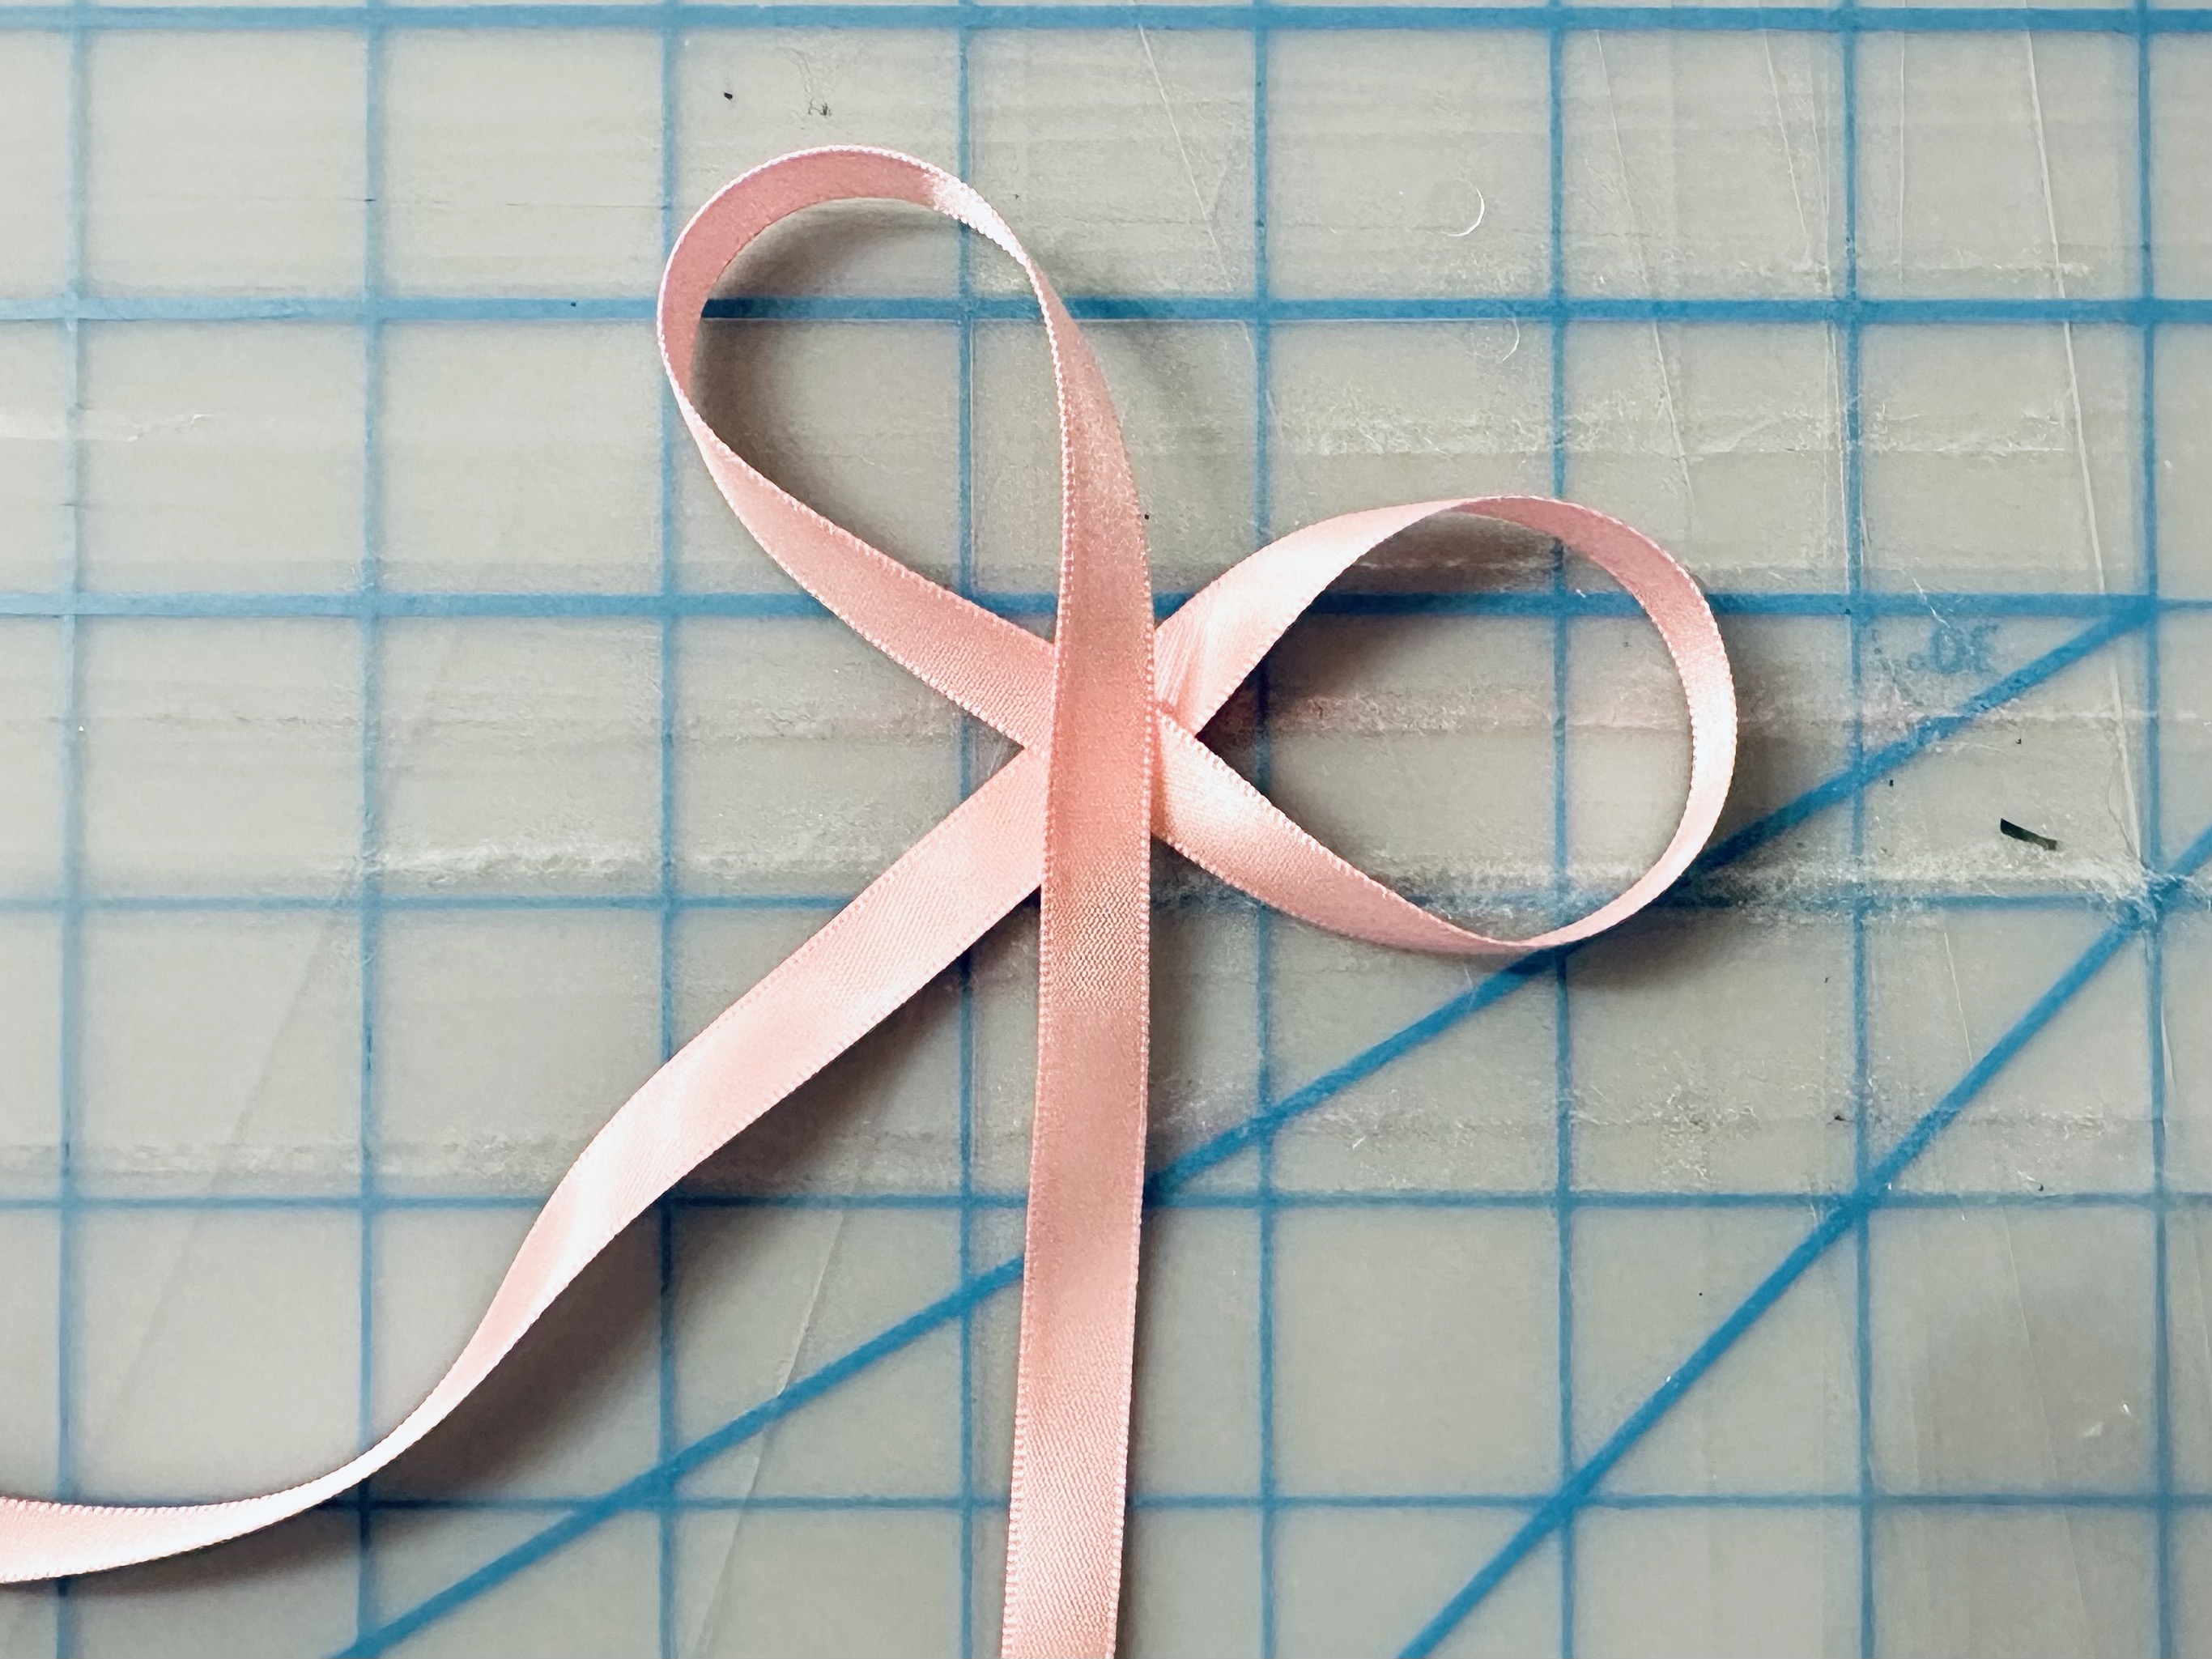


2. To make the ribbon rose for the center, wrap the 7/8" pink ribbon diagonally around a 12' ruler. Secure the ends with binder clips. 


3. Place a strip of double-sided adhesive tape across the edge of the wrapped ribbon then remove the binder clips and gently remove the ribbon from the ruler, removing the liner from the tape as you go.


4. Starting at one end, roll the ribbon along its sticky edge to form the rose. Note: roll tightly as you begin, then more loosely as you roll toward the end adjusting the loops as you wrap. 


5. Glue the rose to the center of the bow on the box to finish..
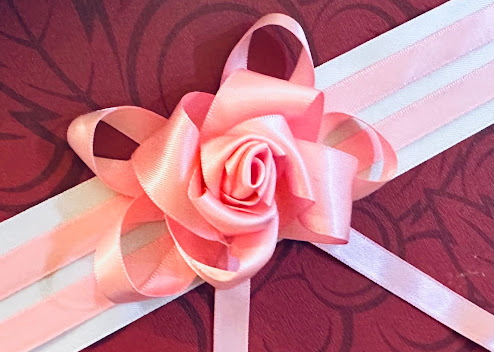

Whether your friends love chocolates or not, they'll certainly love their beribboned box! Enjoy!

Yours truly,
Julie 💝

KEEP CALM AND CARRY ON CRAFTING!
Ribbon was provided by Gwen Studios. It is available at your local Walmart stores and online at Walmart.com, Michaels.com and JoAnn's.com
Look for more inspiration for crafting with ribbon at 



Monday, December 5, 2022

Christmas Ornaments Upstyled with Ribbon!

 Just add ribbon to large, shatterproof ornaments and they'll go from boring to beautiful in minutes! 


You'll need:
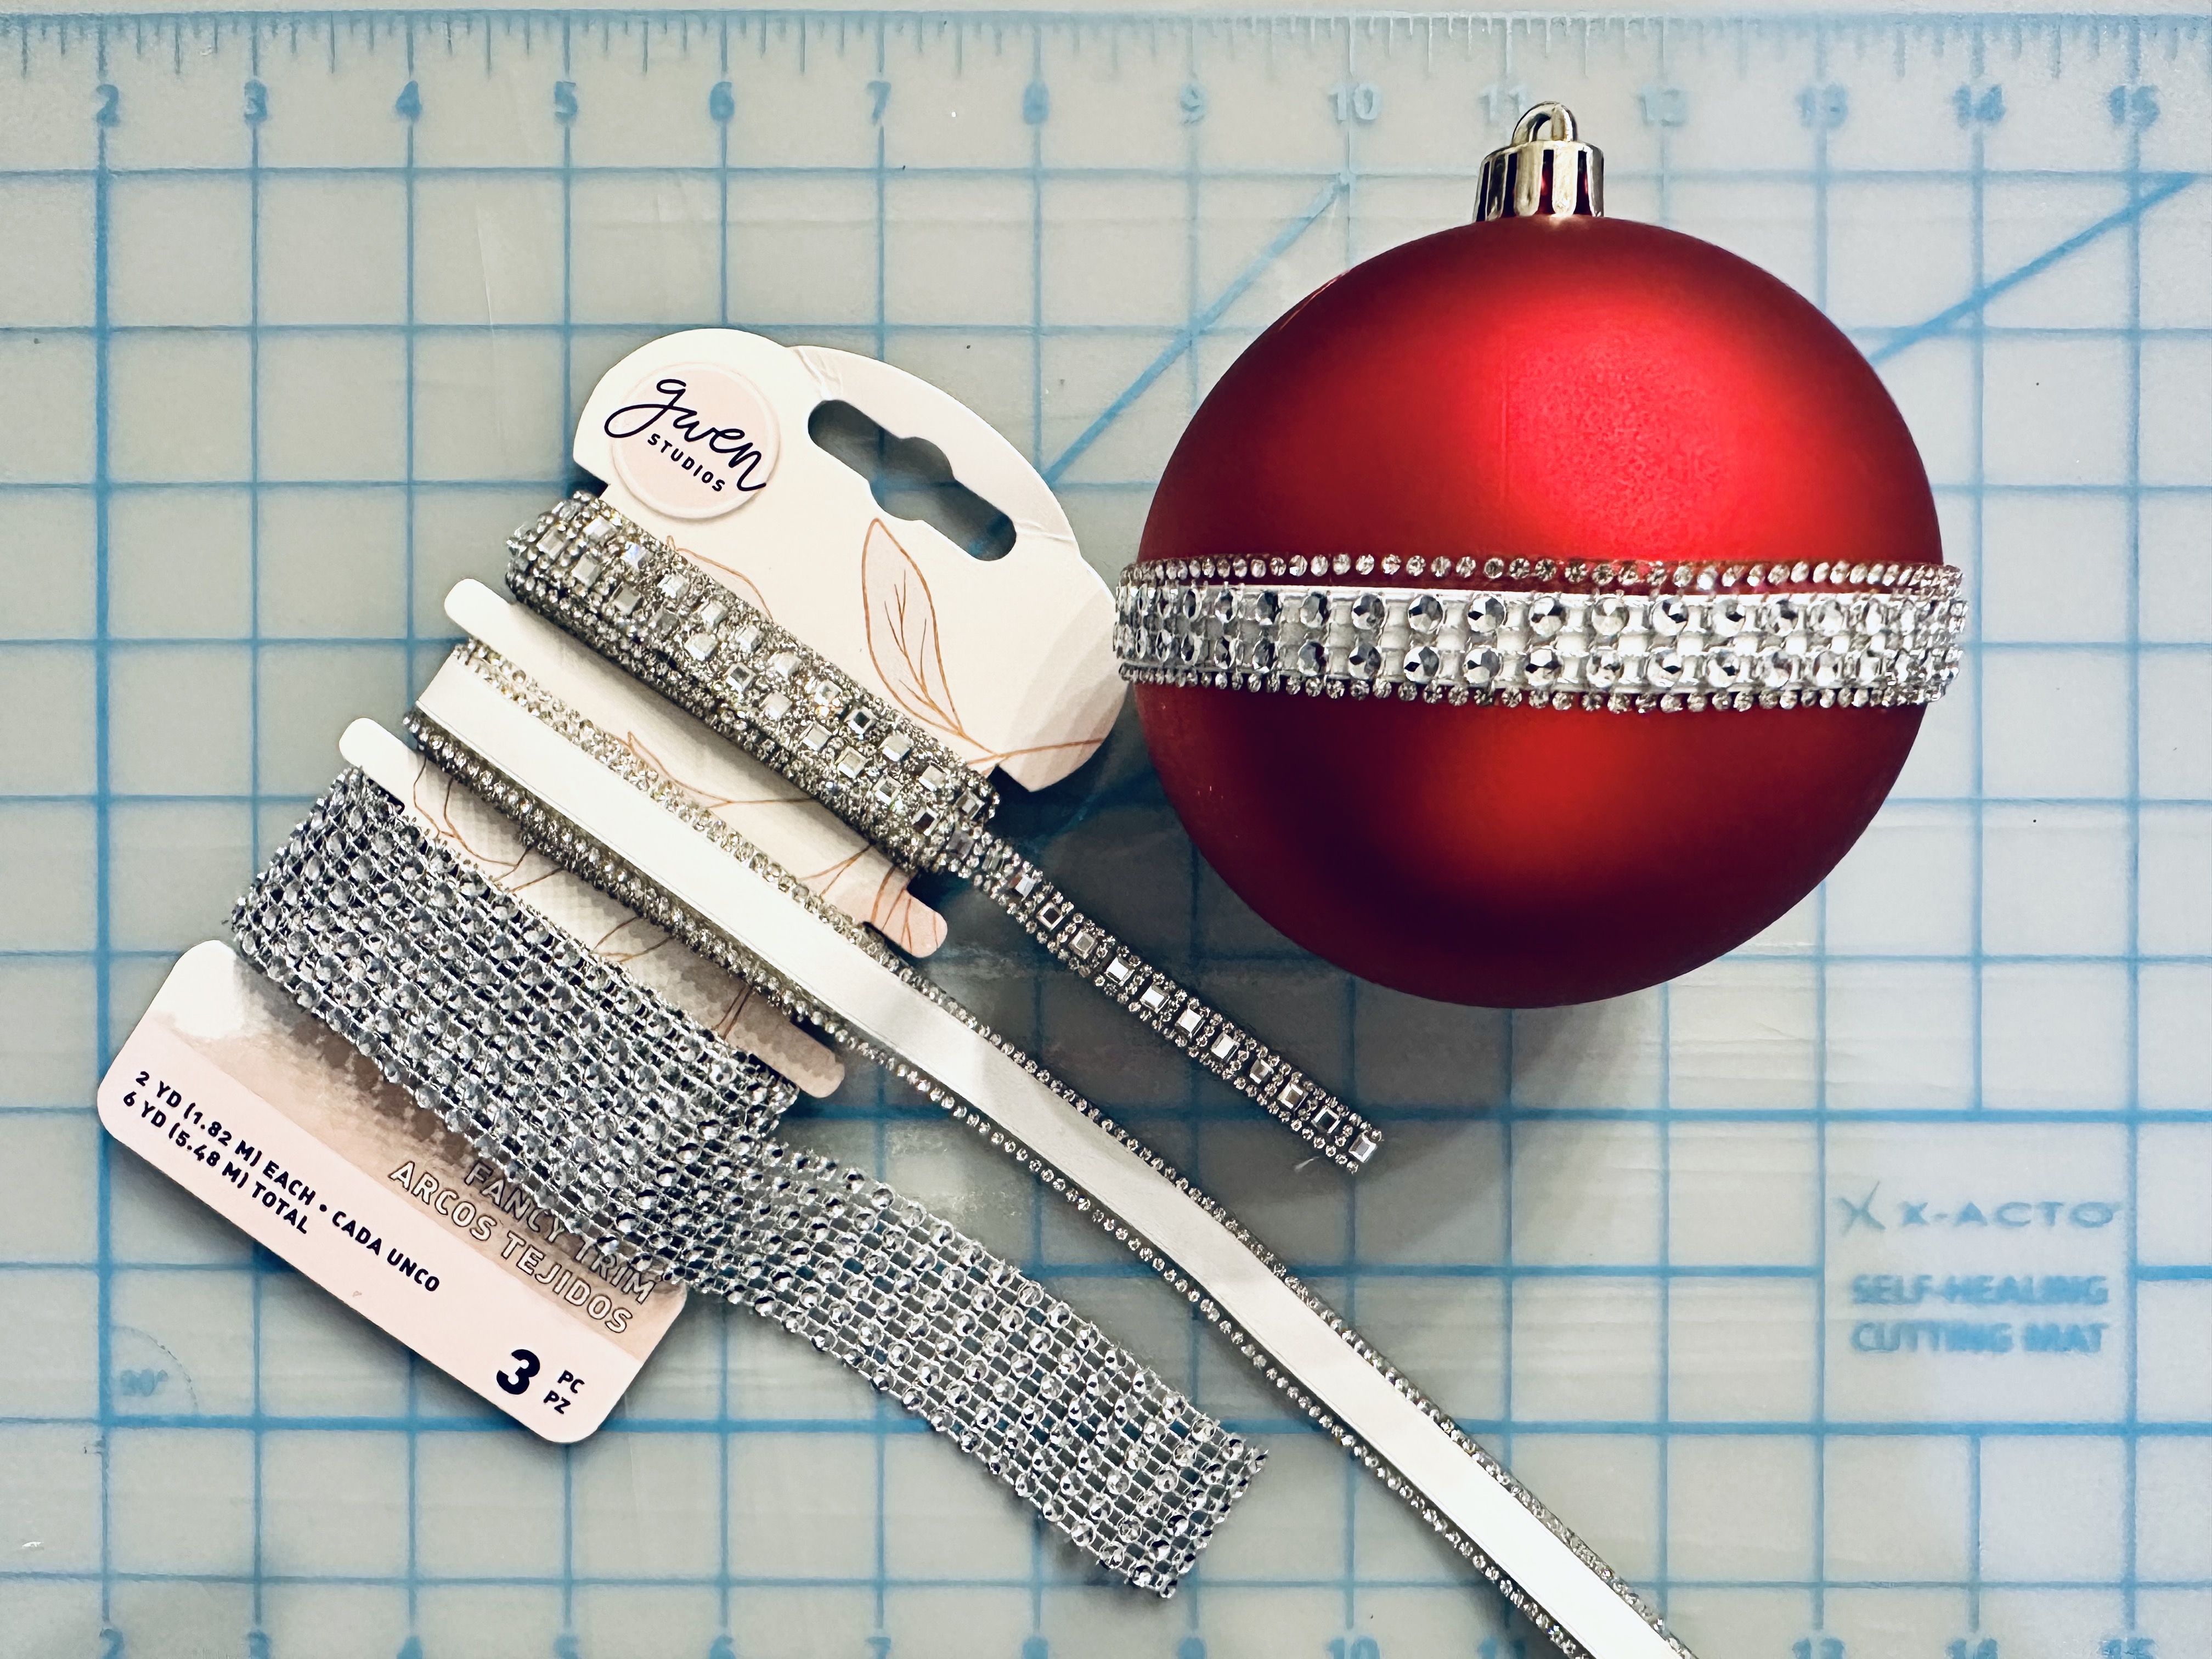
White Satin and Rhinestone Trim Set*
Satin Ribbon*
Narrow grosgrain ribbon*
4 Pack of large, shatterproof ornaments
Small pieces of Christmas greenery to embellish 
Double sided adhesive tape
Lo-temp glue gun
Scissors
Zip ties - colored
*Ribbon was provided by Gwen Studios

A wide selection of styles and colors of Gwen Studios ribbon can be found online at Walmart.com and Michaels.com so there will be ribbon to match your own personal decorating style. I chose ribbon colors that I had on hand to match red ornaments: Red, green and white satin ribbon and several, narrow grosgrain ribbons.


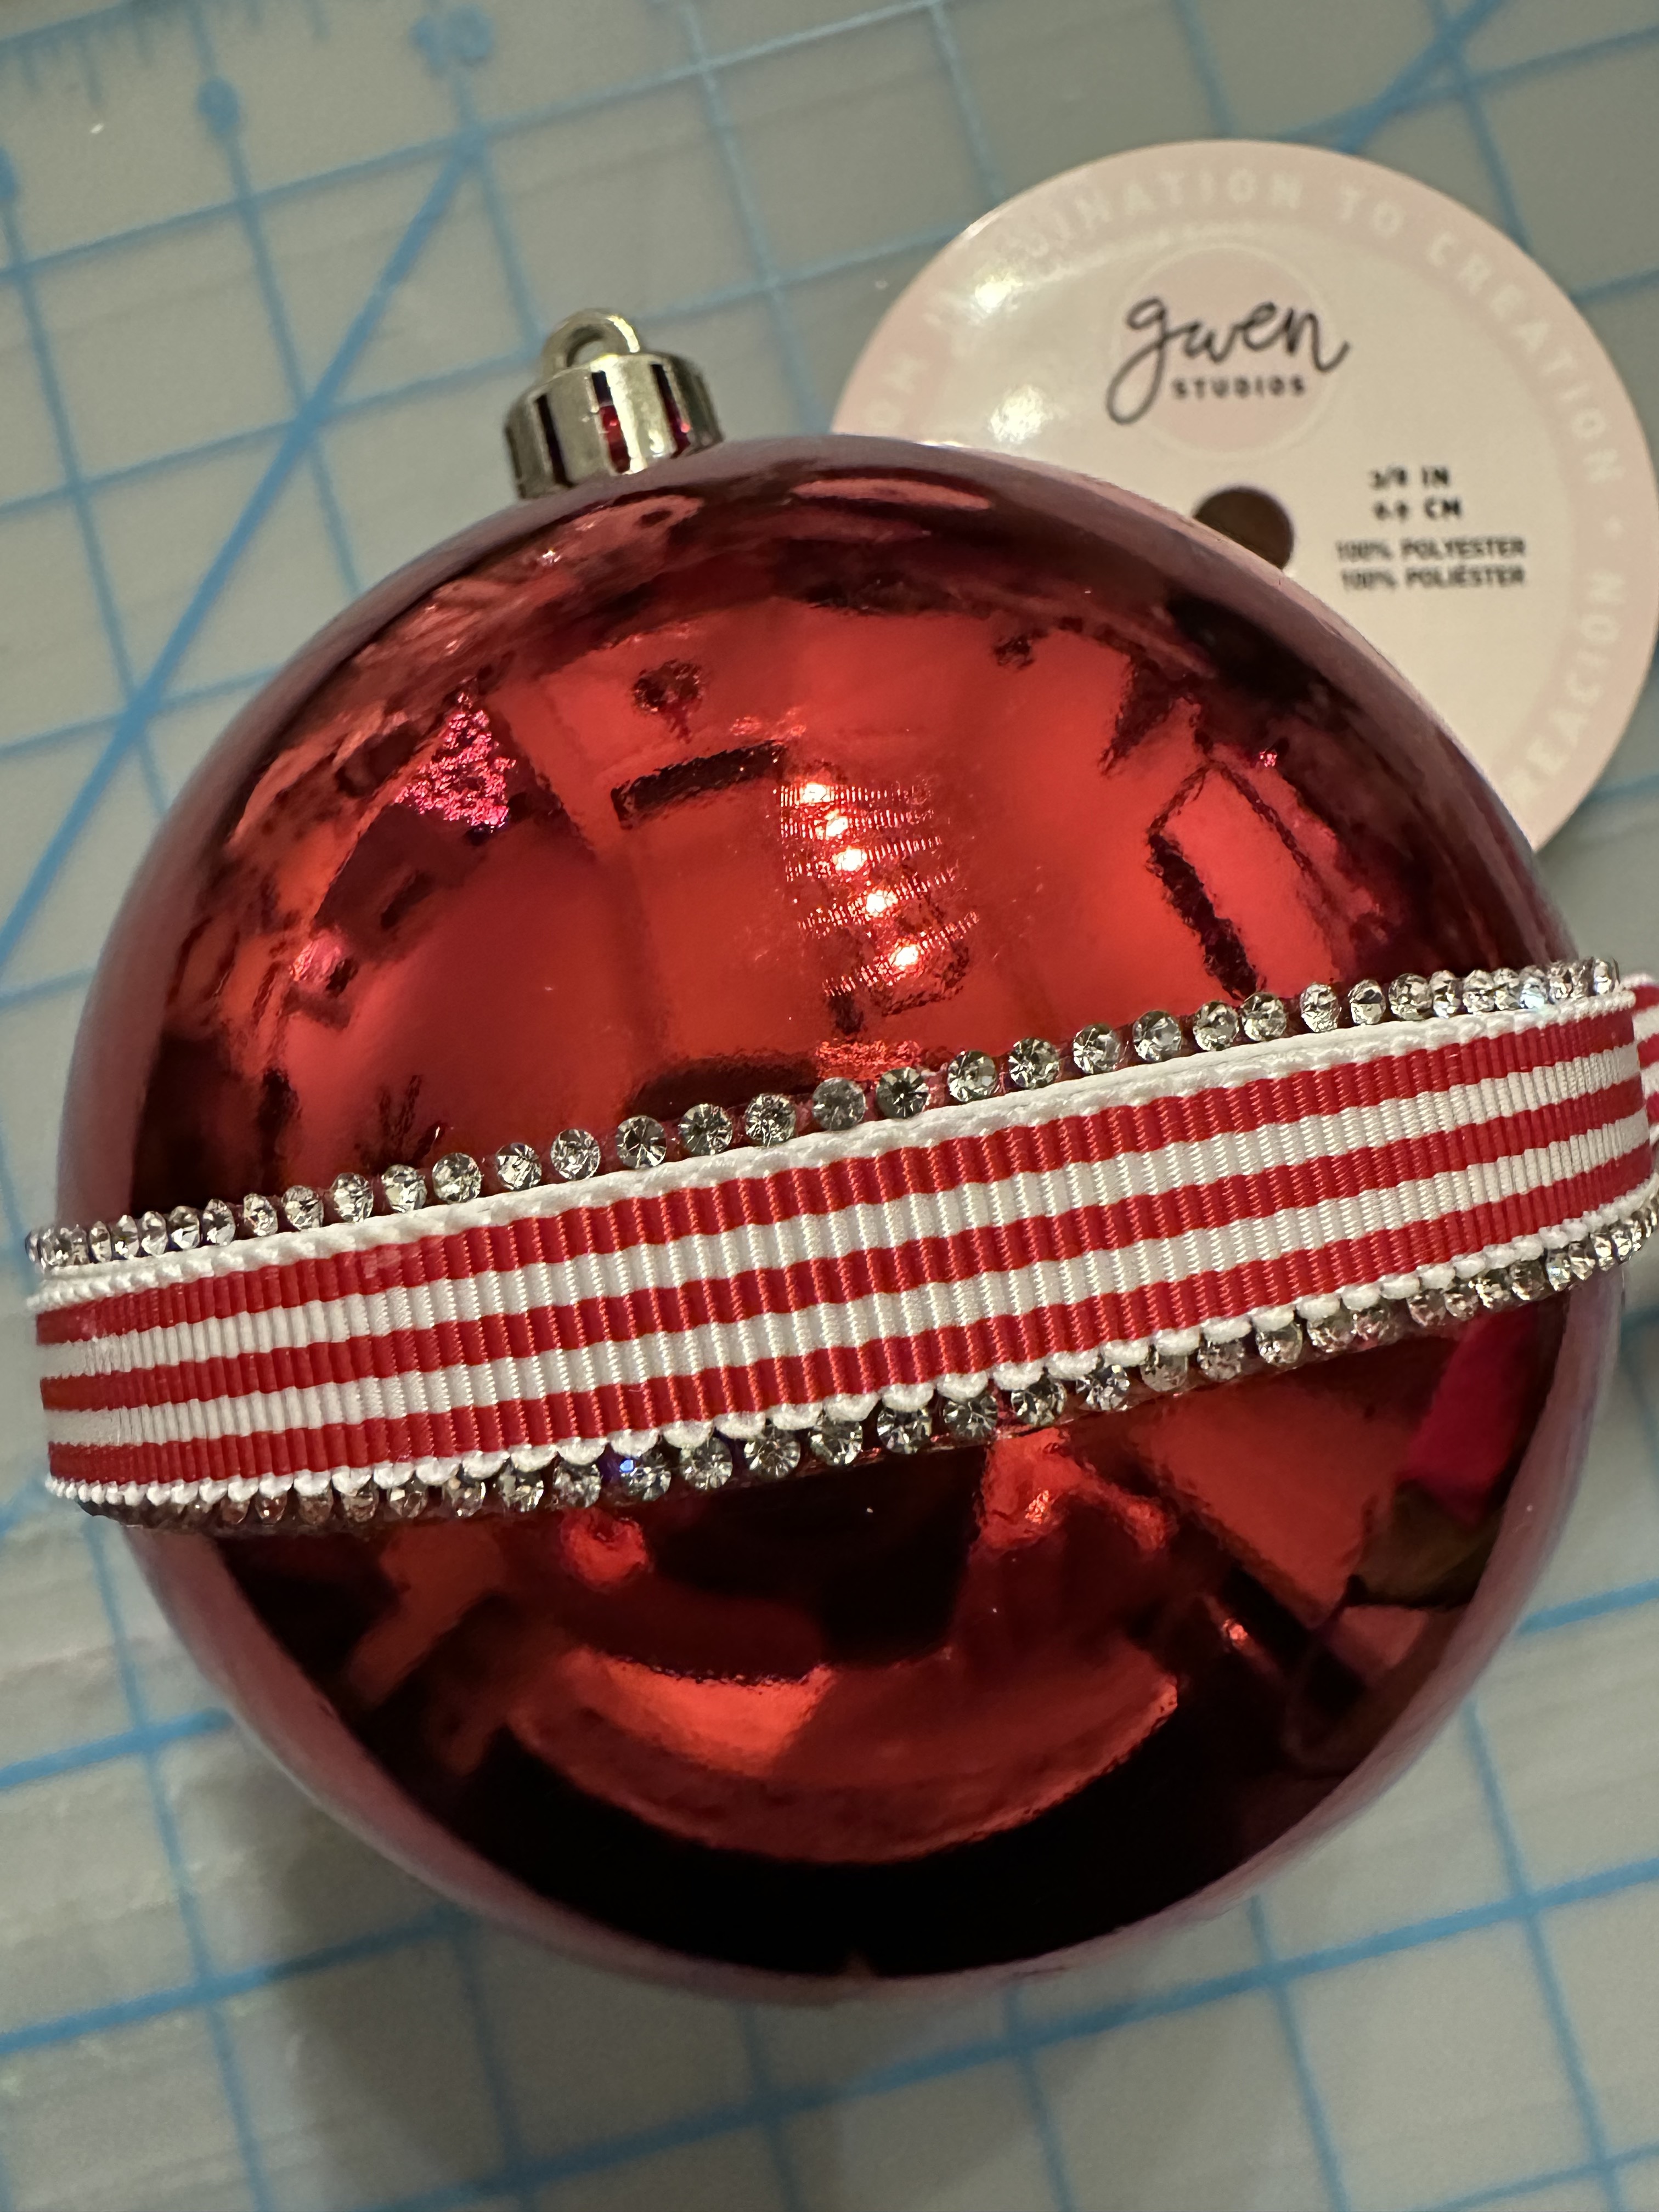
        I like sparkle when I'm decorating for Christmas, so I started by decorating each ornament with rhinestone trim which I added around the center using double sided adhesive tape. You can leave the trim as is, but the narrow, grosgrain ribbon is the perfect width to add over the center, making it easy to customize to match your color scheme.


I like bling however, so I added the narrow rhinestone trim over the center for added sparkle.


I also added a large, green satin bow to the top, made as follows:

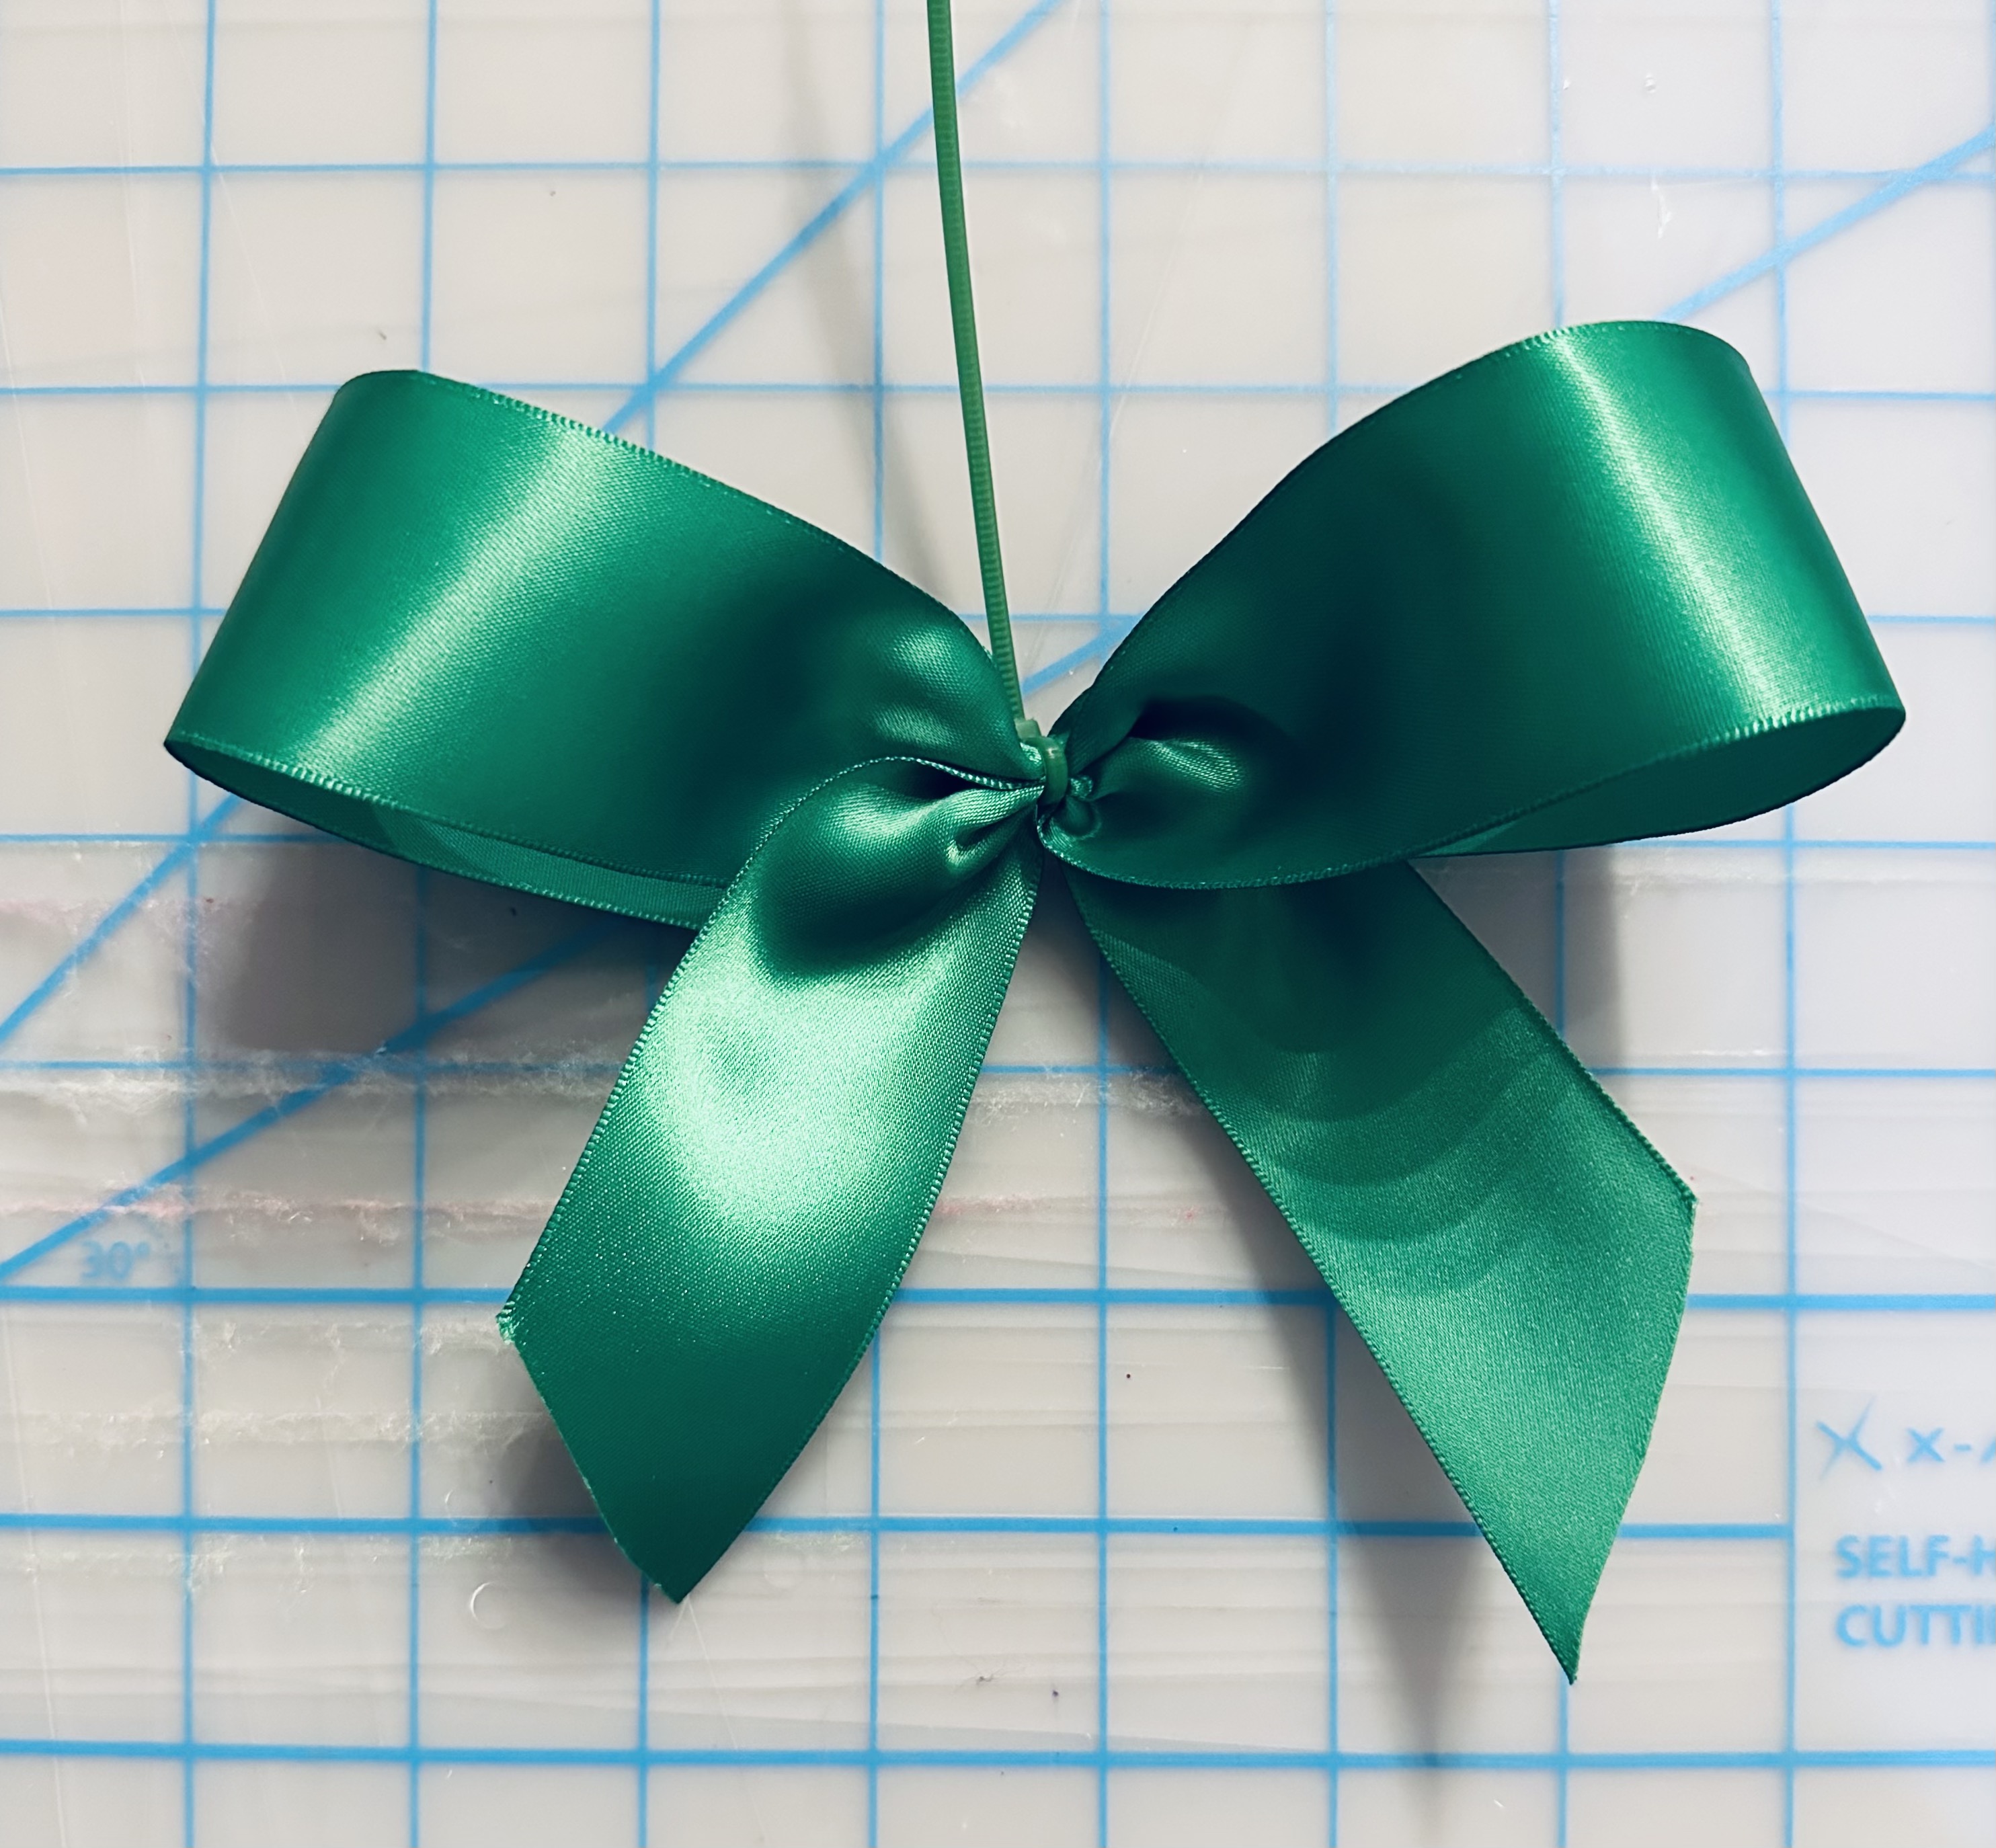
        Cut a length* of ribbon. Lay on a flat surface then cross the ends over as shown below. Using your fingers, squish the ribbon together where it crosses then pull the center of the loop down and squish all together. Secure the "center" with a zip tie. (I used green to match the color of the ribbon.) 
*Length will be determined by how large/wide you'd like your ribbon to be.


        Thread a length of narrow ribbon thru the ornament cap to create a hanger. Attach the bow to the front with lo-temp glue, or simply place the end of the zip tie into the ornament cap. You can also add the bow by attaching it to the ornament cap with the zip tie, then thread a length of narrow ribbon thru the cap for a hanger.


        I embellished the center of this ornament with 2 rows of the wide, rhinestone trim.


The glitter ornament already had a lot of sparkle, so I added narrow grosgrain ribbon around the enter of this one and used a length of curly ribbon for a hanger.


Use a glue gun to add additional embellishments if desired then sit back and enjoy!


        I hope this gave you some ideas for quick'n EZ projects for your holiday decorating. Designer Crafts Connection members have also shared their holiday ribbon projects using Gwen Studios ribbon here:


Hope you all have a very happy and blessed Christmas season!

Yours truly,
Julie 💝

KEEP CALM AND CARRY ON CRAFTING!

Wednesday, August 31, 2022

Pumpkin Time!

         I am so looking forward to Fall. It's been a really, really hot summer in Texas and I'm ready for some cooler temps and fall color to take us into the Thanksgiving and Christmas holidays......  

        My grandchildren are back in school, so now is a good time to start prepping Halloween decorations for outside and adding fall decorations inside to add a warm, cozy feeling to my home. Pumpkins are a favorite accent. so making a few small ones seemed like a good place to start.  Can you believe this cute pumpkin pick was made from ribbon and a toilet paper roll!

Here's what you'll need:
  • 1.5 yds Gwen Studios 7/8"  grosgrain ribbon - Orange 
  • 1.5 yds Gwen Studios 3/8" grosgrain ribbon - Dotted Orange 
  • 3" Gwen Studios 1" Dark brown grosgrain ribbon
  • 2 empty toilet rolls
  • Bamboo skewer
  • Double sided adhesive tape
  • 1/8" Hole punch
  • Raffia
  • Scissors
  • Lo-temp glue gun (optional)


1. Cut each toilet roll lengthways then cut into strips about 3/4" wide.  Depending on the size of your roll, you should have about 6 strips.


2. Punch a hole at each end of each strip about 1/4" from the top edge then place a strip of double sided adhesive along the center of the back of each strip, between the holes.


3. Cut a piece of orange ribbon long enough to cover the adhesive strip. Lay the ribbon flat on your work surface then press the curved surface of a strip firmly on top of the ribbon. Yes, you can hold the strip and place the ribbon on top, but it's easier to align if you do it this way.  I also trimmed the ribbon after adhering. You will need 11-12 strips.


4.  Measure then cut the pieces of dotted ribbon. Place a small piece of double sided adhesive at each end, then adhere to the top of the orange ribbon. 


5. Thread one end of each of the covered strips onto the skewer.


6. Starting with the top strip and working your way down from the top, pull the next strip over then thread the opposite end of each strip onto the skewer. 


7.  Spread the strips around the skewer to check you have enough to create the pumpkin. Add more if needed. Yes, you will need to remove the bottom ends of the strips from the skewer to add extra, but you'll do that anyway - see next step.


8. In order for the ends of the strips to be compacted together to make a prettier looking shape, remove the bottom ends from the skewer. Use a small dot of lo-temp glue to glue the ends of each strip together, one at a time where they overlap to create a circle. Add the opposite ends to the skewer, gluing each one in place in the same manner.  Obviously this can be done without using the skewer if you don't want to make a plant pick, but I found having holes in the ends of each strip helped with alignment. 


9. Adjust the skewer so that about 1/2" extends from the top, then cover it with the small scrap of brown ribbon and glue in place. Tie a few strands of raffia around the top to finish.  


        I have lots of empty toilet rolls and, yes, I know strips of cardboard can be used instead, but I really like the way the toilet roll cardboard strips are curved to create the perfect pumpkin shape...


Have a happy Fall y'all...  

Yours truly,
Julie 💝

KEEP CALM AND CARRY ON CRAFTING!

Ribbon used in this project was provided by Gwen Studios, all other products used were purchased by me. You can find more ribbon projects here, on the Designer Crafts Connection blog.


Tuesday, March 15, 2022

Spring Forth with Ribbons

The theme for this month's Design Team ribbon project for Gwen Studios is Easter and Spring. 
 
        Spring has to be my favorite time of year.  After the dark and dreary days of Winter, Spring arrives with the promise of new life. Trees start to bud and flowers burst from the bleakness of Winter filling our world with color - nature's resurrection together with Easter heralding its own special promise of new life for us all....


To create this special project for Easter you will need the following:
  • Gwen Studios 3/8" x 36 yards Grosgrain Pastel Ribbon Favor Pack
  • Gwen Studios 5/8" Grosgrain Ribbon - White
  • Canvas Wrapped Frame.   6" x 9"  used here
  • Double Sided 1/4" Tape
  • Lo-Temp Glue Gun
  • Large Glue Dot
  • Scissors 


Step 1:
    Working on the back of the frame, cover the stapled edges with white, 5/8" grosgrain ribbon using double-sided tape. Secure the ends on the other side (front) with the glue gun.

Step 2:
    Using your choice of colors, glue one length of ribbon across the center of the frame, securing each end at the back with the glue gun. Add 3 additional colors on each side as shown below.


Step 3:
    Cut about a 4" piece of the 5/8" white ribbon. Wrap around the 7 strands of ribbon about 3" from the edge. Pull tightly to pinch the colored ribbons together then overlap the end and glue to secure. Trim away any excess ribbon.

Step 4:
    Using the same 4 colors of ribbon in the same order, wrap the ribbon around the frame across the first pieces of ribbon as shown. Secure each end of the ribbons at the back with glue. 

Step 5:
    Wrap the center with a piece of the white ribbon.  Overlap then glue the end to secure; trim away excess ribbon then roll the loop of ribbon around so the overlapped ends are underneath.

Step 6:
    Create a small bow of green, 3/8" ribbon then glue to the top of the white band, or simply thread the ribbon under the white loop and tie a small bow.

Step 6:
    Create a ribbon rose to add to the center of the bow as follows.  Tie a knot at the end of a 6" piece of 3/8" ribbon. Trim end even with the knot then push the knot into the center of a large glue dot. Twist/fold the ribbon over then push into the glue dot next to the knot. Continue folding the ribbon and pushing the edge into the glue dot all the way around the knot until the glue dot is covered. Carefully lift the edge of glue dot from the backing paper then tuck the end of the ribbon underneath. Trim away excess ribbon, remove the glue dot from the backing paper then adhere to the center of the bow.  If necessary, use the glue gun to ensure the rose stays in place.  See a how-to video here....


Step 7: (Optional)
For a neater finish, cut a piece of card stock slightly smaller than the size of the wrapped canvas and adhere to the back with double sided tape to cover the ends of the ribbons.

        Since Easter is a big part of our Springtime celebration, we'll also need to decorate some Easter eggs, so head back here in a few days for instructions on how to create this "beribboned" Easter egg! 


Yours truly,
Julie 💝🐣

KEEP CALM AND CARRY ON CRAFTING!

*Ribbon used in these projects was provided by Gwen Studios and can be found at your local Walmart and online at walmart.comWalmart.com


Look for more ribbon crafts featuring Gwen Studios ribbon here: