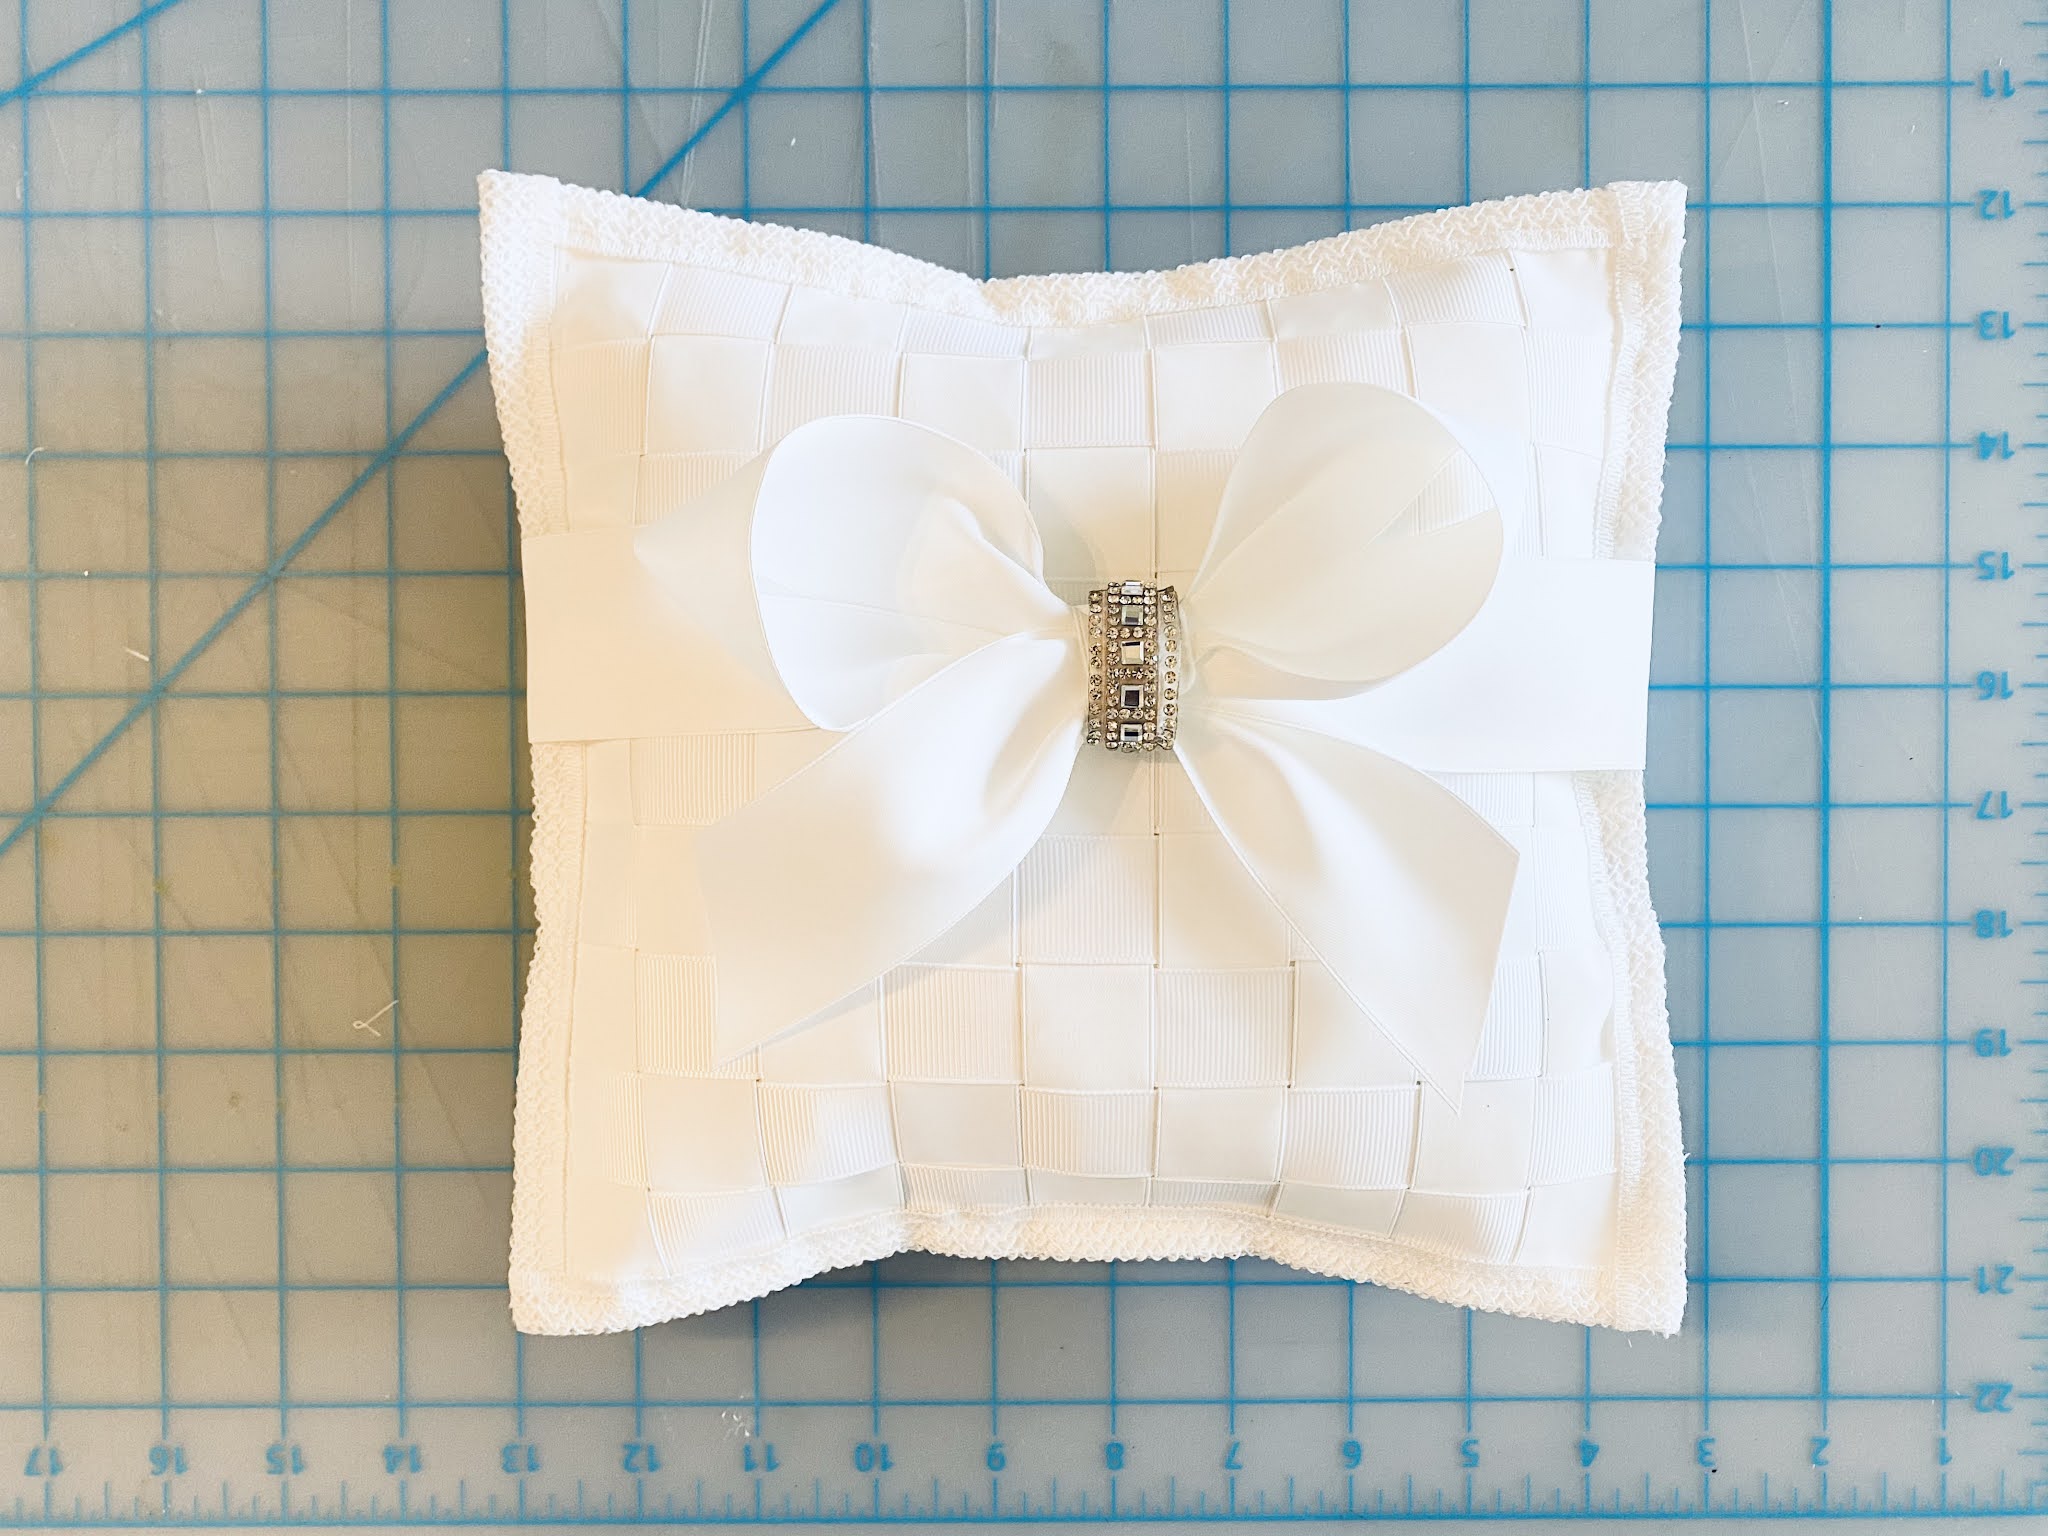
A wedding has to be one of the most important events in someone's life. Make it extra special with coordinating decorations using ribbons, trims and fabric from Gwen Studios, available exclusively at your local Walmart and online at Walmart.com!
As an industry designer, I received the following selection of product from Gwen Studios with the request to create one or two projects appropriate for a wedding. With SO many ideas to choose from, it wasn't easy to decide what to do, so I'm sharing a sampling of quick'n EZ ideas together with instructions for a couple of my favorites!

Let's start with a firm favorite - something every bride will need.....
Woven Ribbon Ring Pillow
You'll need:
- 3 yds 7/8" Grosgrain ribbon - White
- 3 yds 7/8" Satin ribbon - White
- 1 yd 1 1/2" Satin ribbon - White
- 1 yd 3/8" Grosgrain ribbon - White
- Blush (or White) Satin and Rhinestone trim
- Crochet style lace trim - White & Lavendar
- Two 10"x10" squares of white fabric (I used old handkerchiefs)
- Needle and white thread (or sewing machine)
- 1/8" double sided adhesive
- Scissors
- Beaded quilt pins
- Cotton balls
1. Cut nine, 10" lengths each of white, 7/8" grosgrain and satin ribbon.
2. Starting with one piece at the center, pin the pieces (4 on each side) of grosgrain ribbon next to each other across one edge of the fabric square.
3. Starting about 1" from the top weave the pieces of satin ribbon across the grosgrain ribbon ending about 1" from the bottom. Adjust the ribbon so the pieces are nestled snugly against each other then secure each piece using a pin at each end to keep them in place.
4. Using a simple running stitch, stitch around the outside edge of the outer pieces of ribbon to attach them to the fabric.
5. Trim the excess ribbon and fabric close to the edge on all 4 sides.
6. Place the woven piece on top of the second piece of fabric; trim as needed. Place the narrow white ribbon along the top edge of the woven piece then fold the 1" trim over the edge of the fabric, pin then stitch in place. The narrow ribbon will be encased under the lace trim along the top edges for a neater look. Leave an opening along one edge of the pillow so it can be filled.
7. Stuff with cotton balls, then sew the opening together. TIP: I placed the cotton balls in a plastic baggie, about the same size as the pillow to make it easier to stuff.
7. Wrap the 1 1/2" wide satin ribbon around the center of the pillow then tie in a bow. Trim the ends as needed. To add a little sparkle, adhere the narrow rhinestone trim to the center of the blush satin trim with double sided tape. Offset the piece of trim as shown so the ends will overlap when placed around the center of the bow. TIP: This technique with the rhinestone trim can also be used to make bracelets for the bridesmaids and flower girl.

8. Optional: Add coordinating colored trim on top of the ribbon at the front and a tassel* at the center to finish. *Instructions to make tassels are below.
Just add a ring bearer and your pillow will be good to go down the aisle in style!
Tassels are another favorite of mine! They are easy to make and will be the perfect addition to all of your wedding decorations!
Tassel Garland
You'll need:
- Coordinating Voile fabric
- 3/8" White satin or grosgrain ribbon
- Textured/bouclé style yarn in a coordinating color
- White cord (for garland)
1. Unroll the fabric, but leave folded. Cut 1" strips across the end as shown. Cut each strip along the folds at the top and the bottom to create 4 strips.
2. Cut the ribbon and the yarn into 14" lengths. To make one tassel, gather 3 strips of fabric, 1 piece of ribbon and 2 pieces of yarn together, staggering the lengths. Fold in half then attach to the cord with a larks head knot by laying the folded end under the cord, then pulling the ends over the top of the cord and thru the fold. Continue adding tassels about 5" apart to a length of cord to make a garland. To make a single tassel, cut the cord about 4" either side of the knot then use to attach the tassel to the pillow, flower girl basket, etc.


Woven ribbon pillows and tassels are definitely worth the time invested in making them, but ribbons and trim are also a great way to quickly add coordinated color and bling to LED candles, place mats, the flower girl's basket and more. Wands are also a trendy feature for younger bridesmaids. Simply wrap the cardboard tube from a wire coat hanger with ribbon; trim the top with rhinestone trim then insert a bundle of fabric strips, yarn and ribbons into one end and poof, you have a fairy wand! You can also add layered ribbon and trim to the ends of a piece of coordinating canvas for a quick'n EZ placemat!
Don't forget rhinestone trim bracelets for that extra special sparkle!
Look for more inspiration from Gwen Studios Design Team:
Enjoy!
Yours truly,
Julie 💝
KEEP CALM AND CARRY ON CRAFTING!